Introduction to Mirus
Mirus is the software companion for the HarvestMaster GrainGage, used to calibrate the GrainGage and collect, view, and manage data. During harvest, Mirus records the moisture, weight, test weight, and NIR constituents for each plot. You can also add notes and attributes to support your research.
Mirus can be used on its own—without a GrainGage—to collect notes in a field without a GrainGage.
Understand Icons
Some icons are used throughout Mirus. The following table introduces these icons.
|
Common Mirus Icons |
||
|---|---|---|
|
Icon |
Description | Location |
| Return to the Home screen. | Top left corner of title bar | |
| Shows that Mirus is not currently syncing changes to the cloud. | Title bar | |
| Shows that Mirus is currently syncing changes to the cloud. | Title bar | |
| Shows the name of the signed in account. Tap to see your account and licenses or sign out. | Title bar | |
| Opens the diagnostics box. |
Home Setup > H3 GrainGage Harvest |
|
| Save changes or updates. Close the box. | Various | |
| Close the box without saving. | Various | |
| Save selections and progress to the next screen. | Various | |
| Weight data collected by the sensor. | Various | |
| Moisture data collected by the sensor. | Various | |
| Test weight data collected by the sensor. | Various | |
| Exports the current settings to an XML file. | Setup > H3 GrainGage | |
| Import settings from a previously exported XML file. | Setup > H3 GrainGage | |
All of the settings for the GrainGage can be saved and restored by exporting and importing from Setup > H3 GrainGage.
User preferences are NOT saved.
Exported settings are saved by default to C:\HarvestMaster\Mirus5\Config\H3GrainGage\Settings and can be imported from there.
See the Same Harvest View
The Harvest screen is customizable. Whether you prefer a certain combination of panes in the quad view or work better from the graph, spatial, or list view, Mirus will open the Harvest screen to the view that you last used.
Understand Plugins
Part of the flexibility of Mirus is the way that it is customized to your specific setup with plugin attachments and devices. In its simplest form with no plugins, Mirus collects data through its powerful note taking capabilities (see Appendix D: Take Notes with Mirus). When you download and install Mirus, you will also get the Mirus plugin manager, which you will need to use to enable the H3 device. (See Enable the H3 GrainGage Plugin.) When you connect your plugin (H3 GrainGage), Mirus will know what data your GrainGage collects. You can add additional capability to your device with plugin attachments, such as Conditional Action for advanced automation and control (see Appendix E: Use the Conditional Action Plugin).
Export SCiO Files
You can export the data collected by the SCiO sensor from Setup > H3 GrainGage > SCiO.
For advanced analysis or sharing, we recommend zipping the raw scan files, making them easy to transfer and ideal for post-processing workflows. This feature ensures that your original scan data is preserved and accessible for further review or external analysis, providing flexibility and control over your NIR data management.

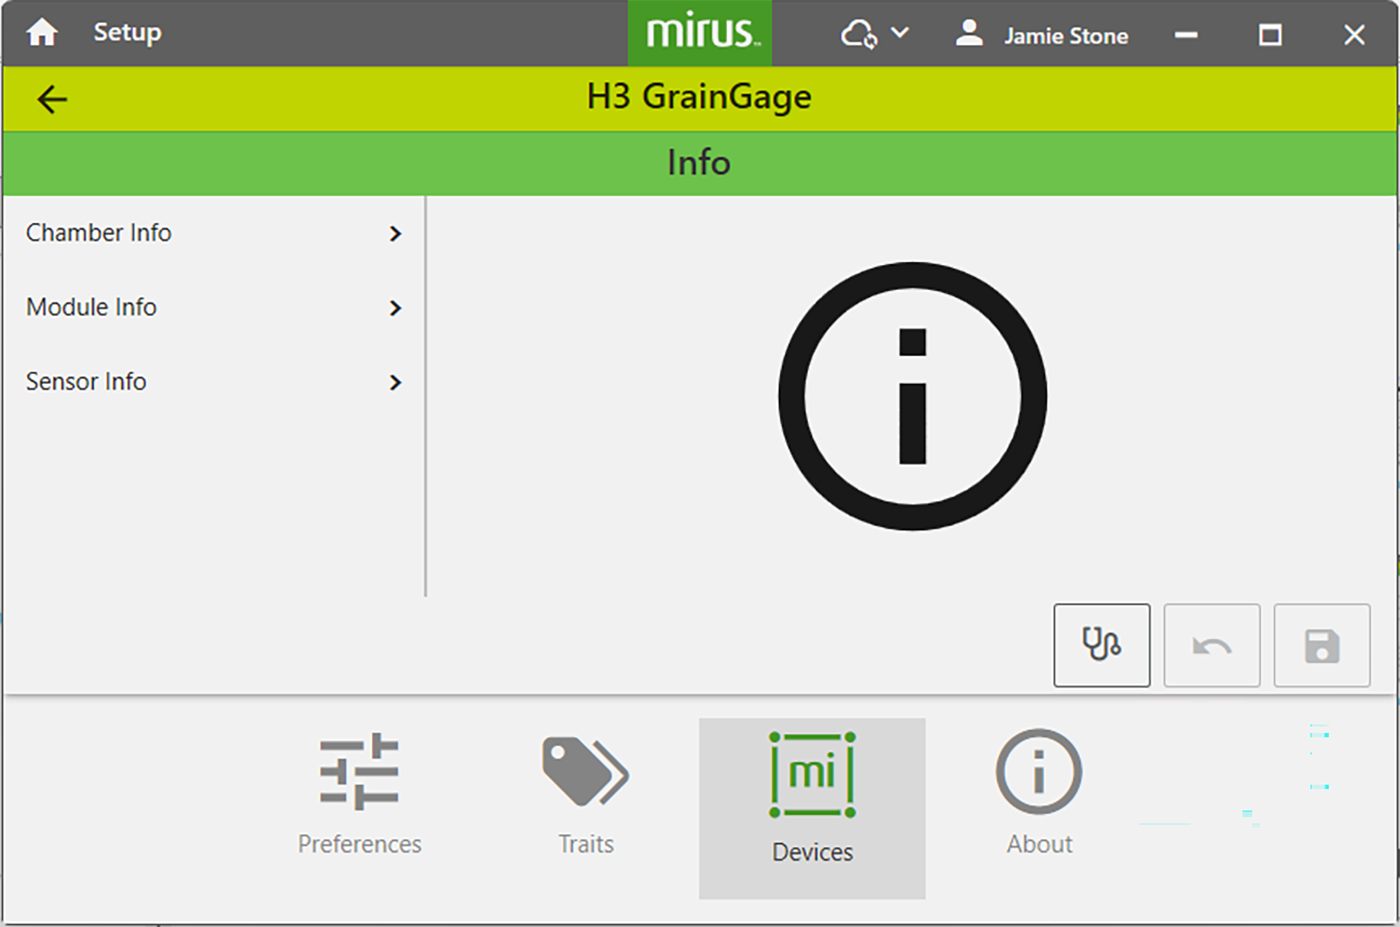
View GrainGage Info
The detailed snapshot of chamber, module, and sensor information available from the info section is a critical tool for monitoring the health and performance of your GrainGage system. You can see the status of key components. This information is essential for troubleshooting issues, verifying that all modules are properly connected, and ensuring sensors are functioning within expected parameters.
From Setup > H3 GrainGage,
- Tap Info.
Mirus opens the Info screen from which you can view Chamber, Module, and Sensor information for the GrainGage.
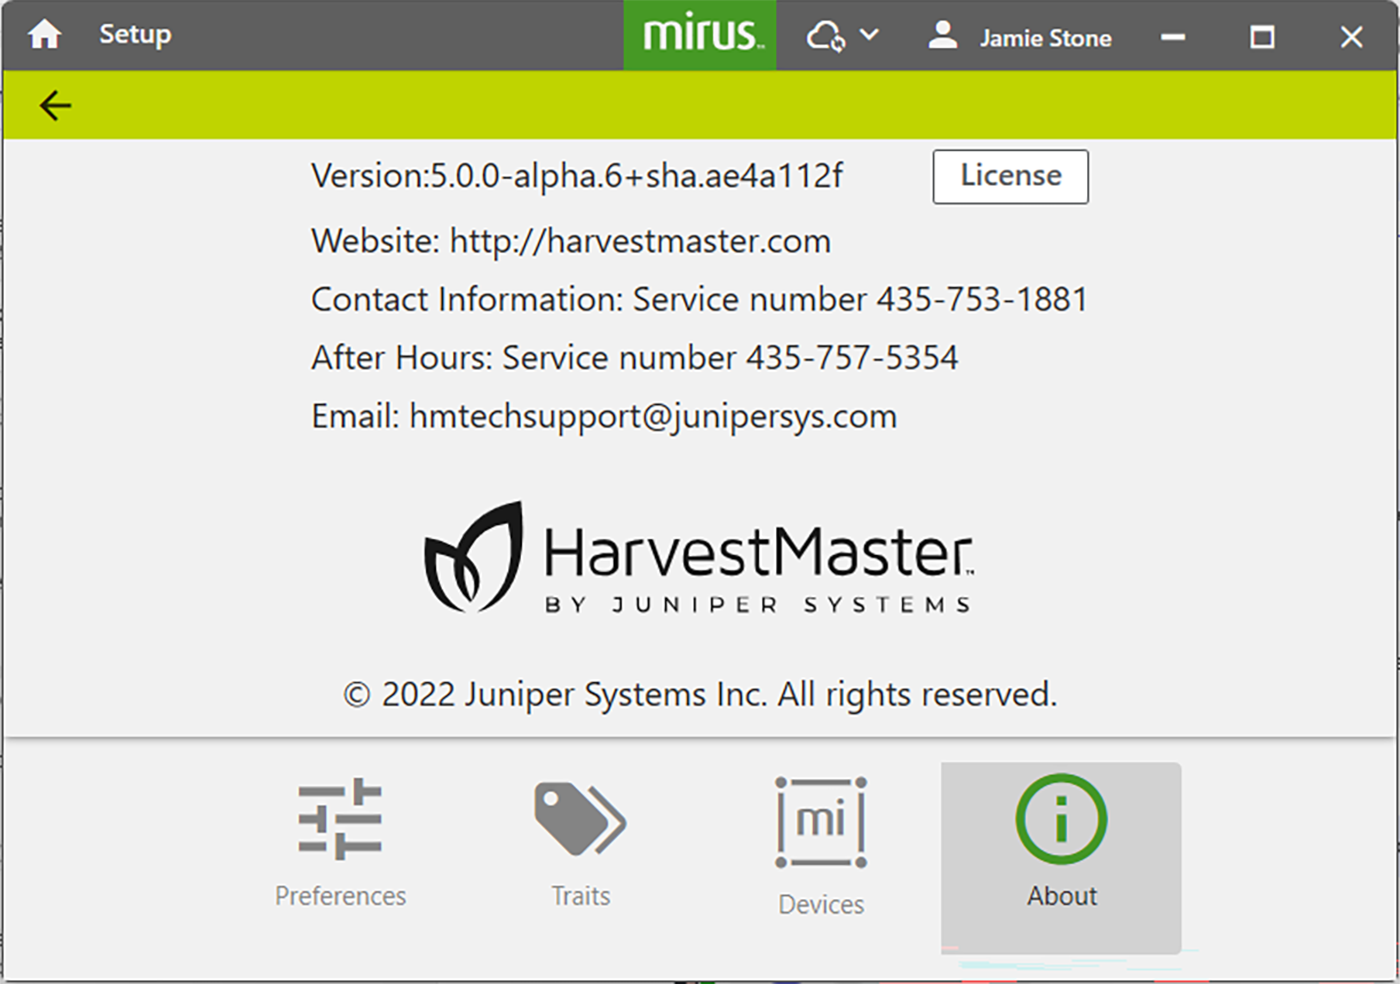
View Information About Mirus
Together, the information available from the Setup About tab will help keep your system current, compliant, and fully supported for optimal performance.
The Mirus version number helps confirm compatibility with your GrainGage hardware and plugins. You will need it when applying updates or troubleshooting issues.
License information verifies that your software is properly activated and compliant, preventing interruptions during harvest.
The website link, Mirus Harvest Software, provides quick access to official resources, including documentation, software downloads, and updates.
The contact information ensures you can reach technical support promptly when assistance is needed.
To find the version number, license information, website, and contact information from Setup > H3 GrainGage:
- Tap About.
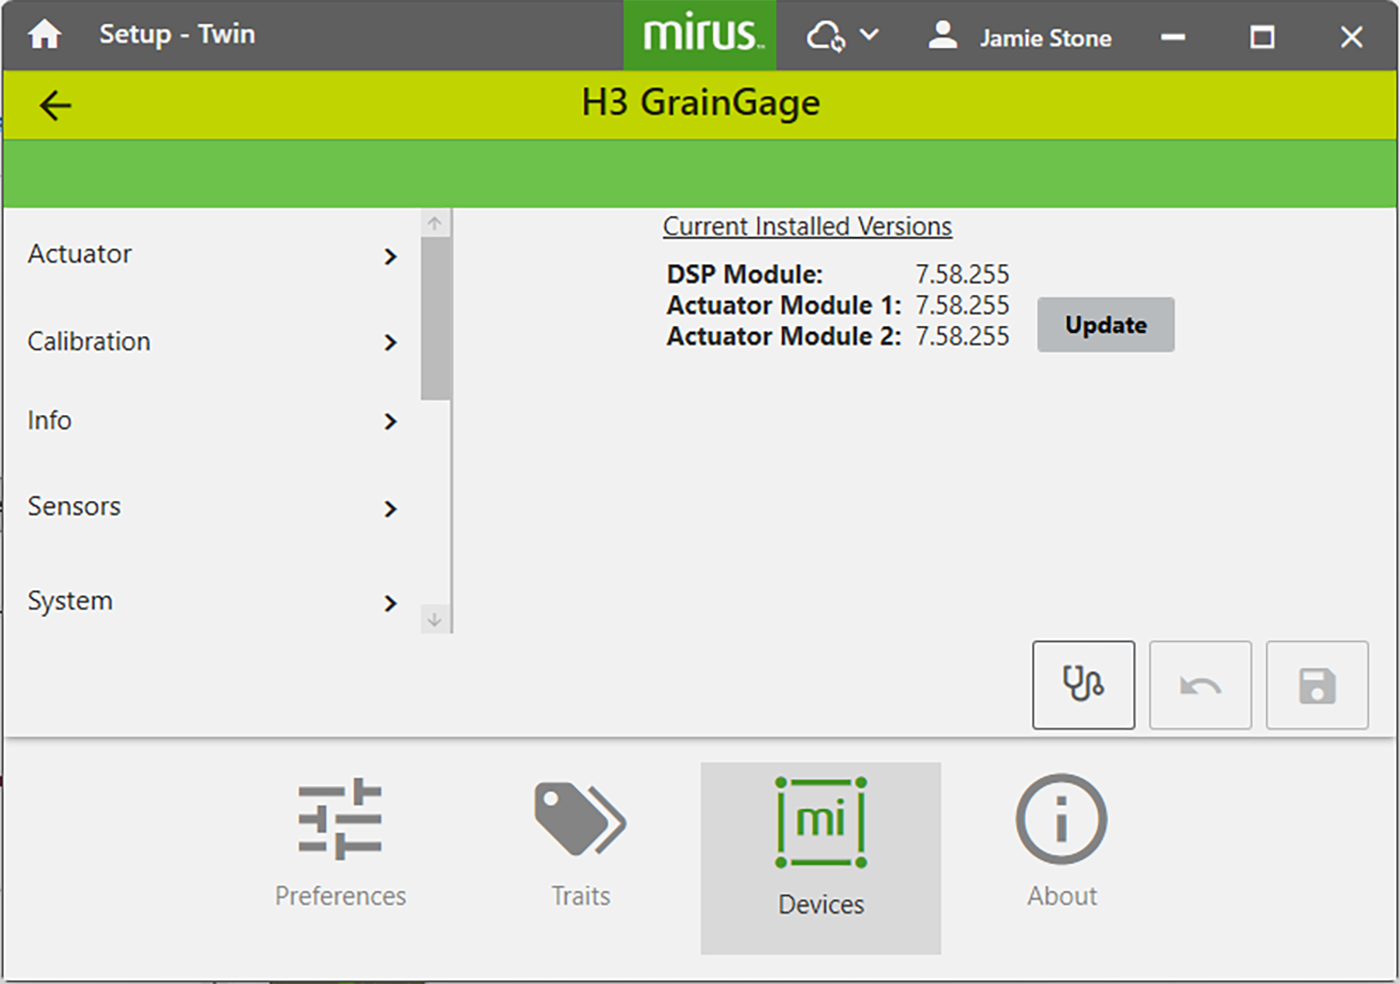
Update the GrainGage Firmware
You do not typically need to update the firmware. It is automatically updated when Mirus is installed. However, if you need to update, it is easy. Reasons to update firmware could include a critical patch, new features, or enhancements that improve performance, expand compatibility, or add functionality to your GrainGage system
From Setup > H3 GrainGage > Firmware, tap Update.