Mirus Installation
The Mirus app operates the H3 Twin GrainGage and runs on a Windows tablet. The H3 Twin GrainGage can use a SCiO sensor to detect the SCiO constituent data or an EM sensor to detect the EM or M2.0 moisture content of the sample.
|
GrainGage Sensor Connections |
||
|---|---|---|
|
GrainGage |
Sensor | Calibration |
|
H3 Twin |
EM |
EM Moisture and M2.0 Moisture |
|
H3 Twin |
SCiO |
SCiO constituent data |
System Requirements
- Operating System: Windows® 11 or higher; 64-bit OS
- Processor Speed: 2.0 GHz Quad Core
- Memory: 8 GB or higher recommended
- Data Storage: 500 MB available disk space for Mirus (maps and logs require additional space)
- Display Resolution: 1280 x 800 or higher
Download and Install Mirus
To download Mirus:
- Go to http://www.harvestmaster.com/support/mirus/downloads.
- Tap Download.
- Follow the installation instructions.
Sign in to Mirus
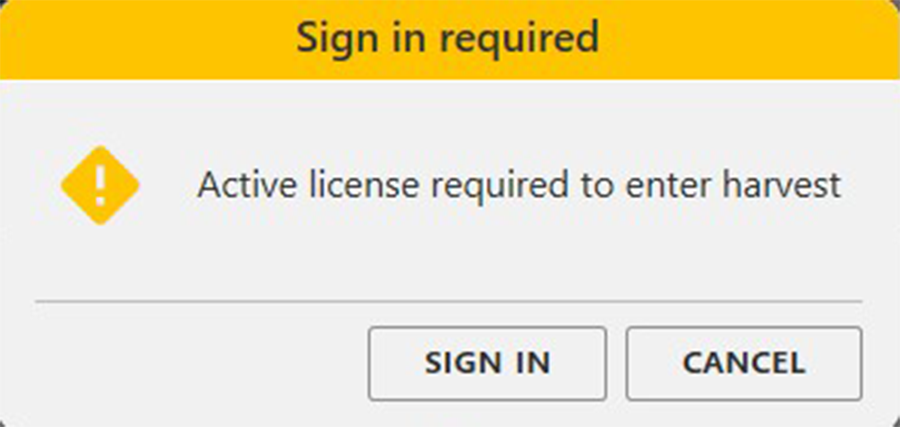
When you collect data, Mirus requires an active license. If you haven't signed in, you will be asked to.
When you sign in, you will use the credentials that were created in one of the following ways:
- Purchase. When you purchase Mirus license(s), directly from HarvestMaster, your account is set up as part of the purchase process.
- Assigned License. If you followed a link in an email to claim a license assigned to you by someone in your organization who purchased and assigned a license to you, your login will be that email address.
When you sign in, you will remain signed in (even when working offline) as long as you are using Mirus. If you do not use Mirus for more than 90 days, you will be prompted to sign in again.
To sign in to Mirus:
- Open Mirus
 and tap Sign in. Or tap Sign in when prompted as you are ready to collect data or connect a GrainGage.
 - Enter your email address and password.

- Tap Sign in.
If you don't have an account, you can select Sign up now.
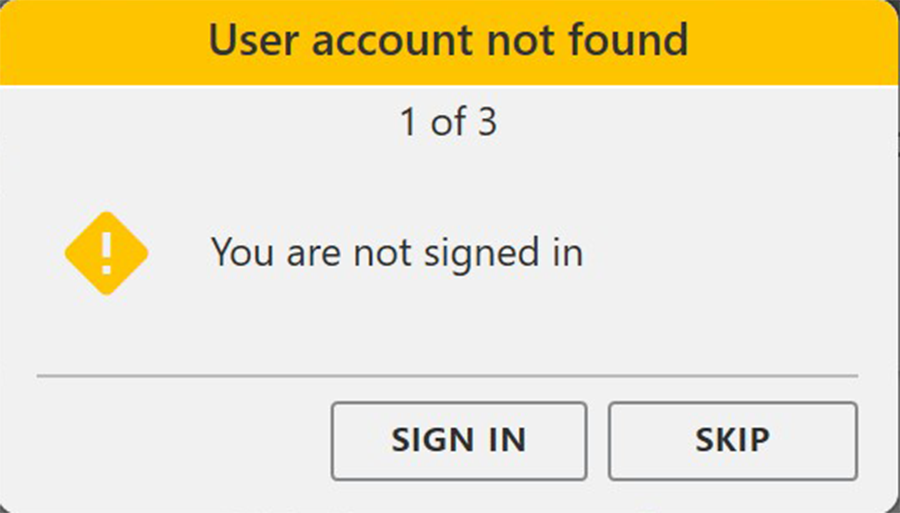
Although you can set your Mirus preferences, set up Mirus, and calibrate Mirus without being signed in (or without a license), you will be prompted to sign in when:
- You connect a GrainGage (Tap Skip to proceed without signing in.)
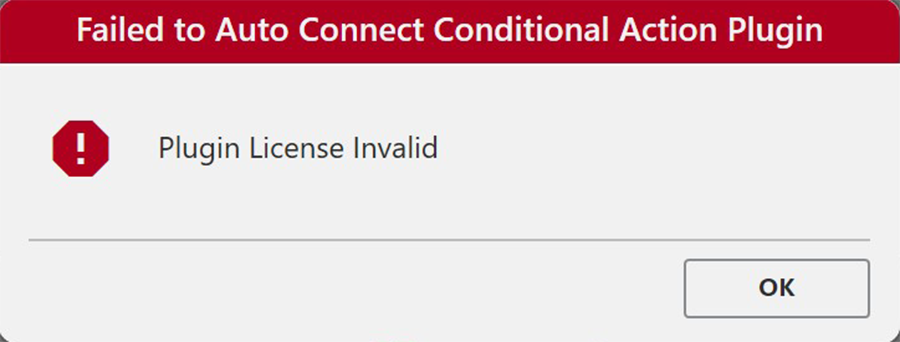
- You connect a plugin (Tap OK to proceed without signing in.)
You must sign in when you collect data, i.e., harvest or take notes.
Enable the H3 GrainGage Plugin
To enable the H3 Plugin,
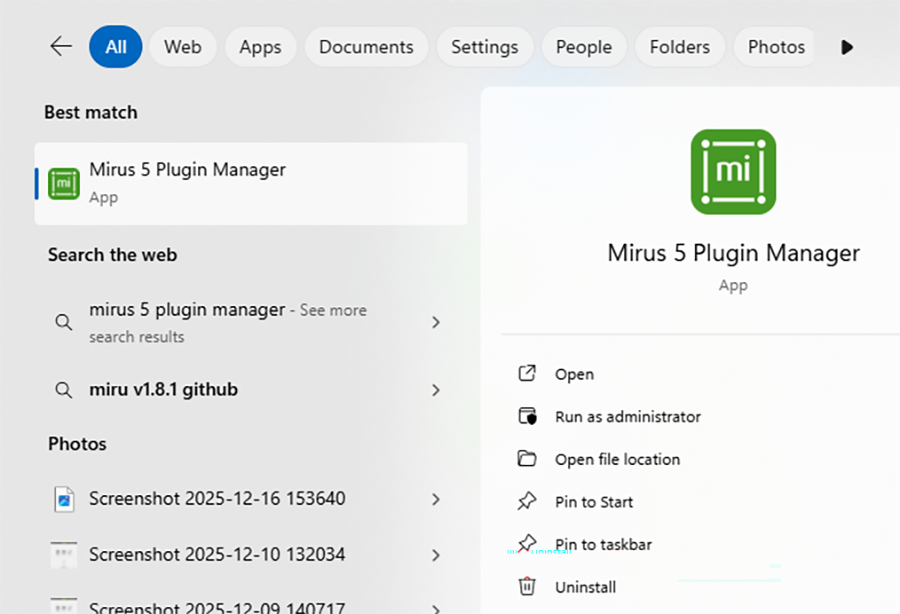
- From the Windows desktop search bar, search for Mirus 5 Plugin Manager.
- From Mirus Plugin Manager, long tap H2 GrainGage, select disable.

- From the Mirus Plugin Manager, long tap H3 GrainGage, select enable.
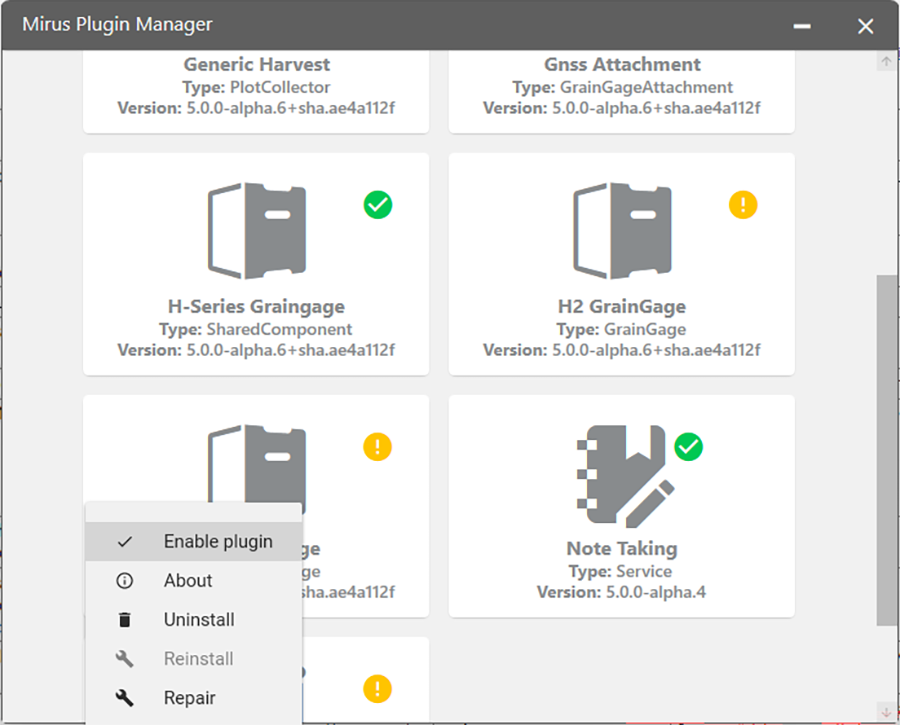
- Close the Mirus Plugin Manager.
Check Mirus Harvest Software annually for updated software.
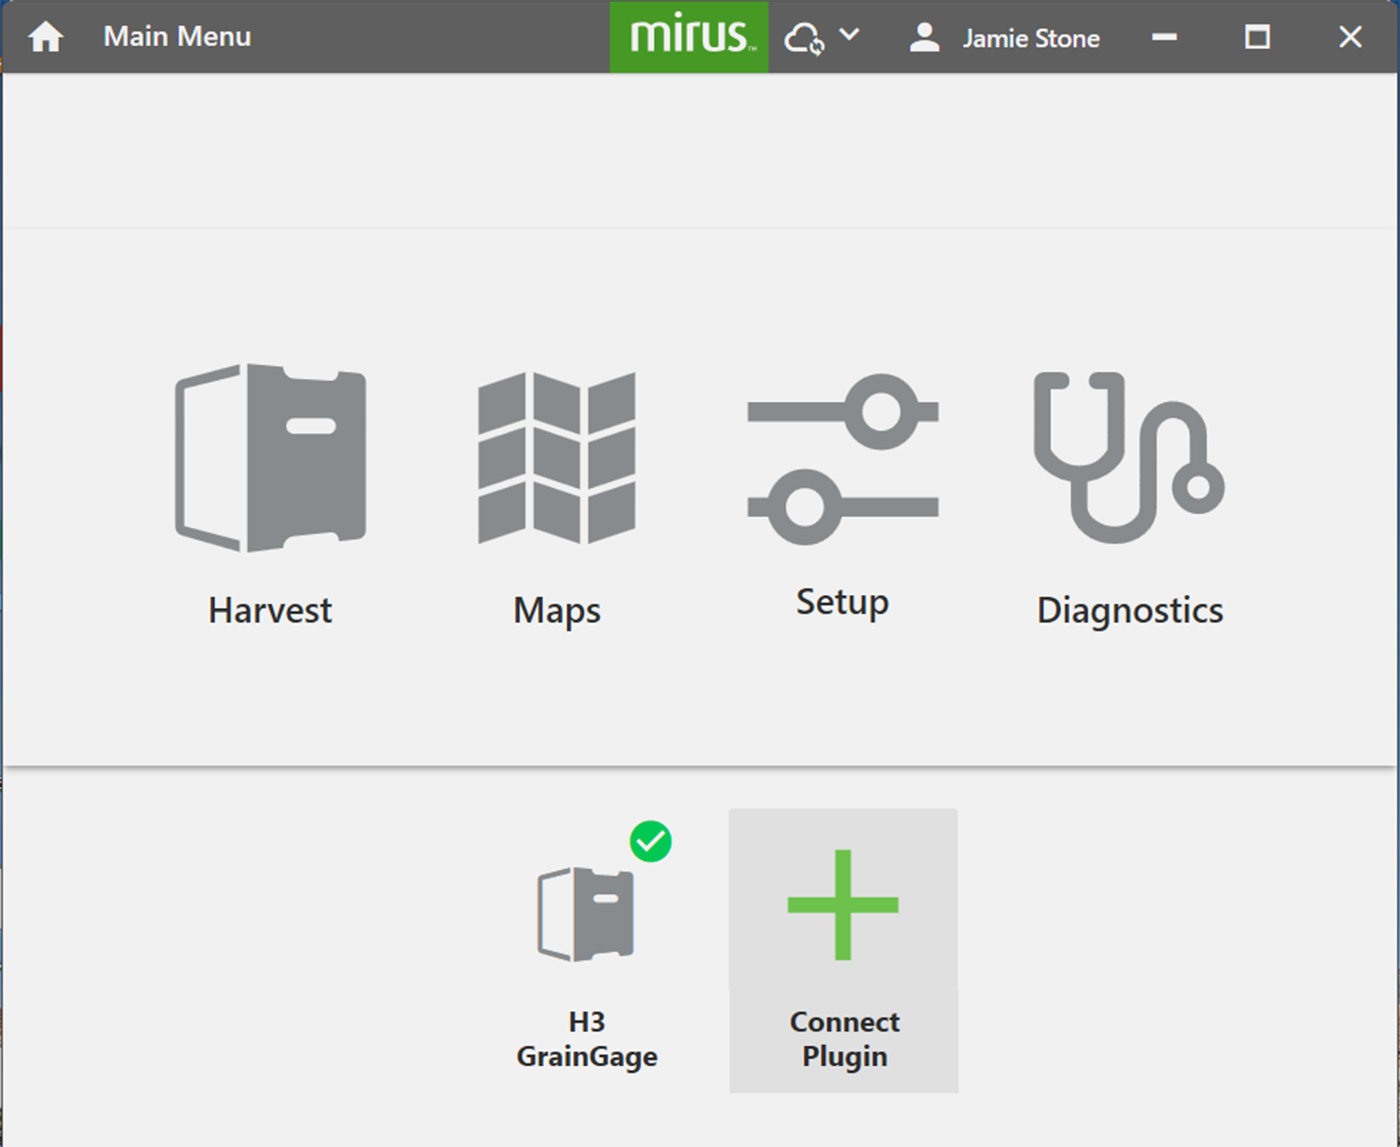
Connect Plugin
The first time that you launch Mirus, you will need to connect a device plugin to match your GrainGage. Depending on your system, you may also connect attachments for additional capacity, such as conditional actions. Once a plugin is connected, Mirus will remember and attempt to connect. The steps for connecting a plugin (device or attachment) are the same.
To connect a plugin:
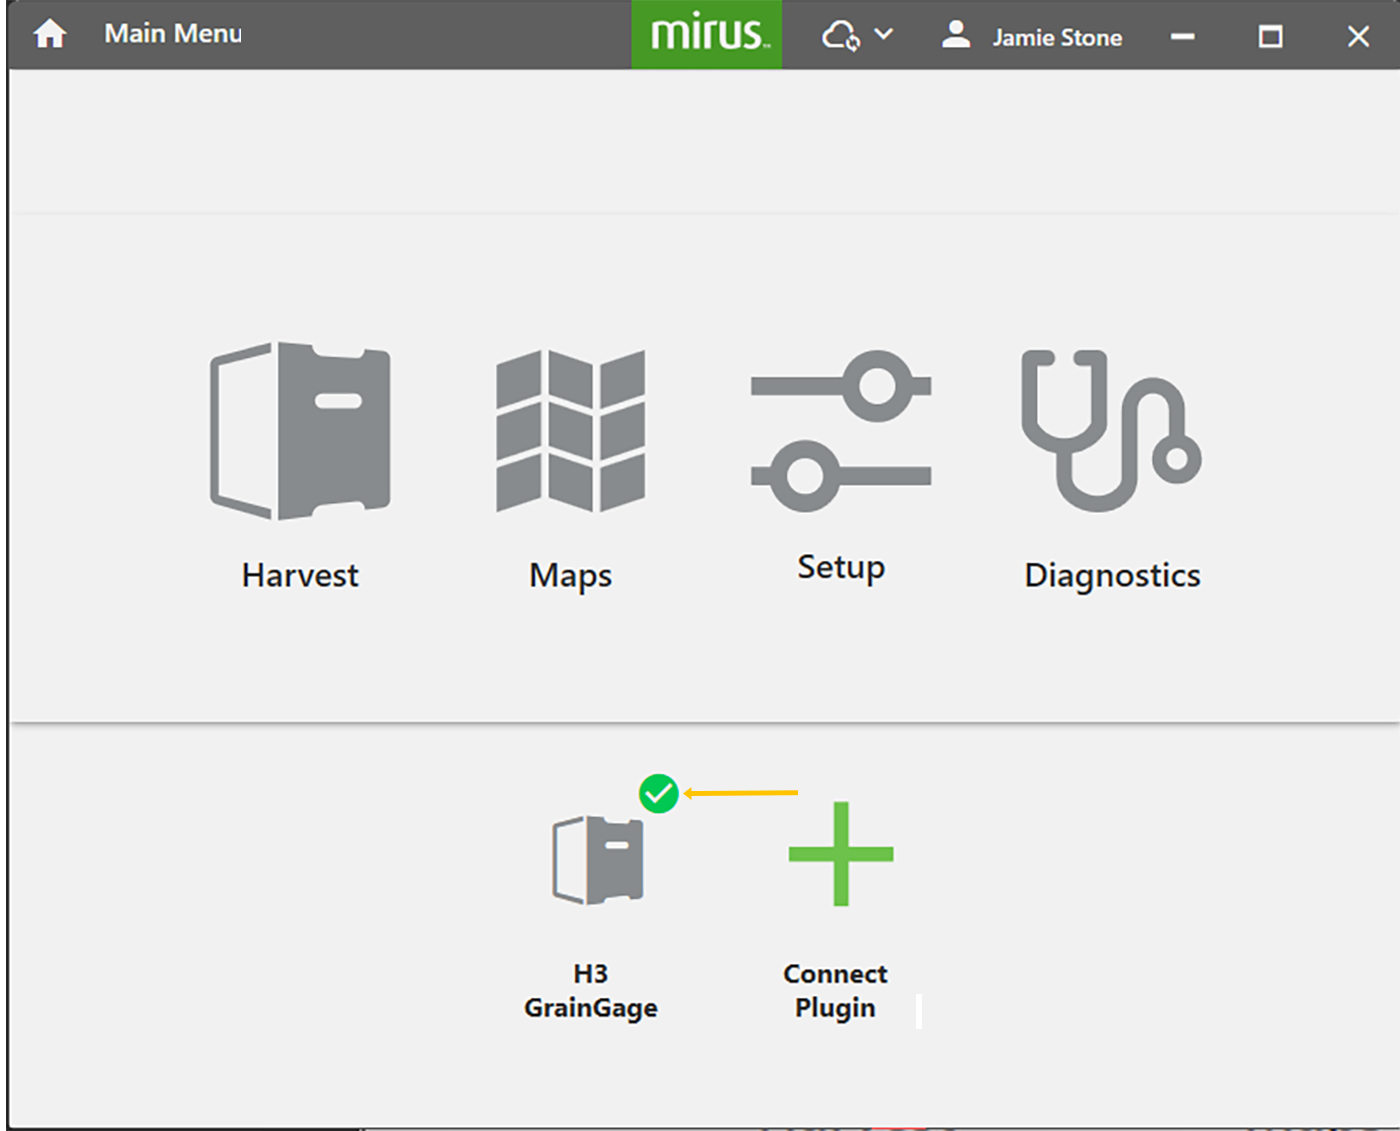
- Tap Connect Plugin.
- Select the device (GrainGage) or attachment (Conditional Action) that you want to connect.
If you are connecting an attachment, tap attachments to display the attachments.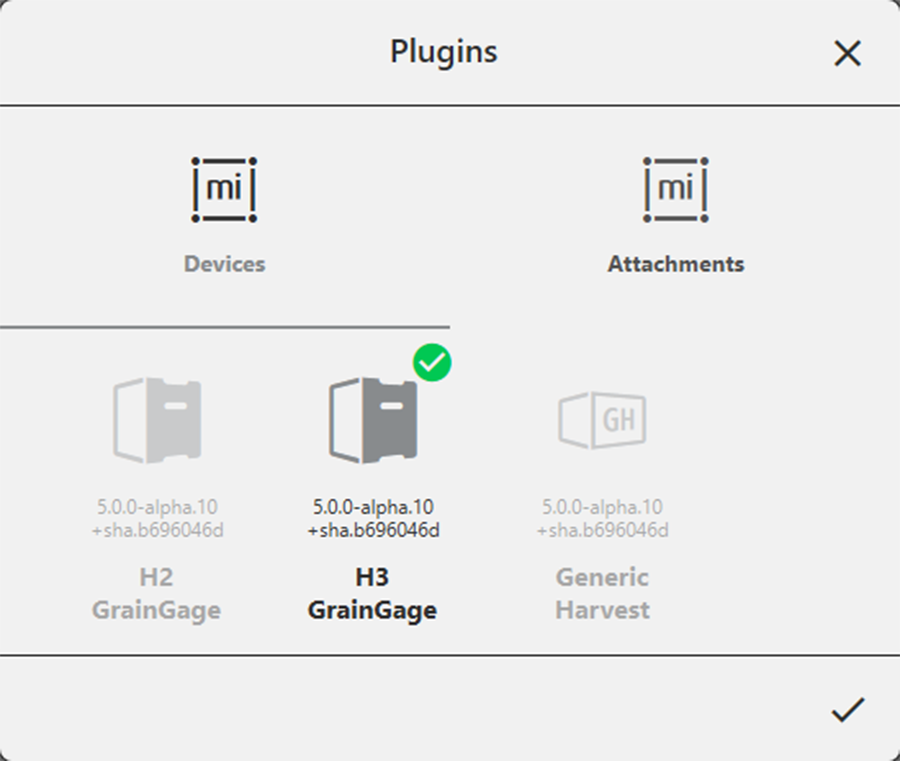
- Tap
 .
.
When the plugin is connected, it will show on the Home screen with a green check mark.