Appendix B: Troubleshooting Mirus
Error Logs
Error logs are used by HarvestMaster Engineers to pinpoint the problem occurring in Mirus.
Flag Errors
When experiencing an error, in Mirus version 4.3.0 and later, you can flag the error for the HarvestMaster Engineers. When an error has been flagged, the engineers can find it easily within the error logs.
- Use F5 to flag the error in the error log.
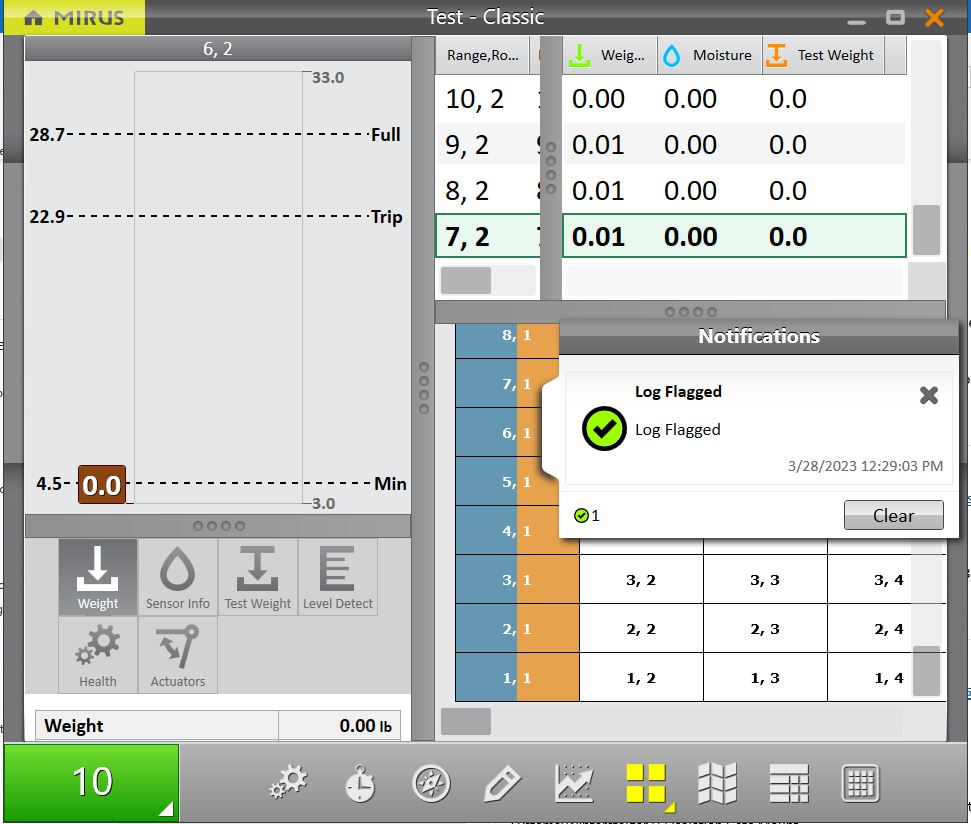
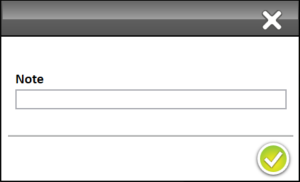
- Use F6 to flag and leave a message in the error log.
Find and Send Error and Backup Logs
After an error has occurred, copy the error and backup log files as soon as possible to send to the HarvestMaster Field Service Engineers.
If you do not copy the error log files right after the error occurs, it will be harder to find the point of error or the error might get overwritten with newer error files.
To find and send the error and backup logs to the HarvestMaster Field Service Engineers,
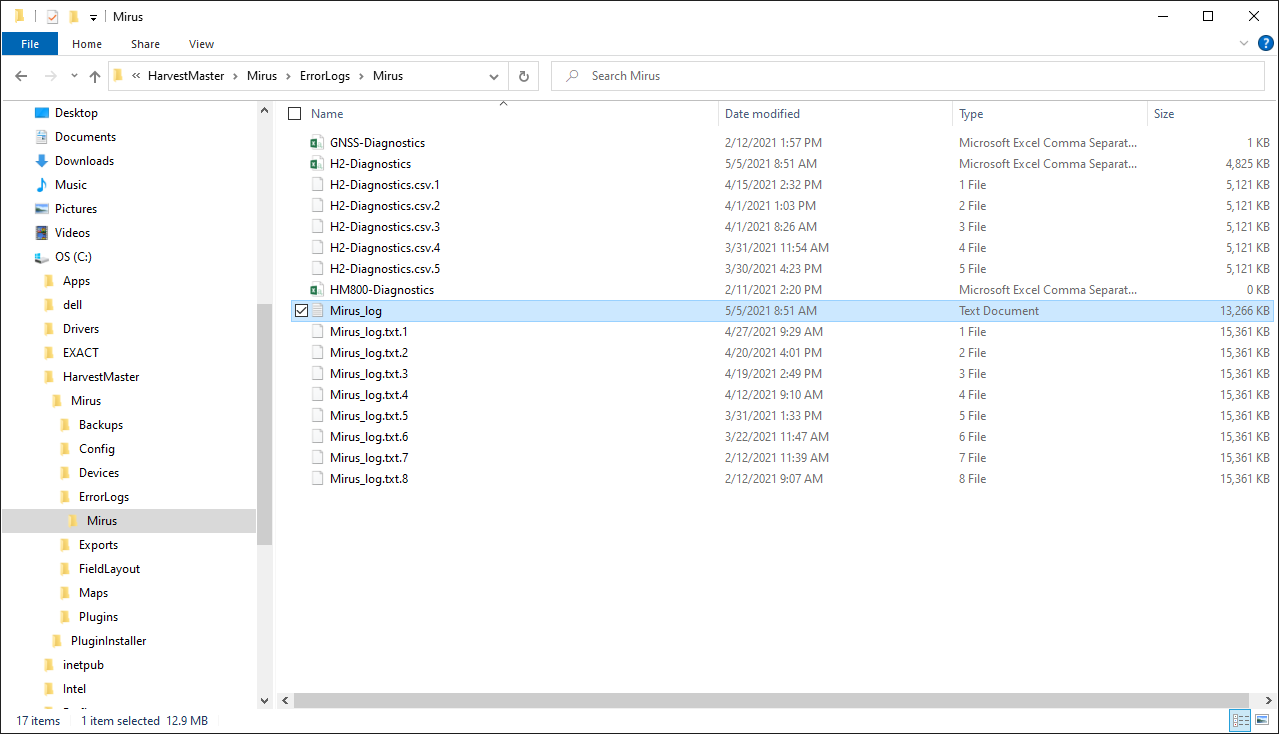
- Open File Explorer on your device.
- Go to C:\HarvestMaster\Mirus\Errorlogs\Mirus and C:\HarvestMaster\Mirus\Backups.
- Send the Mirus_log text document and the relevant map file to the HarvestMaster Field Service Engineers.
SCiO Sensor Errors
|
SCiO Sensor Errors |
||
|---|---|---|
|
Error Message |
Possible Reasons for Error | Possible Resolutions |
|
Outlier |
Sample exceeds the calibration spec (unique variety/out of supported parameter range/out of supported sample temperature range/etc.) |
Sample exceeds the calibration spec (unique variety/out of supported parameter range/out of supported sample temperature range/etc.) |
|
Sample Reflectance is Too Weak |
Test chamber was empty (no grains) during the scanning |
Make sure there is no timing issue:
|
|
Malfunctioning light source |
Run a self test when available. |
|
|
Temperature is Out of Supported Range |
Sensor temperature exceeds the allowed range of -10°C to 60°C |
Wait until the sensor temperature warms (if it was too cold) or cools (if it was too hot) and run the sample again. |
|
Invalid Scan |
Electronic problem resulting in a spectrum that is not valid |
|
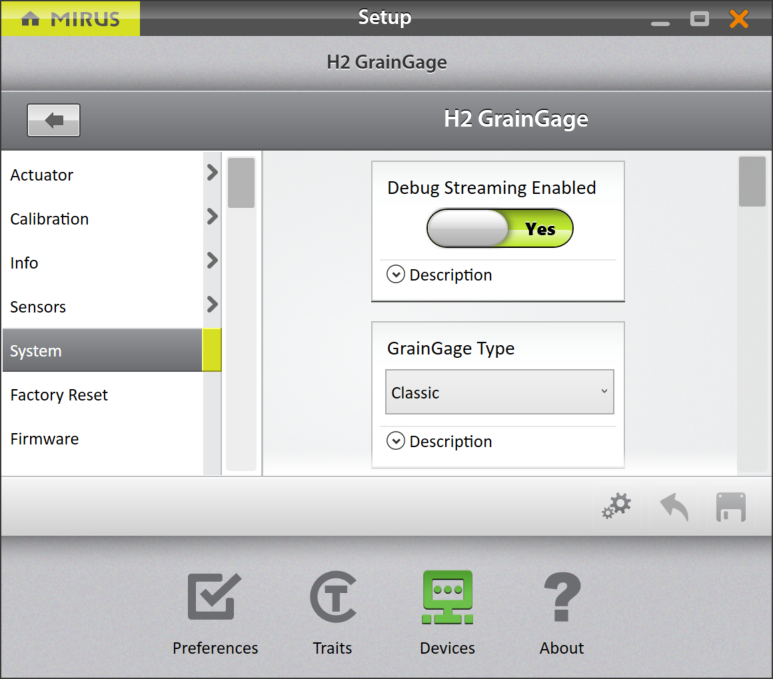
Enable or Disable Debug Streaming
This option enables debug streaming messages from the DSP module. This option is on by default and HarvestMaster recommends leaving it on for troubleshooting purposes.
To find the debug streaming option,
- Enter the Mirus Home screen.
- Select Setup > H2 or H3 GrainGage > System.
Common Errors
Inaccurate Plot Weight
If weight values are inaccurate, open Diagnostics and follow the steps listed below.
- Ensure the weigh bucket of the GrainGage is in the tracks.
- Clean inside the bucket, around the bucket, and around the load cells of the GrainGage with compressed air.
- Ensure there is nothing putting positive or negative tension on the weigh bucket/load cells (air hoses, cables, overload protection pin, etc.).
- Apply negative and positive pressure to the bucket while watching the weight values in Diagnostics. Remove the pressure to ensure the weight returns to zero. Do this several times to ensure repeatability.
- Put the HarvestMaster calibration weight in the bucket with the top gate closed and check it against the calibration weight in Diagnostics.
- Check to ensure the Load Cell 1 millivolts and Load Cell 2 millivolts move when weight is applied and are stable when static.
- If a problem is identified with one load cell from step 6, try swapping Load Cell 1 with Load Cell 2 at the DSP module to see if the problem follows the load cell or the port on the module.
- If the problem persists, contact the HarvestMaster Field Service Engineers. For contact information, see Contact a HarvestMaster Field Service Engineer.
Inaccurate Test Weight
- Clean inside and around the test cup. Clean around the load cell and overload protection pins with compressed air.
- Check the overload protection pins by applying around 5 lb (2.3 kg) of downward and upward pressure to the cup while watching the readings change in Mirus.
- Check to ensure air pressure remains above 75 PSI (5 bar) when cycling GrainGage.
- Check the airflow through the air valves to ensure enough flow to quickly close the gates and raise/lower the separator.
- Remove the air pressure and lift the separator up by hand to ensure it is not binding.
- If the problem persists, contact the HarvestMaster Field Service Engineers. For contact information, see Contact a HarvestMaster Field Service Engineer.
Inaccurate Moisture or Constituent Data
- Check to ensure you are meeting the minimum weight threshold (see section below).
- Inspect and clean the moisture blade or SCiO sensor glass dome.
- Touch the blade while watching the change in moisture readings within Diagnostics.
- Check moisture temperature to ensure it is within 5–10 degrees of the ambient air temperature.
- Check the supply voltage to ensure it is between 12 and 14 volts.
- Check to ensure the moisture blade and sensor mounting screws are secure.
- If the problem persists, contact the HarvestMaster Field Service Engineers. For contact information, see Contact a HarvestMaster Field Service Engineer.
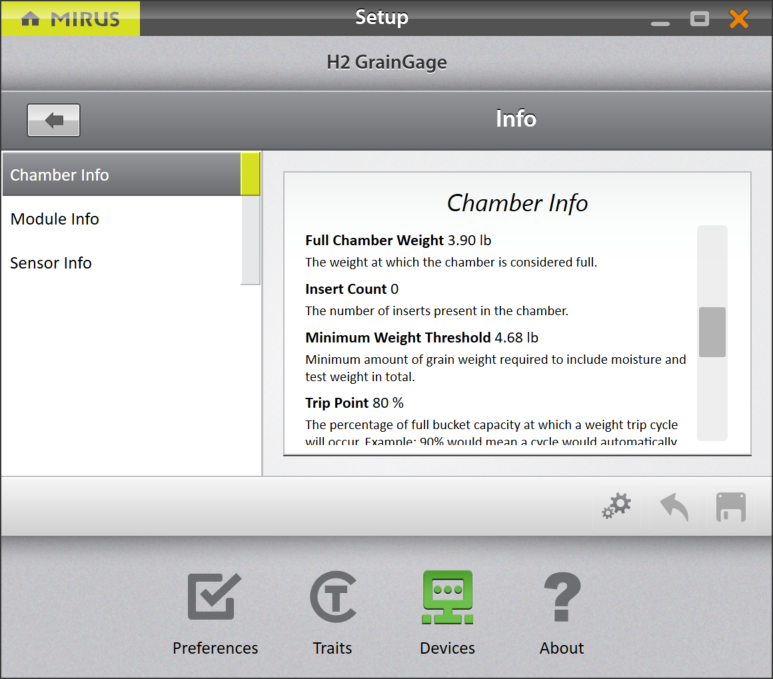
Not Meeting Minimum Weight Threshold
The minimum weight threshold is the minimum amount of grain required for accurate moisture and test weight data. By default, if the minimum weight threshold is not met, moisture and test weight data will be recorded as zero and/or not included in the plot average when taking sub-samples.
To ensure the plots are yielding enough grain to measure accurate data,
- Go to Setup > Info > Chamber Info.
- If the minimum weight threshold value is outside 2–6 lb., recalibrate the test weight for the chamber calibration.
- If you are not harvesting enough grain to meet the minimum weight threshold, install low yield inserts and recalibrate the chamber. For more information about low yield inserts, see the H2 Classic GrainGage Hardware Manual.
- If installing low yield inserts doesn’t work, you can either lower the chamber head room or override the minimum weight threshold. If you do this the test weight measurements should be verified. For more information, see Contact a HarvestMaster Field Service Engineer.
Can’t Connect to GrainGage
- Ensure the System Controller is turned on and you have power to all the modules.
- Check there is a solid green power light, flashing yellow status light, and no flashing red light on each of the modules.
- Ensure all the cables are properly connected.
- A USB or serial cable between the tablet dock and the System Controller.
- A CAN cable between the System Controller and the GrainGage.
- Unplug the USB or serial cable from the dock and plug it directly into the tablet to check if the dock is dysfunctional.
- Ensure the GrainGage plugin is enabled. For instructions on how to enable the plugin, see Connect to the GrainGage Plugin.
- Shutdown and reboot the tablet. Turn off the System Controller and leave it off for 30 seconds. Then turn it back on and attempt to connect.
- Unplug the CAN and power cables on the modules, leave them for 30 seconds, then plug them back in and attempt to connect.
- If the problem persists, contact the HarvestMaster Field Service Engineers. For contact information, see Contact a HarvestMaster Field Service Engineer.
Tare Warnings
CAUTION: Do not re-tare the system without knowing what is causing the tare warning.
A tare warning can be prompted for the reasons explained in the table below.
|
Tare Warnings |
|
|---|---|
|
If |
Then |
|
Debris is in the bucket or test chamber. |
Check the bucket and test chamber to ensure that there is nothing remaining (grain, debris, trash, etc.). |
|
Positive or negative tension is on the weigh bucket or load cells. |
Move any air hoses, cables, or overload protection pins putting tension on the weigh bucket or load cells. |
|
Leftover grain is in the weigh system. |
The evacuation time is not long enough for the grain to fully empty out of the GrainGage. • Go to Setup > Sensors > Weight > Evacuation Time. • Lengthen the evacuation time by 500 milliseconds. • Harvest another plot and check again. |
|
Tare warning values have been adjusted. |
Restore the values to the default setting. See the Weight Sensors Settings. |
If the problem persists, contact the HarvestMaster Field Service Engineers at the number in Contact a HarvestMaster Field Service Engineer.
Contact HarvestMaster
Instructional Content
Visit the HarvestMaster YouTube channel and the HarvestMaster Support page for instructional videos and help articles on Mirus and the GrainGage.
This instructional content includes (but is not limited to):
- M2.0 Calibration
- Recalibrate Traditional Moisture Curve to the New M2.0 Model in Mirus 4.3.0
- Mirus Overview
- Weight Tare Warnings
- Errors on Power Up with Mirus
- Mirus Locks Up
- GrainGage Will Not Connect
Contact a HarvestMaster Field Service Engineer
Phone Number: 435-753-1881
Email: hmtechsupport@junipersys.com
Address: 1132 W 1700 N, Logan, UT 84321