Install the GNSS Plugin
The Mirus GNSS plugin allows you to apply geospatial technology to a variety of field research programs like field mapping, plot measurement, data collection, and plot navigation. The plugin can be used within Mirus to enhance your research notes or map out your research sections within larger fields. Alternatively, when a GrainGage is connected, the plugin can be used as an attachment in Mirus to add GNSS locations to your harvest data.
Requirements for GNSS Plugin 2.1.1 or Later
- Mirus 4.6.3 or later
- Mapping or Survey grade GNSS receiver connected to a tablet running Mirus through a serial port or USB port
Note: The accuracy of the points in your maps is dependent on the accuracy of the GNSS receiver.
The Alvo Field Applicator plugin version 2.0.1 requires Mirus 4.6.3 and GNSS plugin 2.1.1. GNSS plugin version 2.0.0 is compatible with Mirus 4.2.3 or later.
Activate the GNSS Plugin
After you have purchased a license for GNSS plugin,
- Go to https://www.harvestmaster.com/support/article/14648.
- Tap the download icon
 for GNSS Attachment.
The files automatically download.
- Tap the file
 to install the plugin.
 - Follow the installation instructions.
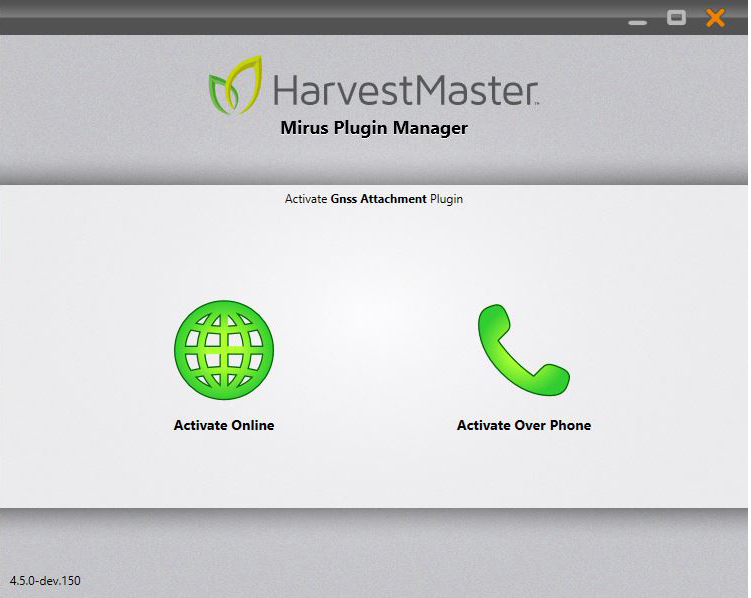
- When you see the Mirus Plugin Manager Activate GNSS Plugin screen, select Activate online or Activate over phone. In either case, you will need to provide the serial number from your registration card. The registration card was mailed to you when you purchased the GNSS plugin.
If you choose to activate online, first tap Activate Over Phone and write down the registration number displayed.
- HarvestMaster will send the unlock code via email.
- Return to the Activate GNSS Attachment screen and input the unlock code.
Connect Your Receiver
- Double tap the Mirus icon
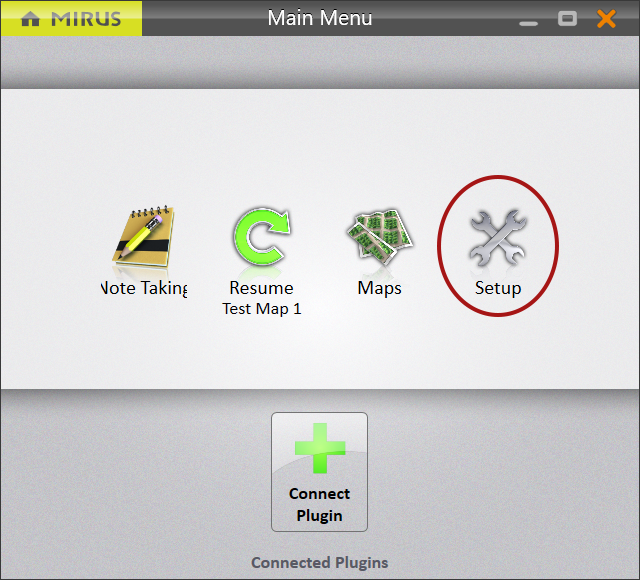
 on your Windows desktop. Mirus opens the Main Menu screen.
 - Disconnect any plugins.
- Tap Setup.
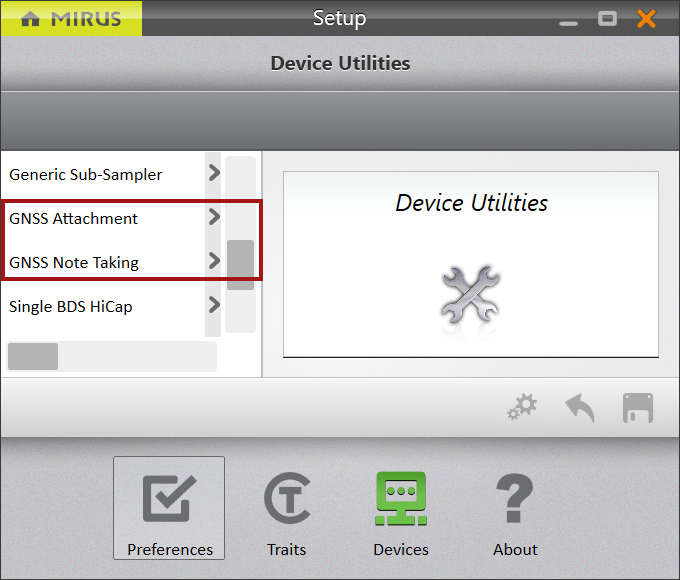
- Scroll and tap GNSS Attachment (if you will be using with a GrainGage, Alvo Field Applicator, or Cone Planter) or GNSS Note Taking (if you will be using without a GrainGage).
- Follow the instructions in Use the GNSS Port Detector.
Connect the GNSS Plugin
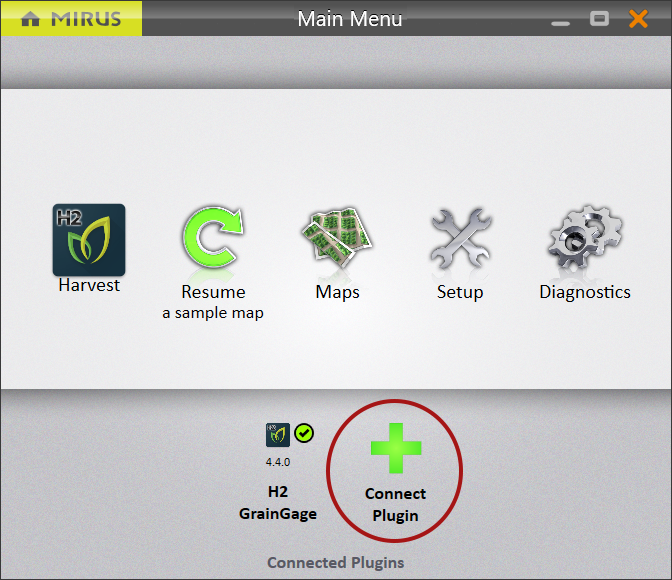
On the Home screen,
- Tap Connect Plugin.
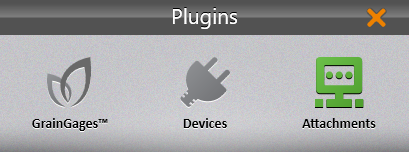
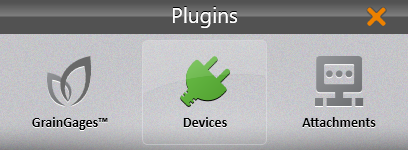
When you connect the GNSS plugin in Mirus:- Choose Attachments when you have a GrainGage, Alvo Field Applicator, or Cone Planter connected and want to use the GNSS locations with harvest applications.
- Choose Devices when you do not need the GrainGage, Alvo Field Applicator, or Cone Planter to complete your task, such as recording research notes or laying out a research section within a larger field.
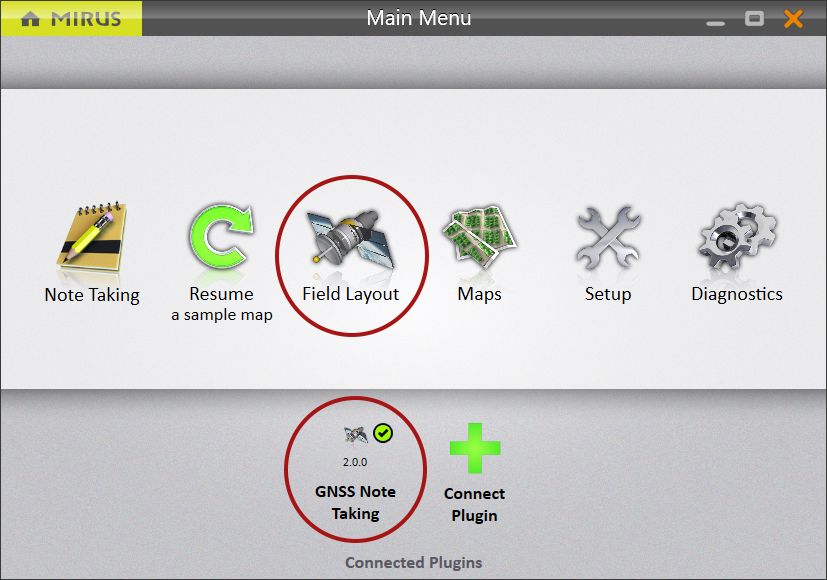
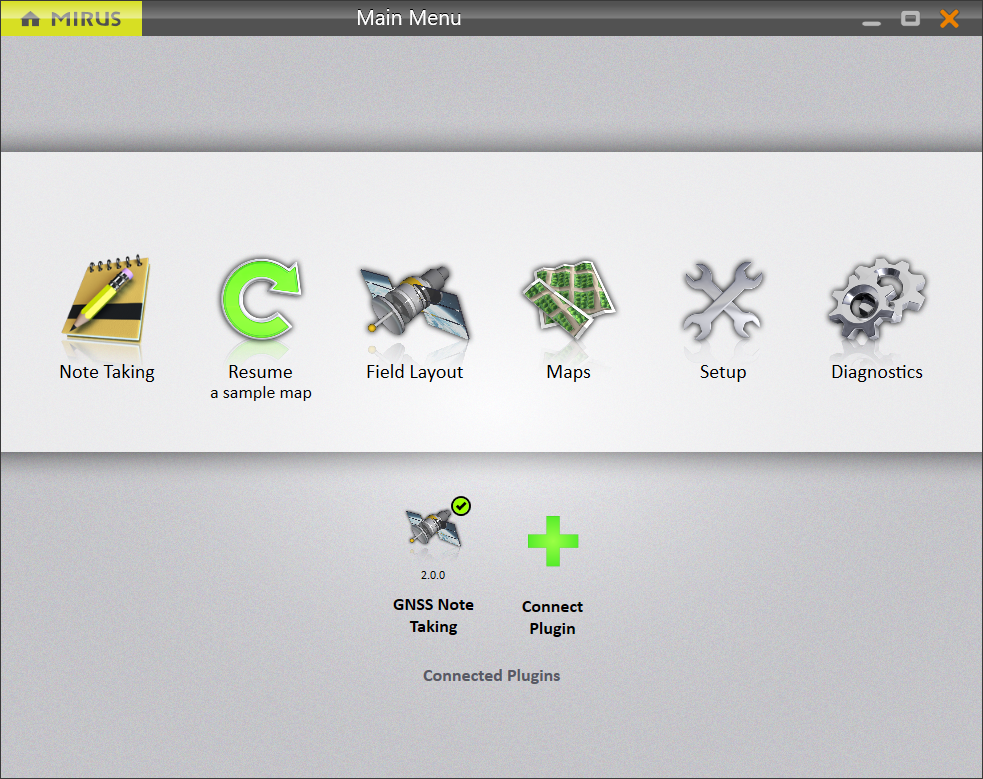
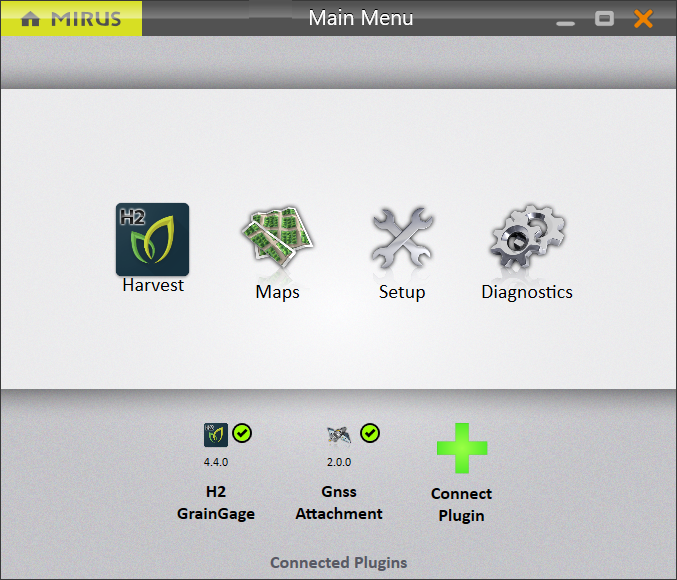
Once the plugin is activated, you will see it on the Main Menu screen with a green check mark.
Add the GNSS Plugin to Mirus as an Attachment
- Open Mirus.
- Tap Connect Plugin.
Note: You must have a GrainGage plugin connected.
- Tap Attachments.
- Tap GNSS Attachment.
- Tap the check icon
 .
.
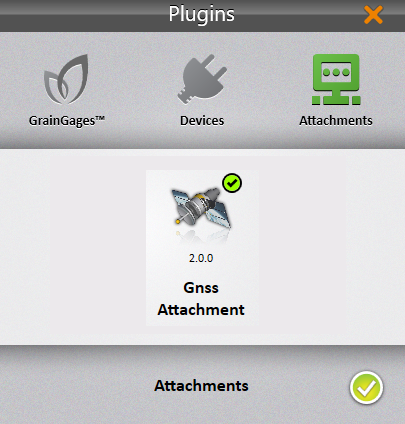
- Return to the Main Menu. The GNSS Attachment is displayed with a green check mark.
Add the GNSS Plugin to Mirus as a Device
- Open Mirus.
- Tap Connect Plugin.
Note: You cannot have a GrainGage connected. - Tap Devices.
- Tap GNSS Note Taking.
- Tap the check icon .
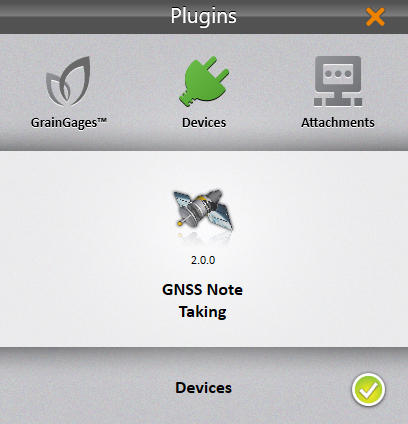
- Return to the Main Menu. GNSS Note Taking is displayed with a green check mark, and Field Layout is added to the menu items.