Adjust GNSS Related Details
Whether you use the GNSS plugin to add location details to your harvest data with the GNSS Attachment or to take notes with the GNSS Note Taking device, each category includes a variety of settings that you can modify.
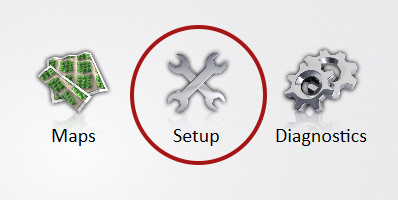
On the Home screen,
- Tap Setup.
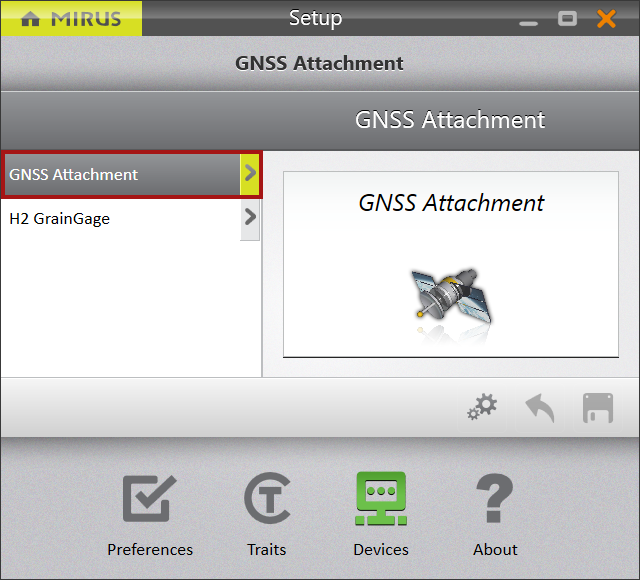
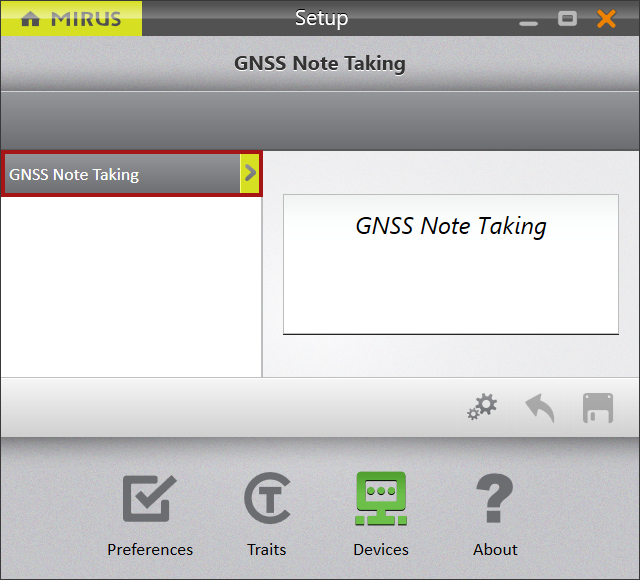
- On the Setup screen, tap GNSS Attachment or GNSS Note Taking.
|
|
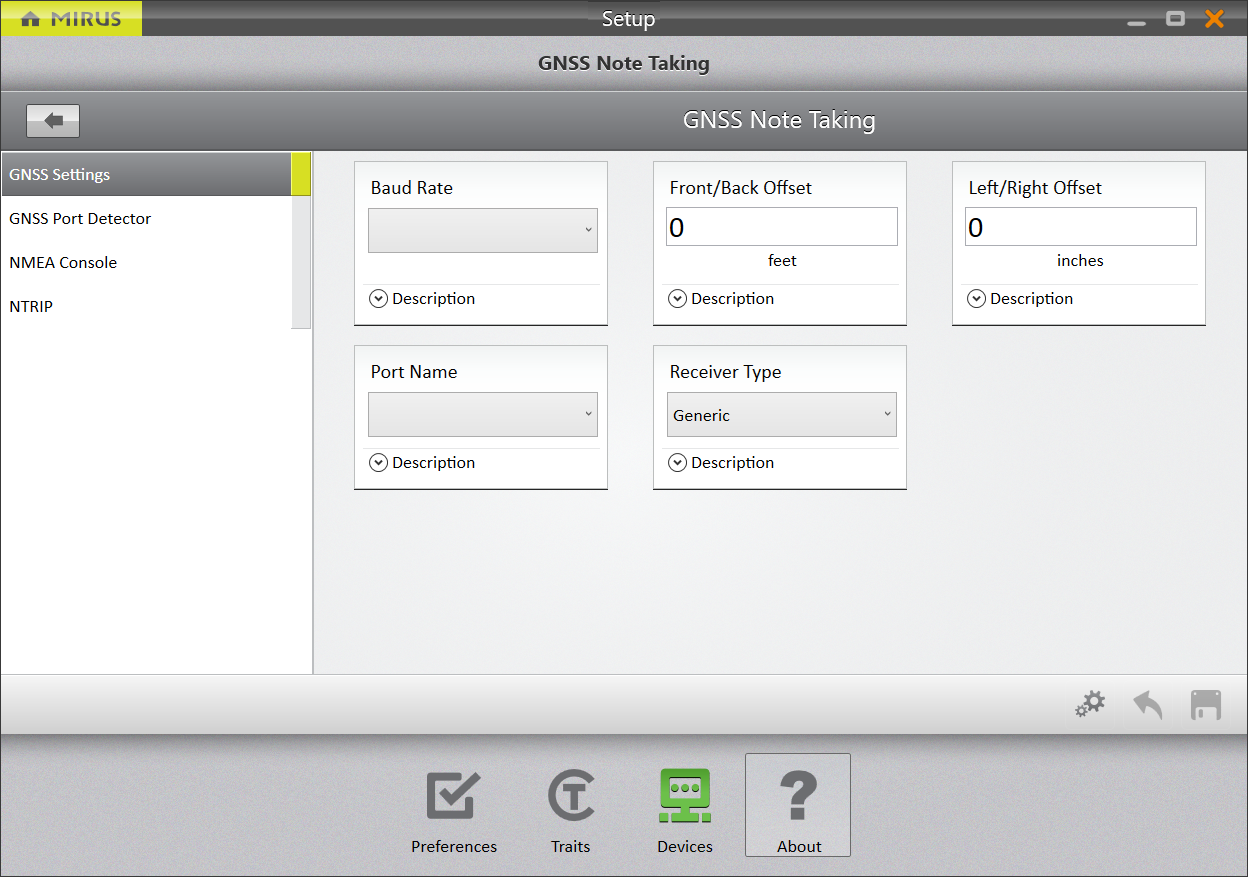
Adjust GNSS Settings
On the Setup > GNSS Attachment or GNSS Note Taking screen,
- Tap GNSS Settings.
- Configure the GNSS Settings as desired.
|

|
The following table explains the details you can control from the GNSS Settings screen.
| GNSS Settings Screen | |
| Setting | Description and Options |
| Additional Trip Action* |
Set up an additional action performed for an event.
|
| Baud Rate | Define the communication speed, in bits per second, to be used with the serial port. The rate is automatically set when you run the port detection tool. (See Use the GNSS Port Detector.) To change the baud rate, select it from the dropdown list. |
| Collection Type* |
Define how or when the GNSS position(s) will be collected for a plot during harvest.
|
| Communication Delay* | Under typical conditions GNSS signal, cable, and amplifier delays are negligible. However, if an operator wanted to compensate for a communication delay, this field allows that. The units of measure are in milliseconds. |
| Front/Back Offset | Enter the distance between the GNSS antenna and the reference point of the equipment. The reference, such as the deck plates of a corn head, seed tubes of a planter/drill, or boom 1 of sprayer. Use positive numbers for equipment placed in front of the GNSS antenna. Use negative numbers for equipment located behind the GNSS antenna. |
| Left/Right Offset | Enter the distance between the GNSS antenna and the center line (laterally) of the equipment swath. Use positive numbers for equipment to the right of the antenna and negative numbers for equipment to the left of the antenna. Right and left are determined by the driver facing the direction of travel. |
| Port Name | See the port Mirus uses to make a serial connection to the GNSS receiver. The port is set automatically by the GNSS Port Detector. (See Use the GNSS Port Detector.) |
| Receiver Type | Set the receiver type to Performance NMEA for optimal results. |
| Trip Origin* |
Set the trip origin to Offset Position for normal operation. Mirus will record the beginning of a trip or trip point if using distance trip when the GNSS receiver crosses the point identified in the center of the alley. With Offset Position, Mirus will begin the trip when the attachment (such as, cone planter, sprayer head, combine cutter bar) crosses the center of the alley or trip point if using distance trip. With the Antenna setting, Mirus will begin the trip when the antenna of the GNSS receiver crosses the center of the alley or trip point if using distance trip. |
*GNSS Attachment only
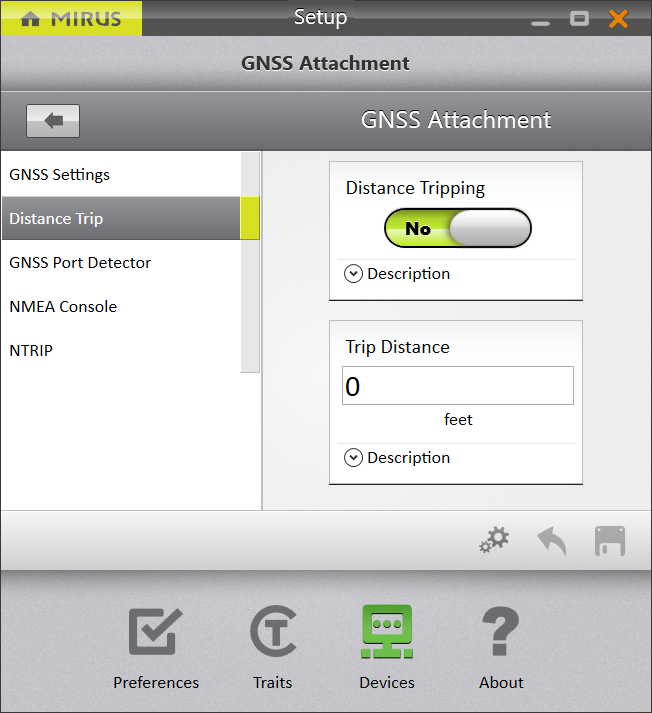
Turn On Distance Trip
The Distance Trip screen is only available with harvest applications using the GNSS Attachment. You will not see this option if you are taking notes.
On the Setup > GNSS Attachment screen,
- Tap Distance Trip.
Mirus opens the Distance Trip screen. Enable Distance Tripping and configure Trip Distance, if needed.
Note: When using a GrainGage, set the trip distance to trip before the trip point of the GrainGage. This will ensure an accurate weight per distance measurement.
The following table explains the Distance Trip settings.
| Distance Trip Screen | |
| Setting |
Description and Options |
| Distance Tripping |
By default, Distance Tripping is set to “No”. When set to “Yes,” Mirus will start a new cycle after the GrainGage has traveled a specific distance. Each cycle will record the GNSS location. Use Distance Tripping to trigger a cycle using the GNSS attachment and position data while in Strip Mode. |
| Trip Distance | Enter the distance that the combine will travel before the new cycle begins. (Distance Tripping must be set to “Yes.”) |
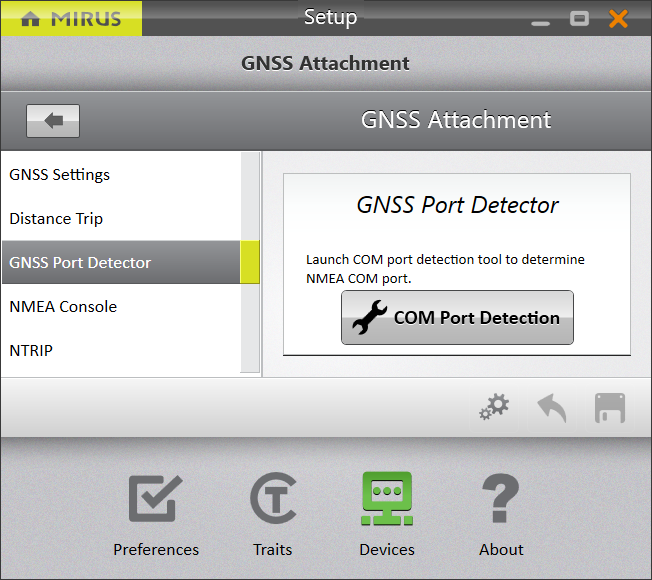
Use the GNSS Port Detector
The GNSS Port Detector will automatically detect the serial COM port used by the attached GNSS receiver to transmit NMEA data.
On the Setup > GNSS Attachment or GNSS Note Taking screen,
- Tap GNSS Port Detector > COM Port Detection.
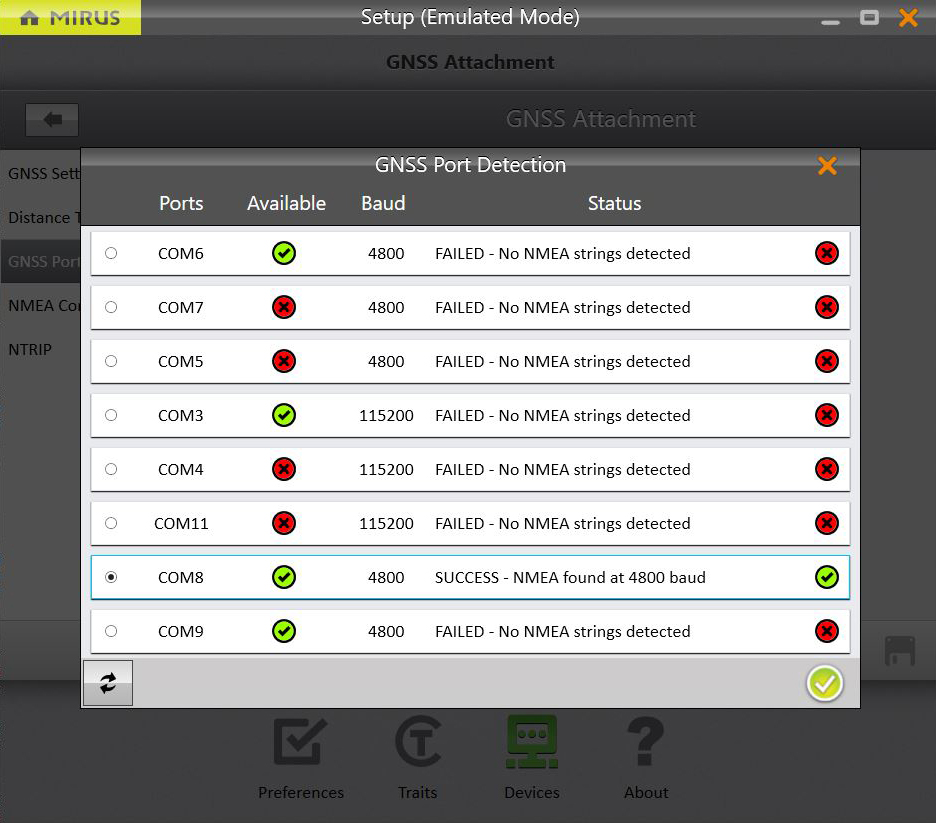
Mirus opens the GNSS Port Detection box and detects the ports.
When the COM port detection is completed, you will see the name of each port, its availability, the baud rate through each port, and the status of NMEA messages. The port in use is indicated by the selected radio button.
If you want to use a different port,
- Select a port for the receiver to use.
Note: The first time you use the GNSS plugin, you will select the receiver that you want to use.
- Tap the check icon
 to apply the selected port.
Access the NMEA Console
You can view the incoming NMEA messages from the NMEA Console screen.
On the Setup > GNSS Attachment or GNSS Note Taking screen,
- Tap NMEA Console.
Mirus displays the NMEA Console.
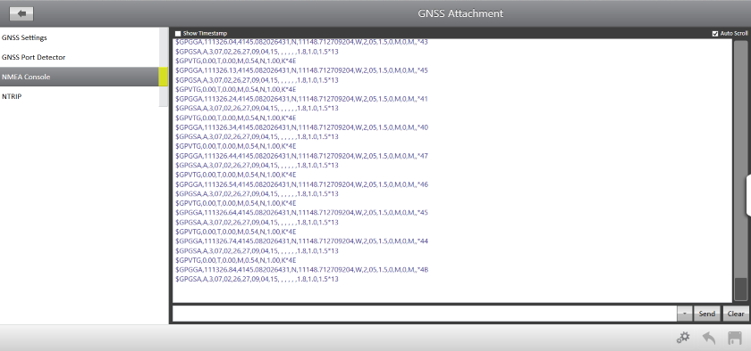
Use the text entry field to send commands or messages to the GNSS receiver. For a comprehensive list of commands and messages that can be used to configure your GNSS receiver, please refer to the technical documentation provided by the manufacturer of the receiver.
There are two commands available from the dropdown menu:
- HIDE LOG will cause the incoming messages to stop being displayed and clear your screen making it easy to see the response to a message.
- SHOW LOG will display the incoming messages.
Connect to NTRIP Service
NTRIP (Networked Transport of RTCM via Internet Protocol) is used to increase the accuracy of GNSS positioning. It uses the internet to fine tune positioning by comparing the known location of a base station with the moving location of a rover. Using an NTRIP service will allow you to achieve a much higher level of accuracy in your GNSS locations.
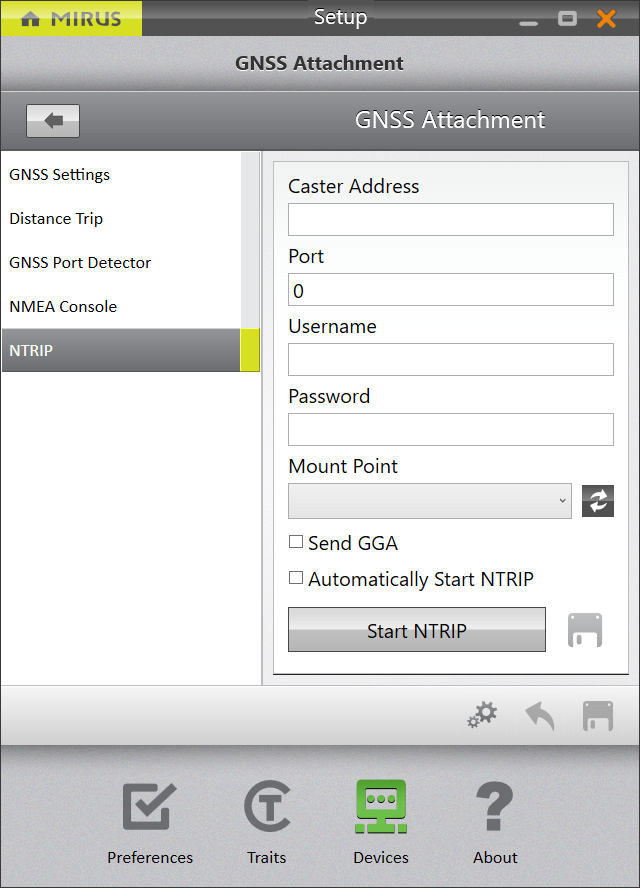
If you have a subscription with an NTRIP service, use the NTRIP screen to enter the address, port, and credentials necessary to connect to the NTRIP caster.
On the Setup > GNSS Attachment or GNSS Note Taking screen,
- Tap NTRIP.
- Enter your service provider information.
- Tap Start NTRIP.
Note: To begin NTRIP every time Mirus starts, select the Automatically start NTRIP checkbox.