Take Notes with the GNSS Plugin
The GNSS Note Taking Device only needs to be enabled if you are using it while taking Mirus Notes. The GNSS Note Taking Device is not used with the harvest applications. To connect the device, follow the directions Install the GNSS Plugin.
Take Notes
Note Taking requires a map. There are two ways to choose the map to take notes with the GNSS plugin,
- Tap Note Taking.
- Pick the map to use.
Or
- Tap Maps.
- Pick the map to use.
- Tap Note Taking.
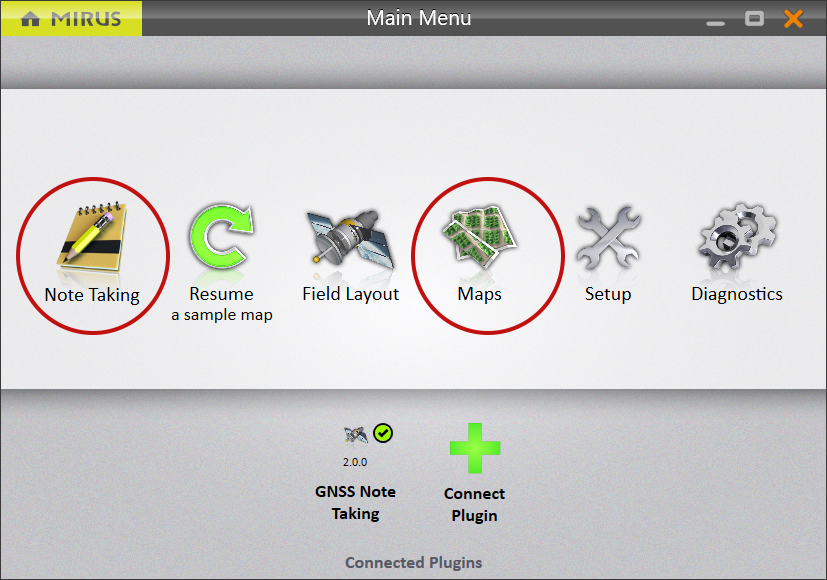
Note: On the Main Menu, tap Resume to continue with the map and notes you were using last.
- Enter the starting location.
- Select the direction.
- Choose the navigation type.
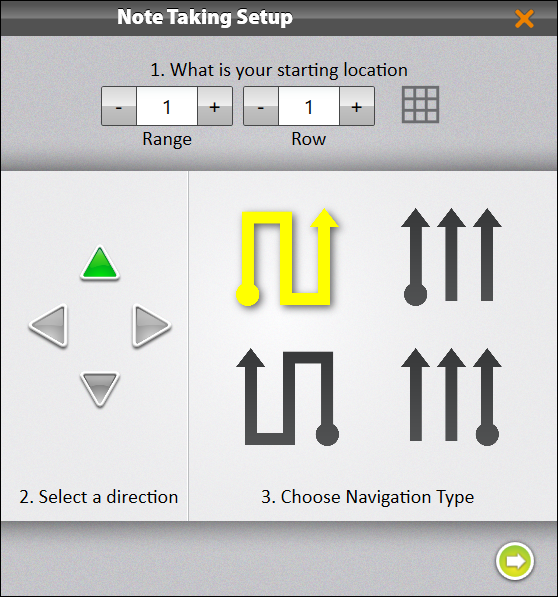
- Tap the next arrow
 .
. - Enter the number of observers.
- Choose the collection order (plot or trait). Notes are most often taken according to trait. Increasing the number of observers will cause Mirus to display additional spaces to enter your notes.
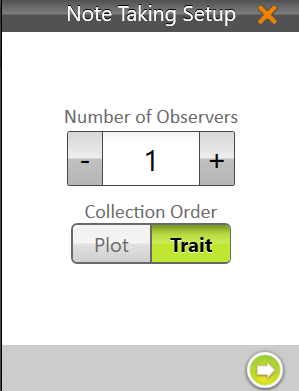
- Tap the next arrow .
- Tap all the trait(s) you want to record notes about.
Previously defined traits will be listed. Use the plus button to add new traits.
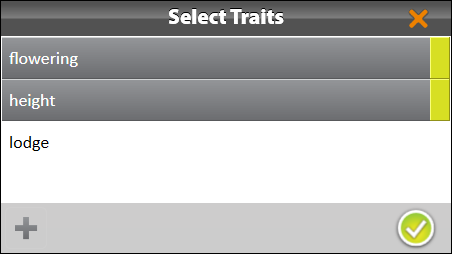
Note: For more information, see the Create and Record Traits section in the appropriate Mirus user's guide.
- Tap the check icon
 to see the Observation screen.
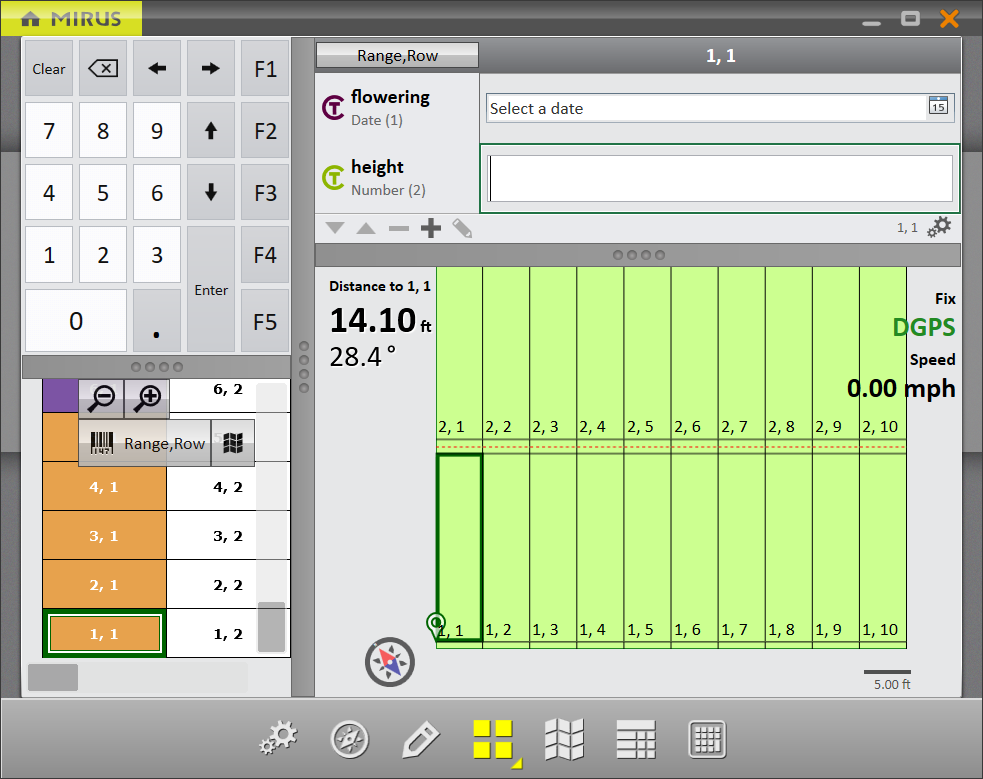
You will see the selected trait(s) with space to enter your notes. Use the ten key to enter your note. Once you enter a value, the cursor will move to the next trait or plot.

When taking notes, the Quad View can be configured to show the ten key for quick data entry, the notes spaces for recording observations, the spatial view to orient your observation, and the field view to see your location.