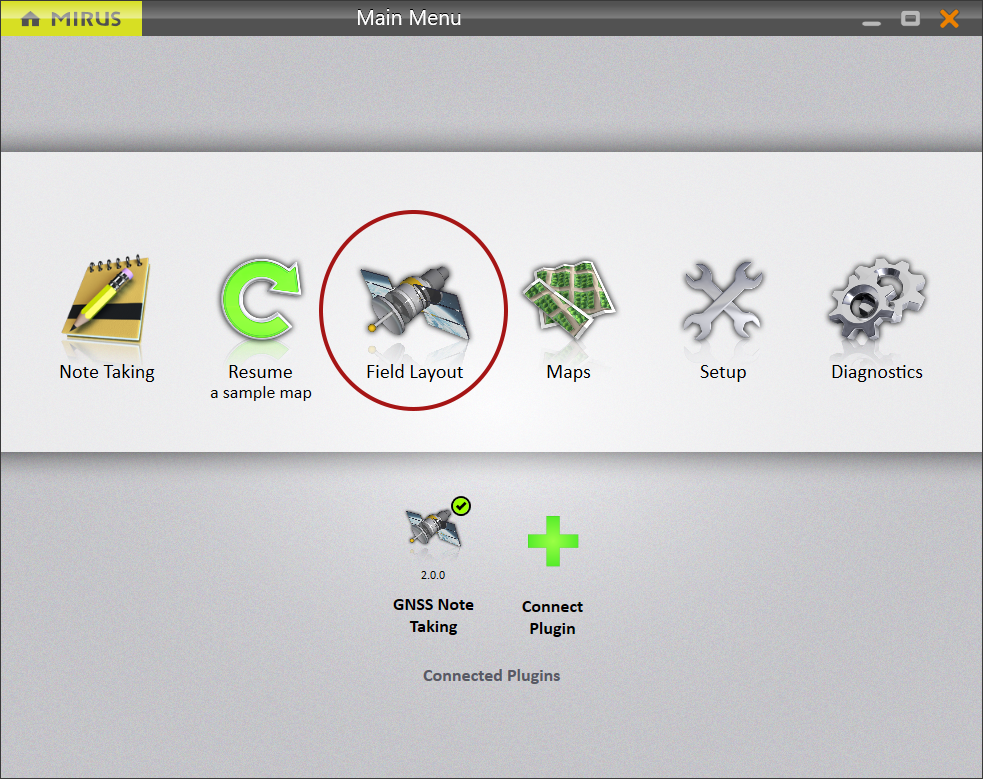
Define Research Boundaries with Field Layout
Note: The Field Layout menu option is only available when the GNSS plugin is connected to Mirus as the GNSS Note Taking device.
Field Layout is designed to assist researchers in defining the location of a research section within a larger field. Field Layout combines your width and length measurements and GNSS locations to generate a field layout map. Use the field layout map to navigate to each corner of the research section, so it can be physically marked.
Field Layout can measure distance between any two points to verify location and accuracy. Once a field map has been generated, Field Layout creates individual plots within the defined field boundary.
When necessary, you can offset the field layout so that the base line of a field can be projected a set distance from a known boundary such as a road or fence.
Note: The accuracy of the defined field layout is determined by the accuracy of the GNSS receiver.
On the Mirus Main Menu screen,
- Tap Field Layout.
If you have not previously defined a field layout, Mirus will display the AB capture box.
If you have previously defined a field layout, Mirus will display the last field layout that was used as well as any other defined field layouts.
- Name the map and enter the width and length of your field.
- Tap the next arrow
 .
. - Capture the AB Line. See Create the AB Line.
Mirus displays field layout in Map View.
If you were moving along the road when capturing the GNSS corner locations, use the Field Adjustment dropdown to move your captured locations into the field.
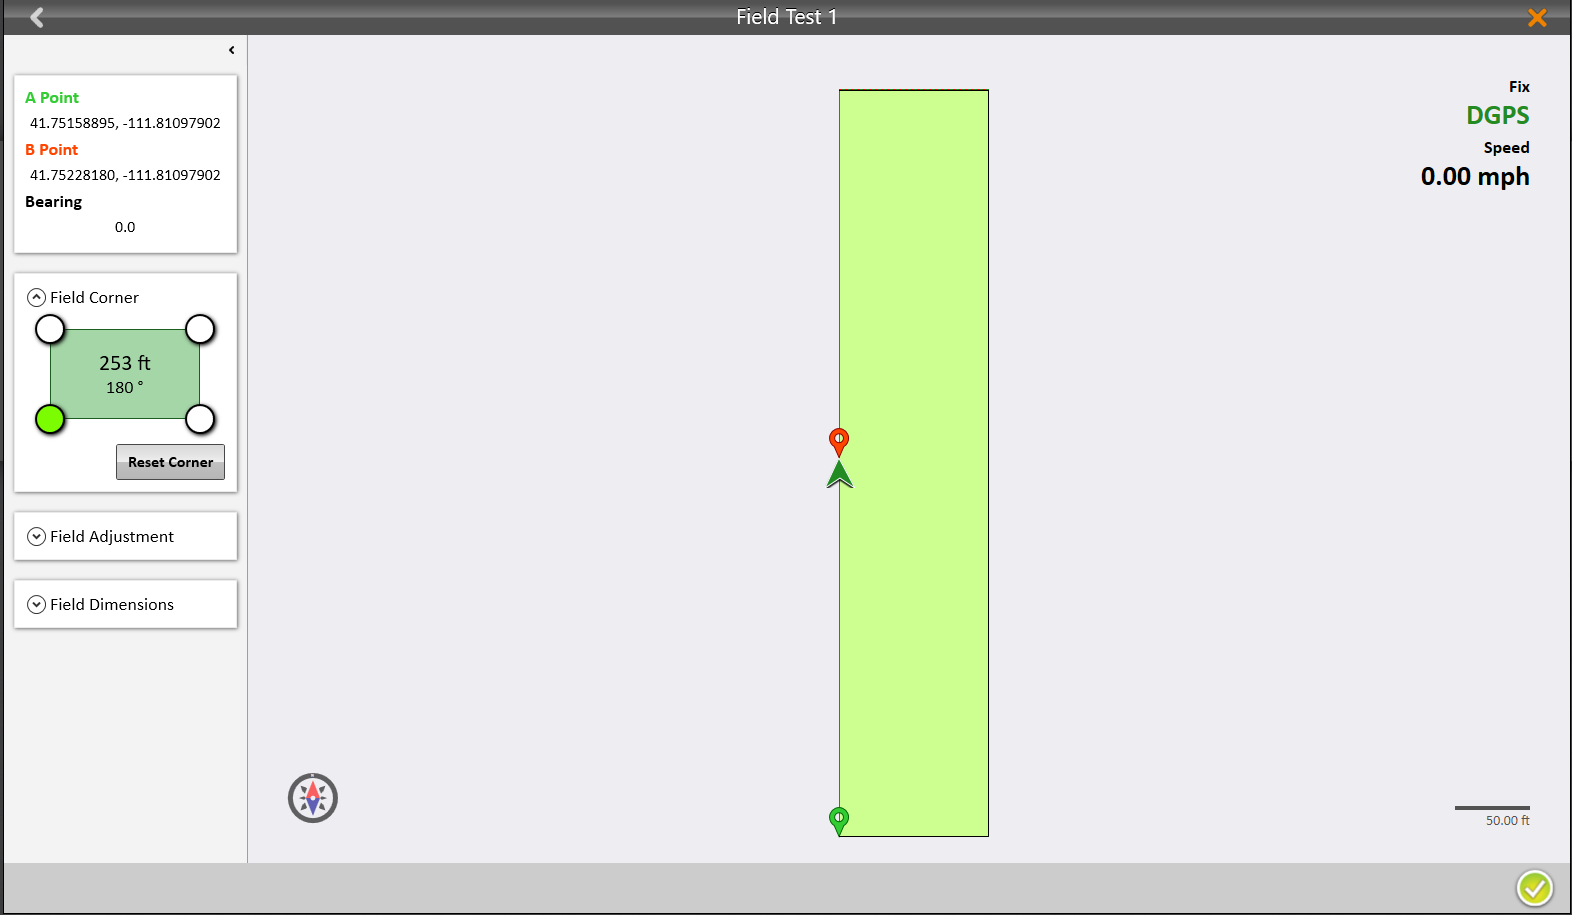
Place physical field markers corresponding to your field layout to identify the research area.
Note: Field layout maps are accessed from Field Layout on the Main Menu screen, not the Map menu item.