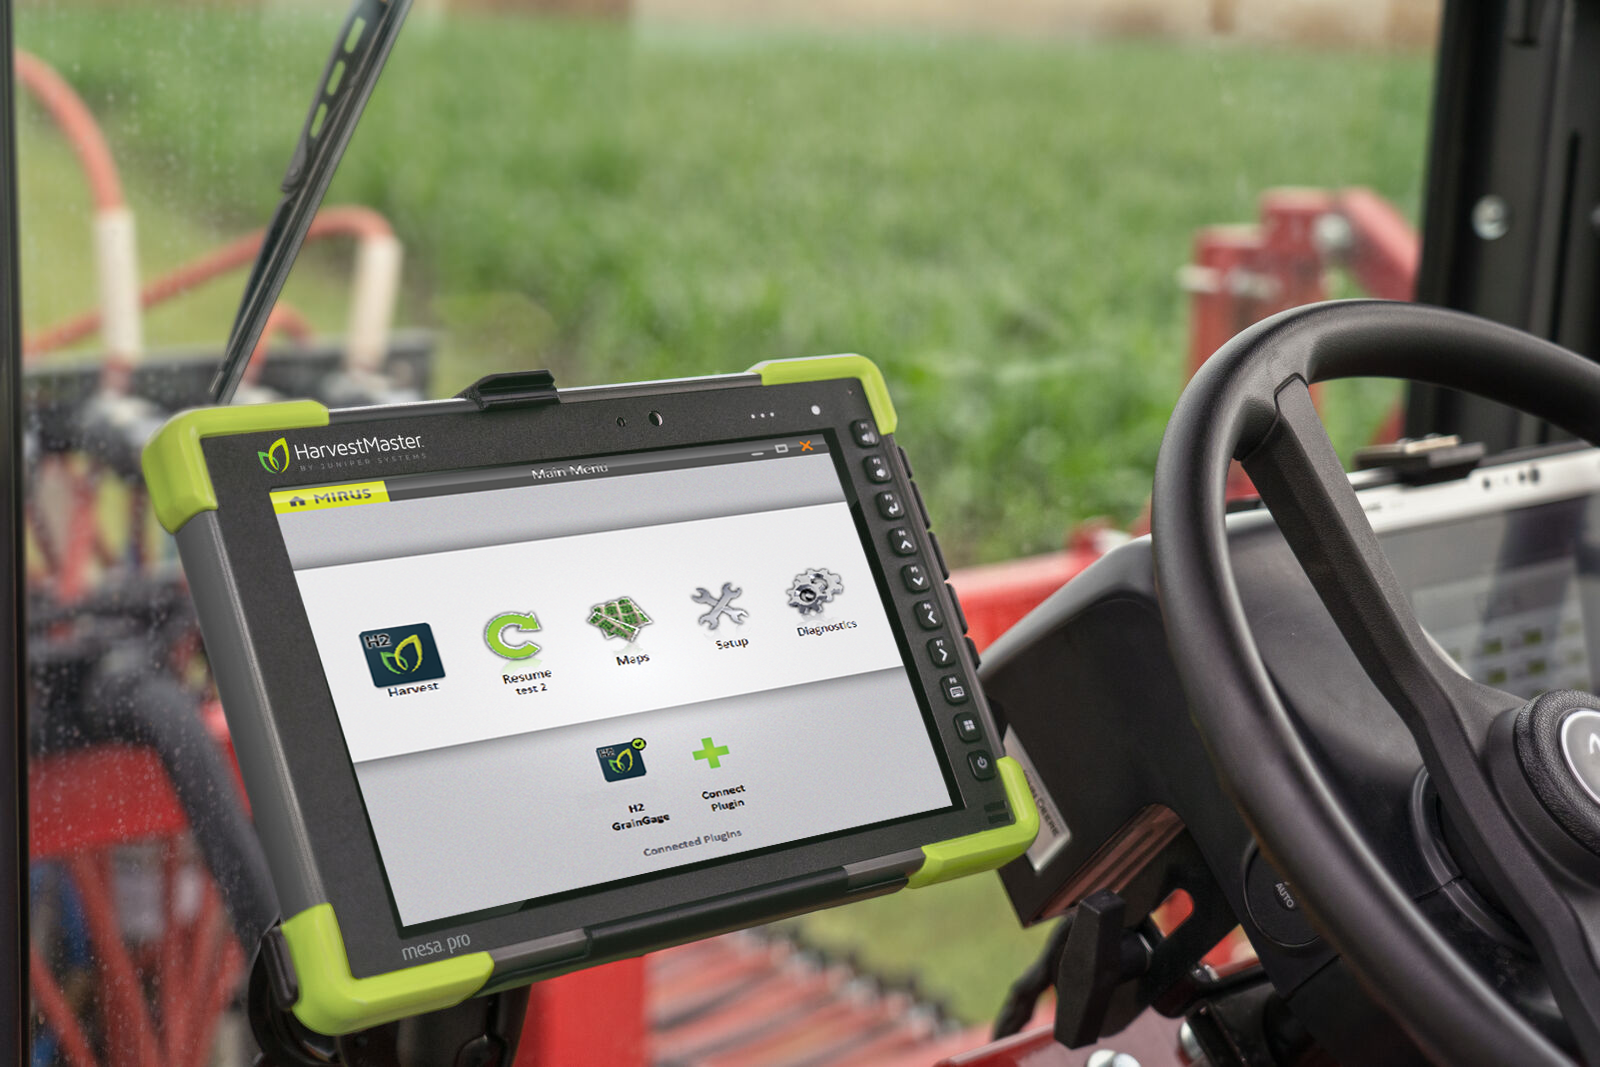
Mirus Installation
The Mirus app operates the H2 and H3 Classic GrainGage and runs on a Windows tablet. The H2 Classic GrainGage uses an EM sensor to detect the EM or M2.0 moisture content of the sample. The H3 Classic GrainGage can use a SCiO sensor to detect the SCiO constituent data, or an EM sensor to detect the EM or M2.0 moisture content of the sample.
|
GrainGage Connections |
||
|---|---|---|
|
GrainGage |
Sensor |
Calibration |
|
H2 Classic |
EM |
EM Moisture and M2.0 Moisture |
|
H3 Classic |
EM |
EM Moisture and M2.0 Moisture |
|
H3 Classic |
SCiO |
SCiO constituent data |
System Requirements
- Operating System: Windows® 10 or higher; 32 or 64-bit OS
- Processor Speed: 2.0 GHz Quad Core
- Memory: 8 GB or higher recommended
- Data Storage: 500 MB available disk space
- Display Resolution: 1280 x 800 or higher
- Mirus Version: 4.5.0 or higher
Download and Install Mirus
Download and Activate Mirus for the H2 and H3 Classic GrainGage
After you have purchased a license for Mirus for the H2 GrainGage,
- Go to http://www.harvestmaster.com/support/mirus/downloads.
- Tap the down arrow for Mirus Harvest Software.
- Select and download the most recent Mirus release.
- Follow the installation instructions.
- Go to http://www.harvestmaster.com/activate and fill out the form.
- HarvestMaster will send the unlock code via email.
- Return to the Mirus activation screen and input the unlock code.
Enable the H3 Classic GrainGage Plugin
After you have purchased a license for the H3 Plugin,
- Open the Mirus Plugin Manager and enable the H3 Plugin, close the Plugin Manager.
Note: When you attempt to connect to the H3 GrainGage Plugin for the first time, Mirus will prompt you to register the plugin. The H3 Plugin is registered separately from Mirus. - Go to http://www.harvestmaster.com/activate and fill out the form.
- HarvestMaster will send the unlock code via email.
- Return to the H3 Plugin activation screen and input the unlock code.
Check https://www.harvestmaster.com/support/article/14646 annually for updated software.
Preparing the GrainGage
Verify GrainGage Readiness
Verify the GrainGage is ready for operation by checking the following:
- The Mirus app is installed and activated.
- The H3 plugin is installed and activated (if needed).
- Windows updates are current.
- Automatic sleep, hibernate, and shutdown are disabled on the tablet if it is plugged in.
- The charging cable is connected to the tablet and the tablet is charging.
- Power (12 VDC) is connected to the GrainGage DSP 2 Module and System Controller.
- The CAN cable between the GrainGage and System Controller is connected.
- The USB to CAN or Serial to CAN cable is connected between the CAN bus and tablet.
- For the H3, the SCiO serial to USB cable is connected to the tablet and GrainGage.
- The remote enter button (typically on the hydrostat lever) is connected properly and functioning.
- The pressurized air is turned on and connected to the GrainGage.
Turn on the GrainGage
To turn on the GrainGage,
- Start the combine.
- Activate the GrainGage by pressing the red button on the system controller.
- Open Mirus.
Note: HarvestMaster recommends verifying the weight and test weight calibrations (in Diagnostics) of the GrainGage each morning by following the steps in Check Weigh Bucket Calibration and Check Test Weight Calibration. If the weight is off, then recalibrate by following the steps in sections Weigh Bucket Load Cell Calibration and Test Weight Load Cell Calibration.
