Export Project, Template, or Data
Uinta gives you options to export an entire project, a template based on the existing project, or the data collected in the project. Export a project or a template from the Projects screen. Data can be exported from the Projects screen or from the Map or List view of the project.
Export a Project
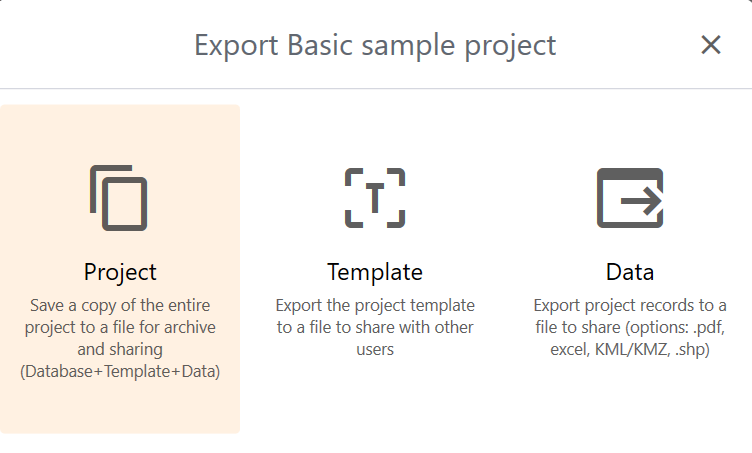
Exporting the entire project (database, template, and data) from the Projects screen allows you to share it with another user for offline or local use. This is also one method for backing up your project. The project is saved in a .db file format (a proprietary file format accessible only in Uinta).
To export a project from the Projects screen:
- From the Projects screen, tap
 next to the project and select Export.
 - Tap Project.
- Select the file location, and tap Save.
Uinta saves the DB file.
Export a Project Template
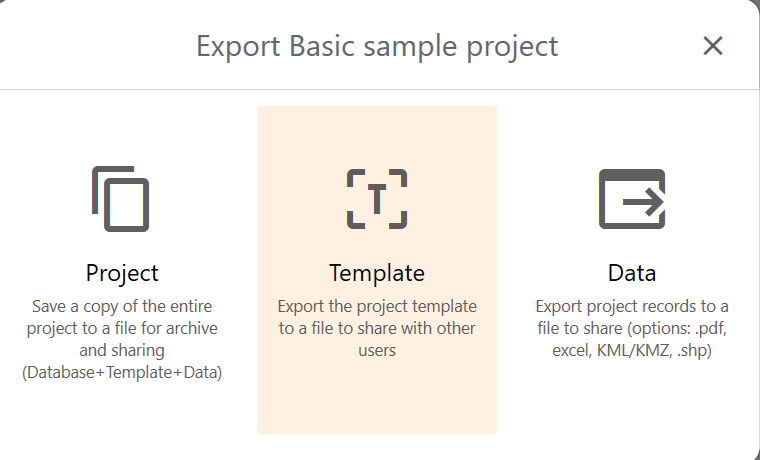
You can export a project template to a file that can be shared with other Uinta users. Uinta saves the template as a JSON file using the Uinta schema.
To export a project template:
- From the Projects screen, tapnext to the project and select Export.
- Tap Template.
- Select the file location, and tap Save.
Uinta saves the JSON file.
Export Data
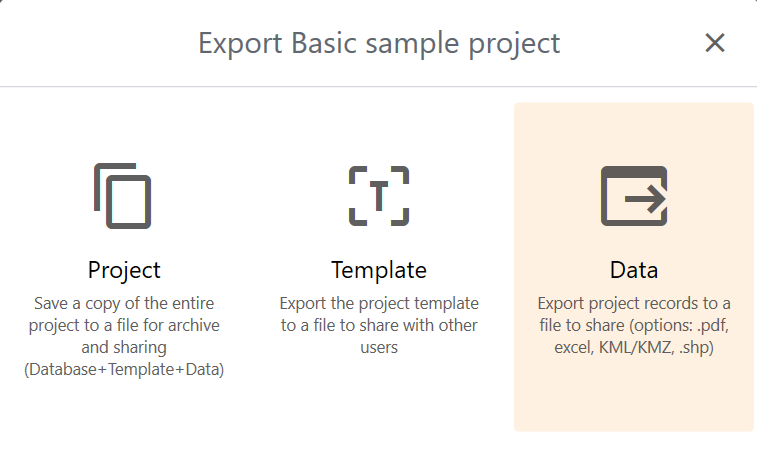
You can export selected records or all records from a project. Data is exported in standard file formats, such as Excel, PDF, Google Earth KML, CAD (.dxf), Shapefile, GeoPackage, CSV, or attachments.
| File Formats | |
| Format | Description |
| PDF (Windows only) |
PDF (Portable Document Format) is a versatile file format created that gives people an easy, reliable way to view a document regardless of the software, hardware, or operating system being used. If you want to include the map in the exported PDF file, export from Map view. |
| Excel | Excel is a workbook or spreadsheet program. Uinta saves the project record in an Excel file and creates a tab for each record type. Optionally, when you export the data, you can select the PENZD/PNEZD file format for survey data software, such as Civil 3D. |
| KML | KML (Keyhole Markup Language) is a file format used to display geographic data in an Earth browser, such as Google Earth. |
| Shapefile | A shapefile is a simple, non-topological format for storing geometric location and attribute information for GIS software. A shapefile contains a database file (.dbf), projection file (.prj), shape index file (.shx) and shapefile (.shp) for each record type in the project. Uinta packages these files into one folder. |
| GeoPackage | A GeoPackage is an open format for transferring geospatial data. A GeoPackage has a smaller file size than a shapefile but is highly compatible across environments. A single GeoPackage file can have multiple vector layers with each layer having a different geometry type. |
| CAD (.dxf) |
DXF (Drawing Exchange Format) is a vector format, primarily used to exchange 2D and 3D drawings across CAD software applications. The DXF file format is limited to approximately 3,500 Uinta records. When exporting to DXF, you must use a projected coordinate system (PCS), such as a state plane or UTM. You can select the PCS when you customize the data for export or within Location Settings. If you export a DXF file without selecting a PCS, Uinta prompts you to switch to one. It then automatically selects a suitable UTM zone based on your data. For more information, see Best Practices for DXF Export. |
| CSV (PNEZD/PENZD supported) |
CSV (Comma-Separated Values) is a plain text file for storing data. Each line in the file represents a single data record, and each field within that record is separated by a user-selected delimiter. You can export all fields in the record (All columns) or export a subset of fields in PNEZD or PENZD format. These formats are commonly used in CAD applications. The acronyms indicate the field order:
|
| Attachments | Attachments exports only the images or other files attached to records. The attachments are saved in a zipped file folder. |
Export Data from Projects Screen
To export data from the Projects screen:
- Tapnext to the project and select Export.
- Tap Data.
- (Optional) Choose
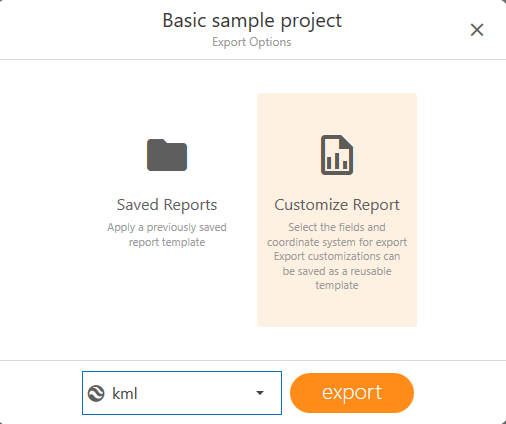
- Saved Reports to use a previously saved customized report.
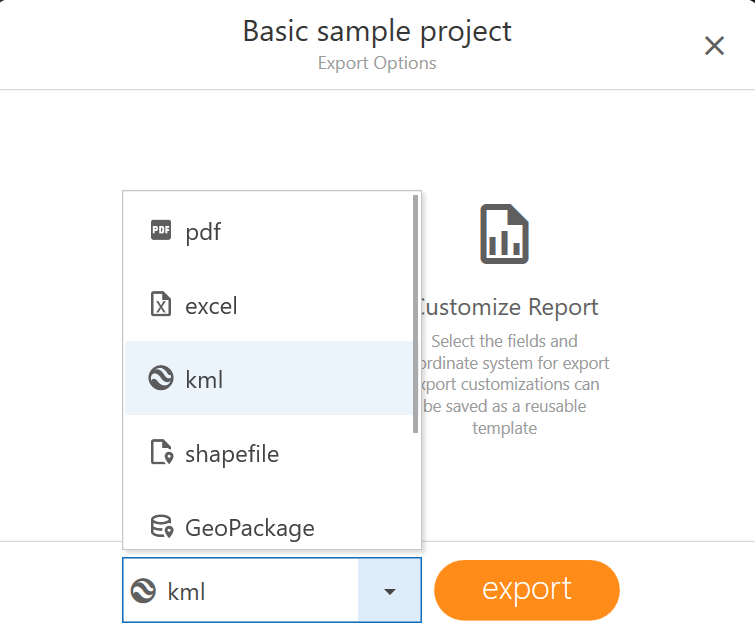
- Customize Reports to select the fields and coordinate reference system (CRS) to export.
Note: Use Save as report template to save your choices as a saved report.
-
At the bottom of the Export Options dialog, select the file type.
Note: PDF export is available only in Uinta for Windows.
- Tap Export.
-
If prompted, customize the exported file.
- PDF—Customize the text, logo, and PDF attributes. Tap Export.
- KML—Choose to maximize the compatibility (default) or to include time stamps and extended KML features. Tap Export KML.
- GeoPackage—Select the data that you want included in the GeoPackage, such as attachments and metadata. Tap Export GeoPackage.
- CSV—Select the export format and the type of delimiter. Then, tap Export.
- Select the file location and tap Save.
Export Data from Map or List View
To export data from the Map or List view:
- Open the project in either Map view or List view.
- (Optional) Choose the records you want to export.
Skip this step if you want to export all records.- In Map View, use the Select tools and then skip to step 4.
- In List View, select the records directly from the list.
- Alternatively, filter the project to display only records that match your criteria.
- Initiate the export.
- Android and iOS—Open the menu and select Export.
- Windows—Tap the export icon
 .
.
-
At the bottom of the Export Options dialog, select the file type.
Note: PDF export is available only in Uinta for Windows.
- Tap Export.
-
If prompted, customize the exported file.
- PDF—Customize the text, logo, and PDF attributes. Tap Export.
- KML—Choose to maximize the compatibility (default) or to include time stamps and extended KML features. Tap Export KML.
- GeoPackage—Select the data that you want included in the GeoPackage, such as attachments and metadata. Tap Export GeoPackage.
- CSV—Select the export format and the type of delimiter. Then, tap Export.
- Select the file location and tap Save.
Export Data with Customized Report
Use the Customize Report option to select the fields, CRS, and coordinate format that is exported. You can save your customizations as a reusable template.
To select the project data that is exported:
- Open the project in either Map view or List view.
- (Optional) Choose the records you want to export.
Skip this step if you want to export all records.- In Map View, use the Select tools and then skip to step 4.
- In List View, select the records directly from the list.
- Alternatively, filter the project to display only records that match your criteria.
- Initiate the export.
- Android and iOS—Open the menu and select Export.
- Windows—Tap the export icon .
- In the Export Options dialog, tap Customize Report.
- Select the CRS, coordinate format, and record types that are exported.
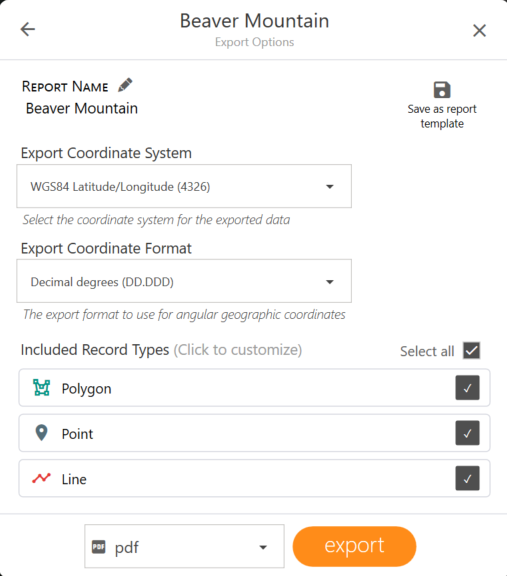
Export Options Option Action Report Name (Optional) Edit the name of the report. Export Coordinate System Select the coordinate system that you want included with the exported data. See Use Uinta Coordinate Reference Systems for additional technical details of how Uinta uses CRS.
Note: When exporting to DXF, select a projected coordinate system, such as UTM or your local state plane.
Note for RTK users not using Juniper RTK. If you have collected data using RTK corrections, and you did not set your Network RTK Settings > Coordinate Reference System to match the one that your RTK provider uses, then Uinta thinks the data is in WGS-84.
- If you choose another coordinate system for export, error may be introduced.
- If you know that you want untransformed data, do not specify an export coordinate system. The exported data may be labeled as WGS84 (depending on the output format you choose), but it will be the coordinates received from your RTK provider in the CRS that your provider uses. You can ignore the WGS84 label.
Export Coordinate Format Select the export format for the geographic coordinates. Choose from:
- Decimal Degrees (DD.DDD)
- Degrees Minutes (DD MM.MM)
- Degrees Minutes Seconds (DD MM SS.S)
Included Record Types To include all record types, select Select all. To narrow the export, select the checkbox for only the record types you want included.
To adjust which fields of the record type are exported, tap the name of the record type. Then select the check boxes of the fields you want included.
If you have applied a filter, the exported report will include only what is selected. If you have only one individual record type selected, you will be presented with the fields associated with that record type to select. See Search and Filter Projects for instructions on creating and applying filters.

Tap Save as report template if you want to save the settings as a report template for future use. - Select the type of file that you want to export.
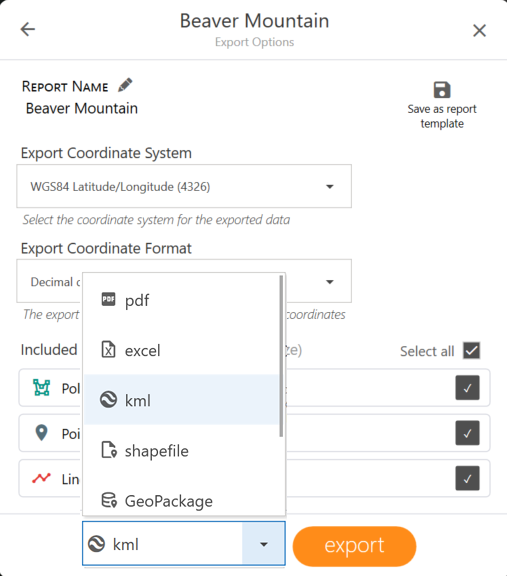
- Tap Export.
-
If prompted, customize the exported file.
- PDF—Customize the text, logo, and PDF attributes. Tap Export.
- KML—Choose to maximize the compatibility (default) or to include time stamps and extended KML features. Tap Export KML.
- GeoPackage—Select the data that you want included in the GeoPackage, such as attachments and metadata. Tap Export GeoPackage.
- CSV—Select the export format and the type of delimiter. Then, tap Export.
- Select the file location and tap Save.
Export Data with a Saved Template
Use the Saved Reports option to apply a saved report template to the exported project data.
To export the project data using a saved report template:
- Open the project in either Map view or List view.
- (Optional) Choose the records you want to export.
Skip this step if you want to export all records.- In Map View, use the Select tools and then skip to step 4.
- In List View, select the records directly from the list.
- Alternatively, filter the project to display only records that match your criteria.
- Initiate the export.
- Android and iOS—Open the menu and select Export.
- Windows—Tap the export icon .
- In the Export Options dialog, tap Saved Reports.
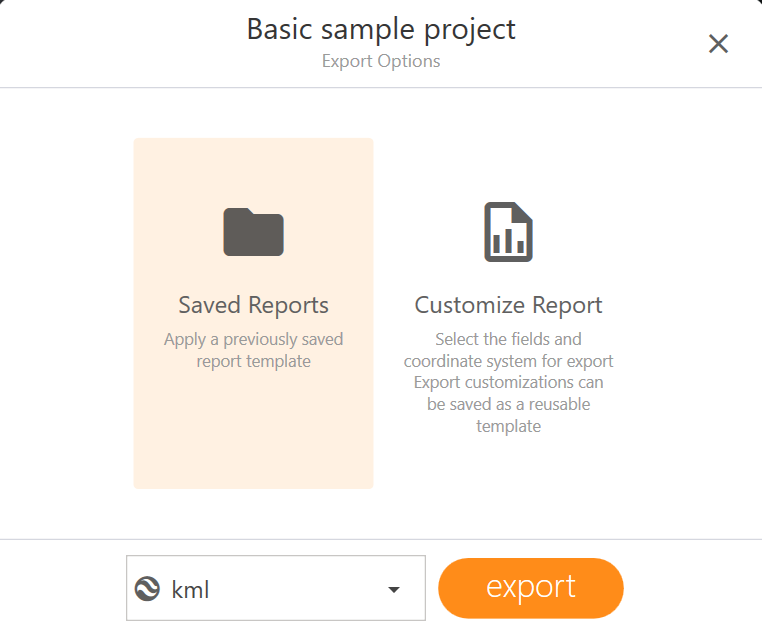
- Select the report template.
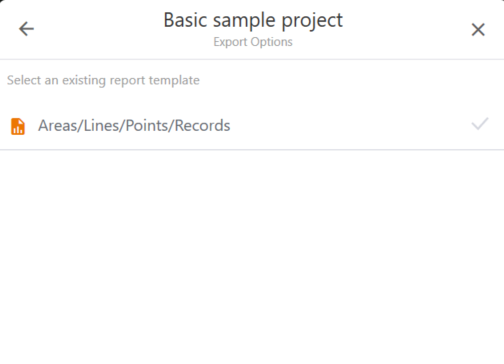
- Customize the report options.
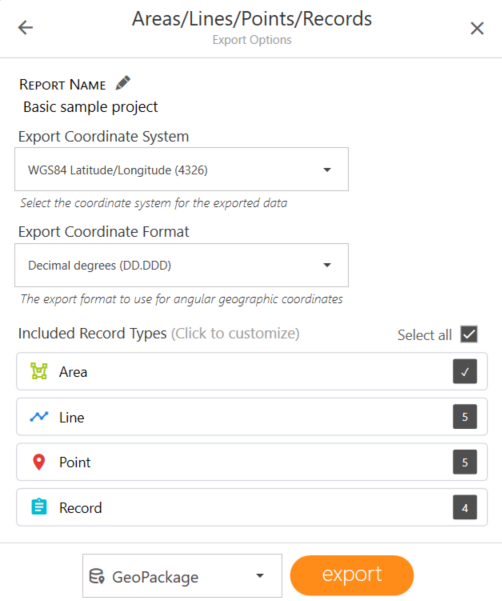
Export Options Option Action Report Name (Optional) Edit the name of the report. Export Coordinate System Select the coordinate system that you want included with the exported data.
Note: When exporting to DXF, select a projected coordinate system, such as UTM or your local state plane.
Export Coordinate Format Select the export format for the geographic coordinates. Included Record Types Uinta enables Select all by default. To narrow the exported data, clear Select all and select only the checkboxes for the record types you want to include. - At the bottom of the Export Options dialog, select the file type.
Note: PDF export is available only in Uinta for Windows.
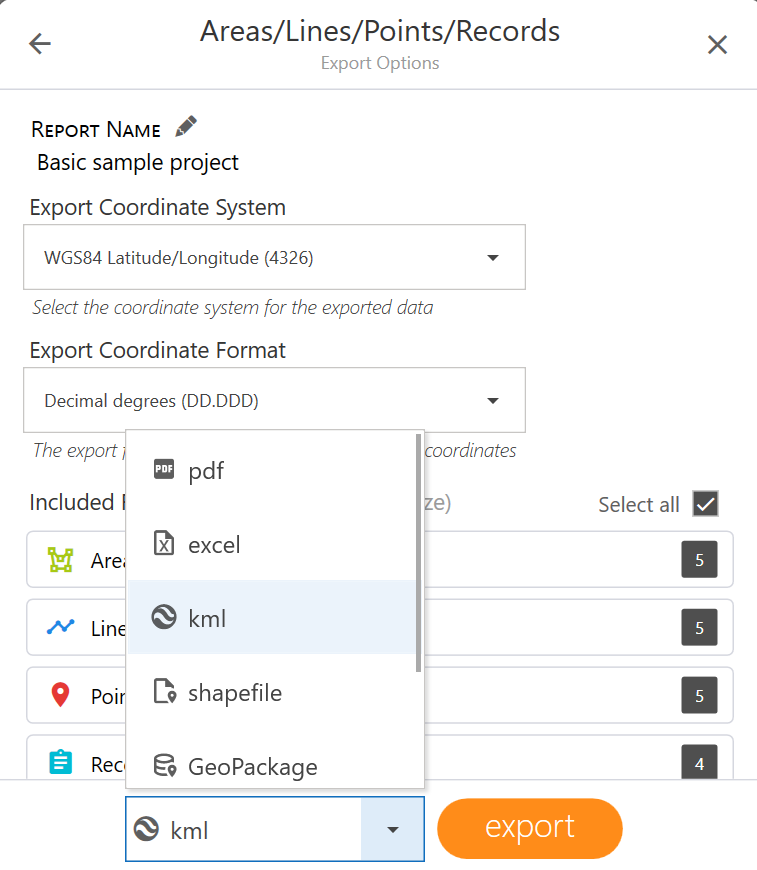
- Tap Export.
-
If prompted, customize the exported file.
- PDF—Customize the text, logo, and PDF attributes. Tap Export.
- KML—Choose to maximize the compatibility (default) or to include time stamps and extended KML features. Tap Export KML.
- GeoPackage—Select the data that you want included in the GeoPackage, such as attachments and metadata. Tap Export GeoPackage.
- CSV—Select the export format and the type of delimiter. Then, tap Export.
- Select the file location and tap Save.
Use the Select Tools for Exporting Selected Records
Use the Select tools to quickly select and export multiple records from Map view.
Note: The Select tools are turned off by default. To enable the tools, go to Settings and enable Show Multi Select button.
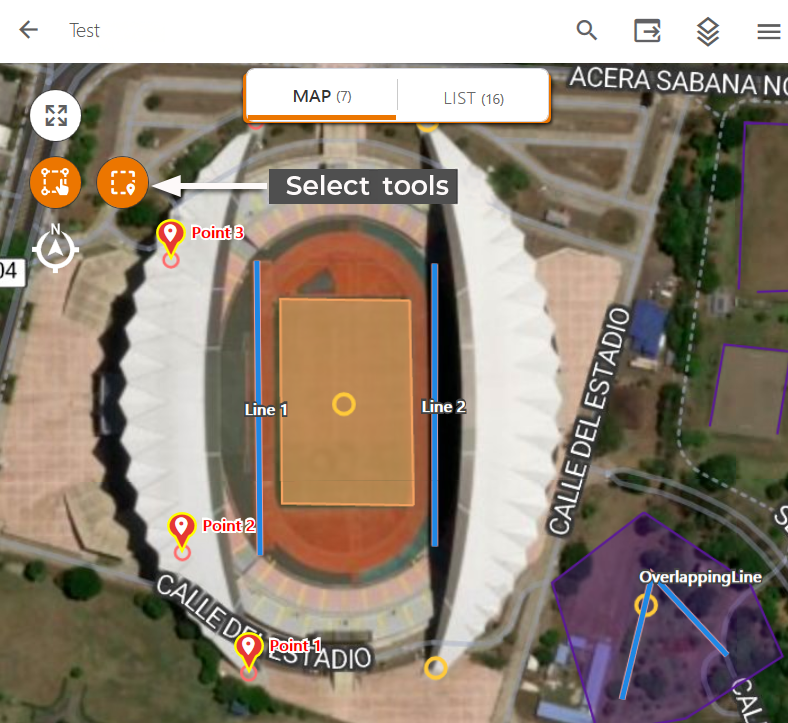
| Tool | Purpose | Steps |
|---|---|---|
|
Multi Select tool |
Select multiple records |
|
|
Area Select tool |
Select all the records in an area |
|
 .
. .
.