Test Weight Load Cell Calibration
Test weight load cell calibration ensures the accuracy of the GrainGage’s weight calculations. This calibration should be done on initial setup and should not need to be calibrated again unless repairs are needed on the GrainGage weigh system.
Use the test weight load cell calibration wizard and the smaller calibration weight (3 lb/1.4 kg) included with the GrainGage to calibrate the test weight chamber load cell.
To calibrate test weight:
- Park the combine on a level surface.
- Shut off the engine. Keep the GrainGage powered on.
- Check that the test chamber is empty.
- From Home > Setup > H3 GrainGage, tap Calibration.
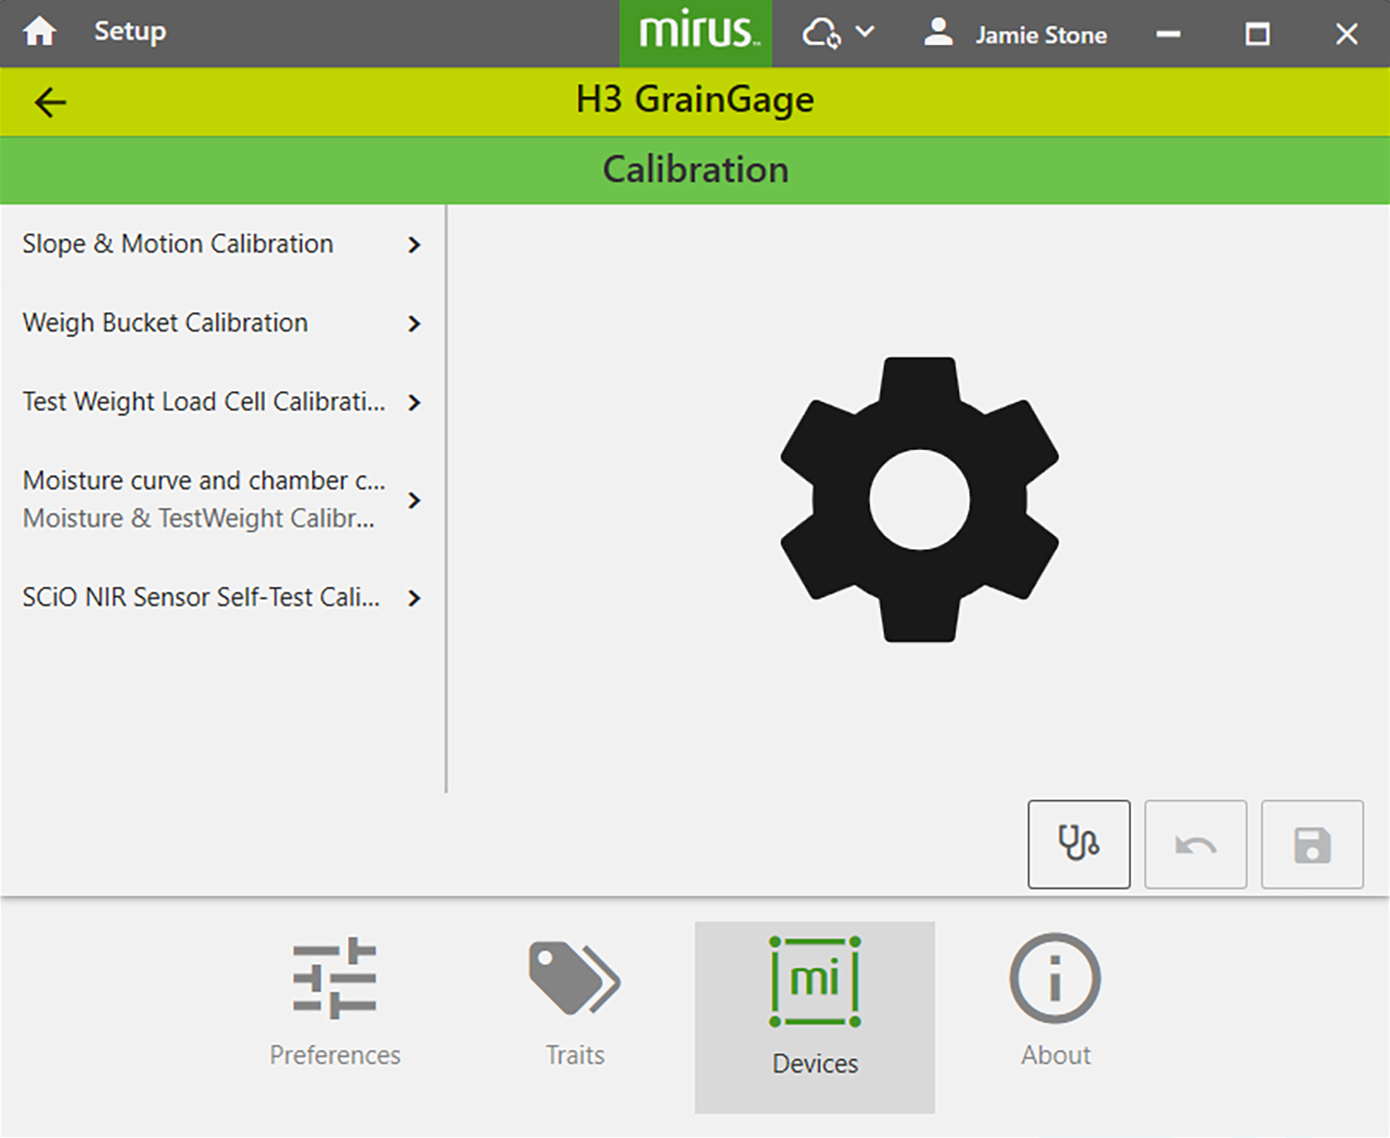
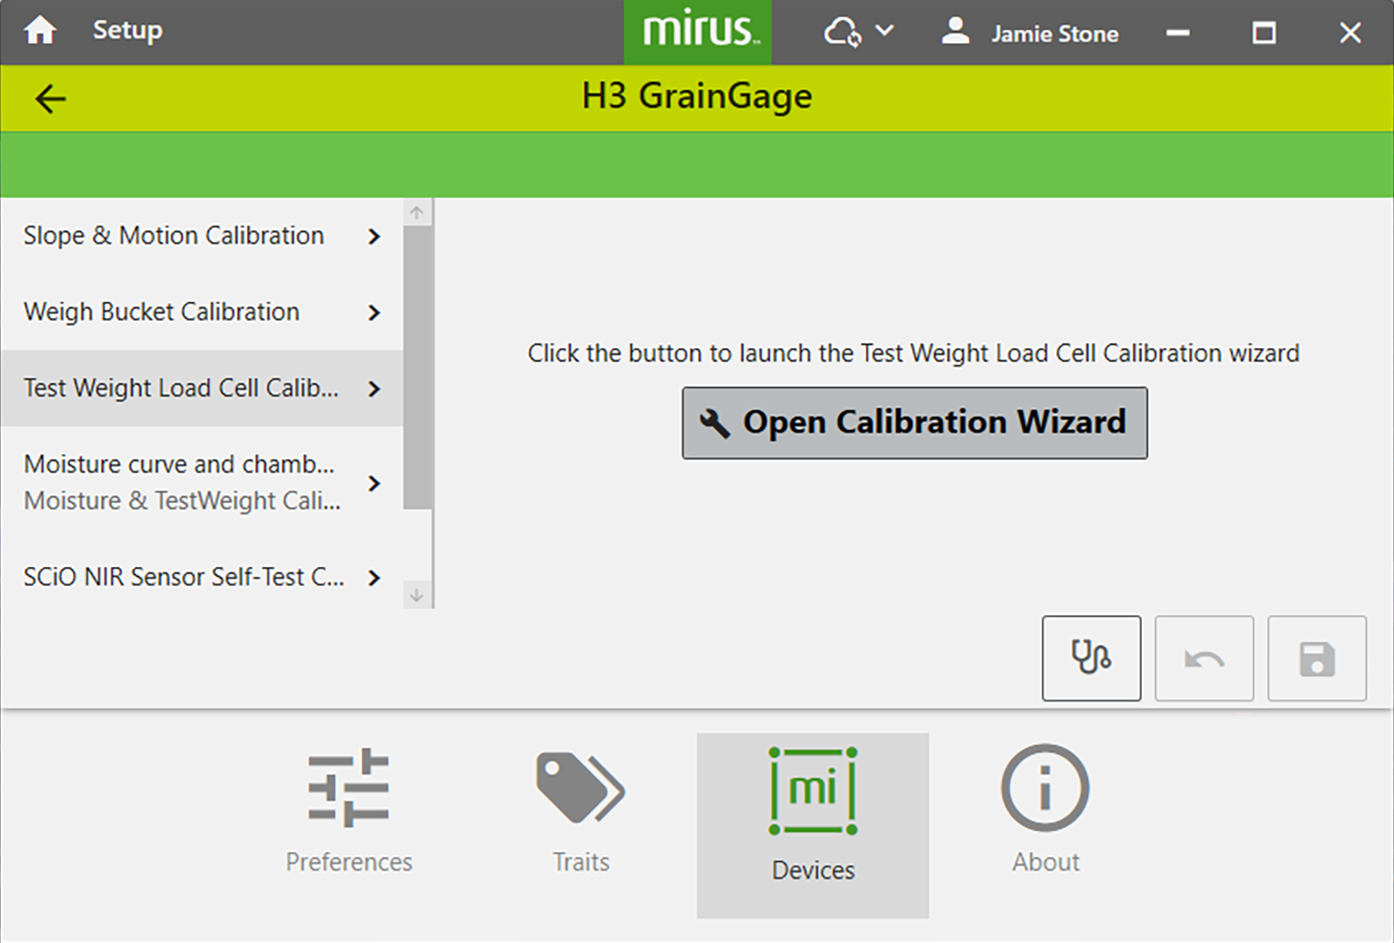
- Tap Test Weight Load Cell Calibration.
- Tap Open Calibration Wizard.
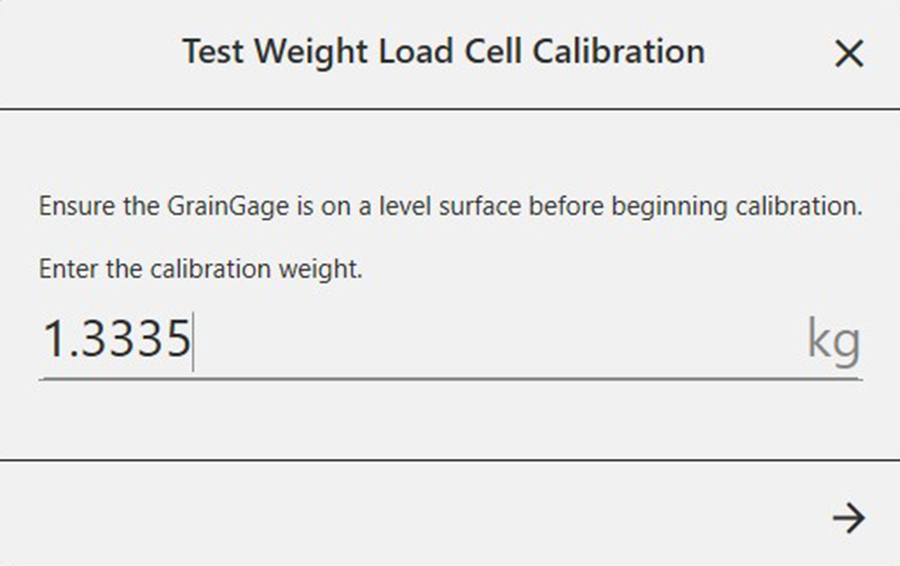
Follow the on-screen video instructions as shown below.
- Find the value stamped on the side of the weight.
- Enter that value in the field.
- Tap
 to initiate the calibration.
- Check for and remove any extra weight from the weigh bucket.
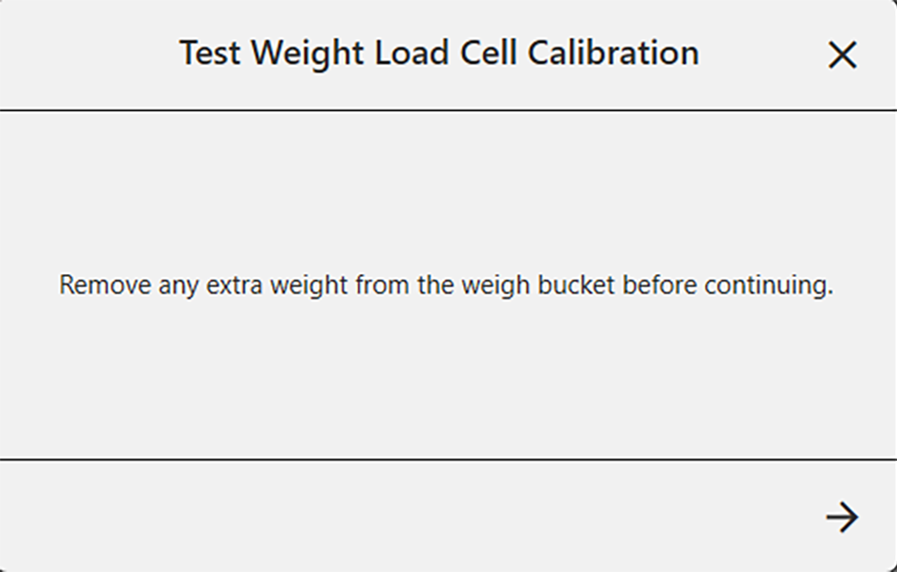
- Tap .
- When prompted, place the weight as shown.
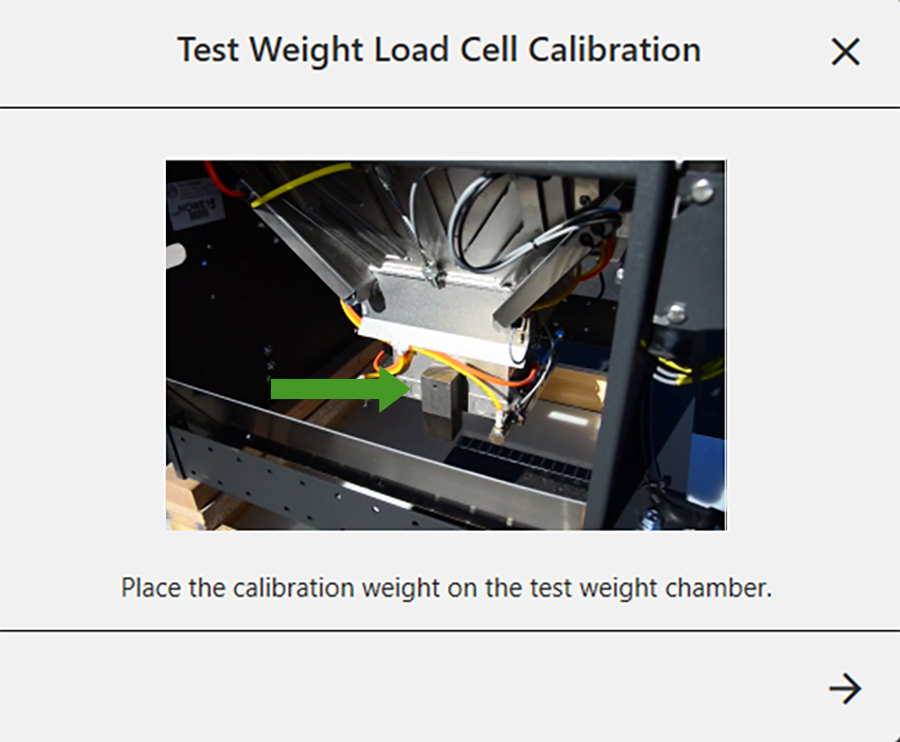
- Tap .
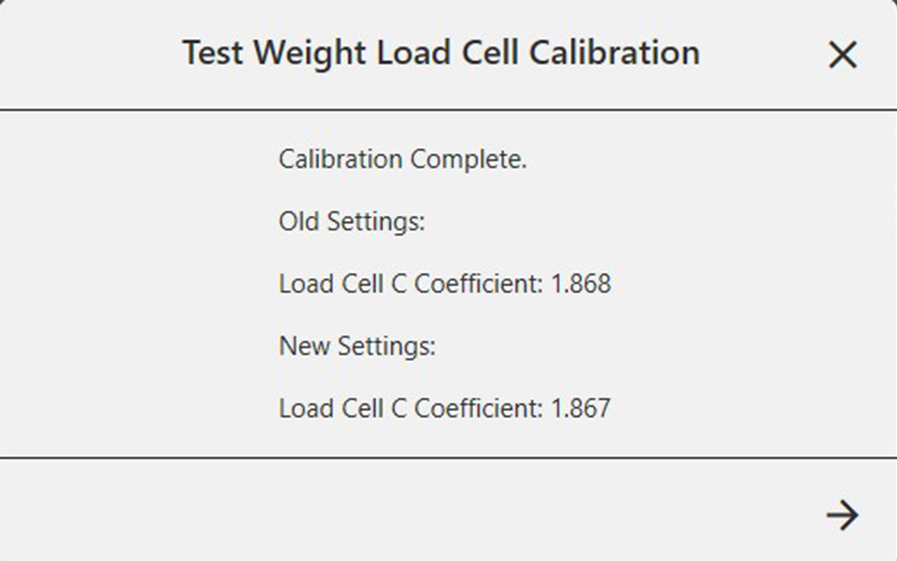
Mirus displays the old and new load cell coefficients.
Note: Typical load cell coefficients should be 1.9 +/- .2.
- Tap .
- Remove the calibration weight.

- Tap
 to finish.
The system will tare, and the wizard will close.
Check Test Weight Calibration
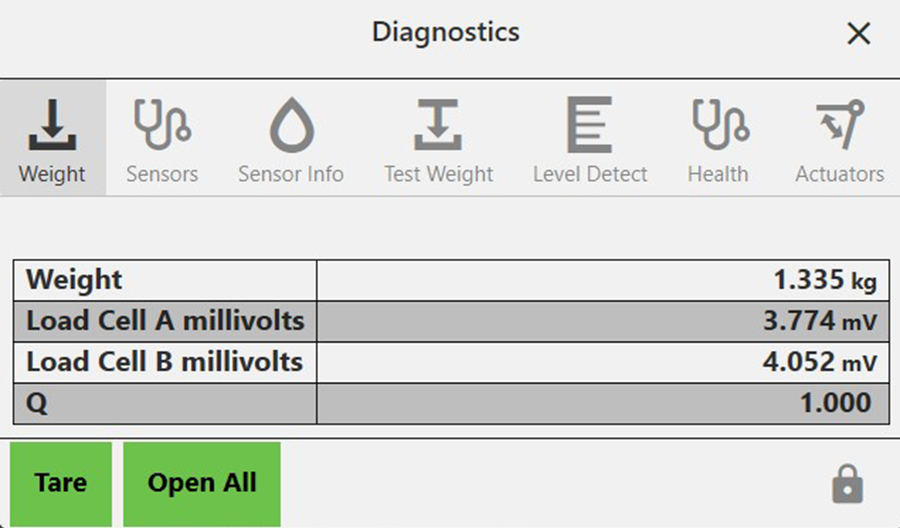
The test weight calibration is stable and rarely changes or loses accuracy. However, because the consequences of poor calibration can be devastating to your research data, HarvestMaster highly recommends checking the test weight calibration every year before the harvest season begins, as well as every day before harvest. This can be done from the Test Weight Diagnostics box.
- After calibrating the test chamber, tap
 below the calibration wizard to open the Diagnostics box.
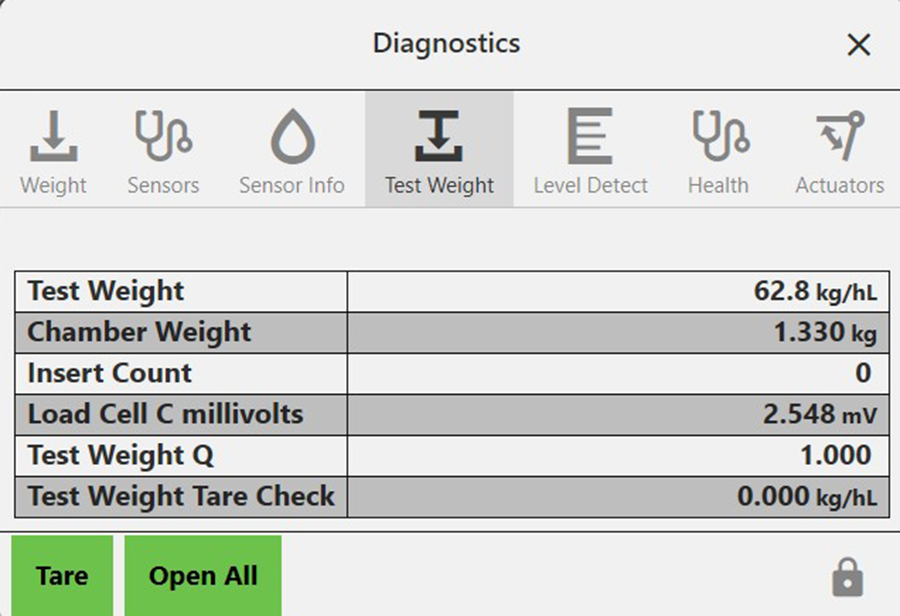
 - Hang the (smaller) calibration test weight from the weight hanger on the test chamber.
The Diagnostics box should report a reading that is very close to the value stamped on the calibration weight. If it’s not within .05 lb (23 g) when the combine and thresher are on and .02 lb (9 g) when the combine is off, HarvestMaster recommends a new weight calibration.
- Tap the check icon
 to close Diagnostics.
Check the Weight
From the Diagnostics box,
- Hang the (smaller) calibration test weight from the weight hanger on the test chamber.
The Diagnostics box should report a reading that is very close to the value stamped on the calibration weight. If it’s not within .05 lb (23 g) when the combine and thresher are on and .02 lb (9 g) when the combine is off, HarvestMaster recommends a new weight calibration. This value is sometimes referred to as the plot weight to distinguish it from the test weight.