Mirus Preferences
Mirus can display your preferred units of measurement (imperial or metric) and your preferred language. You can set a custom location for storing backup logs and the amount of remaining disk space at which Mirus will warn you.
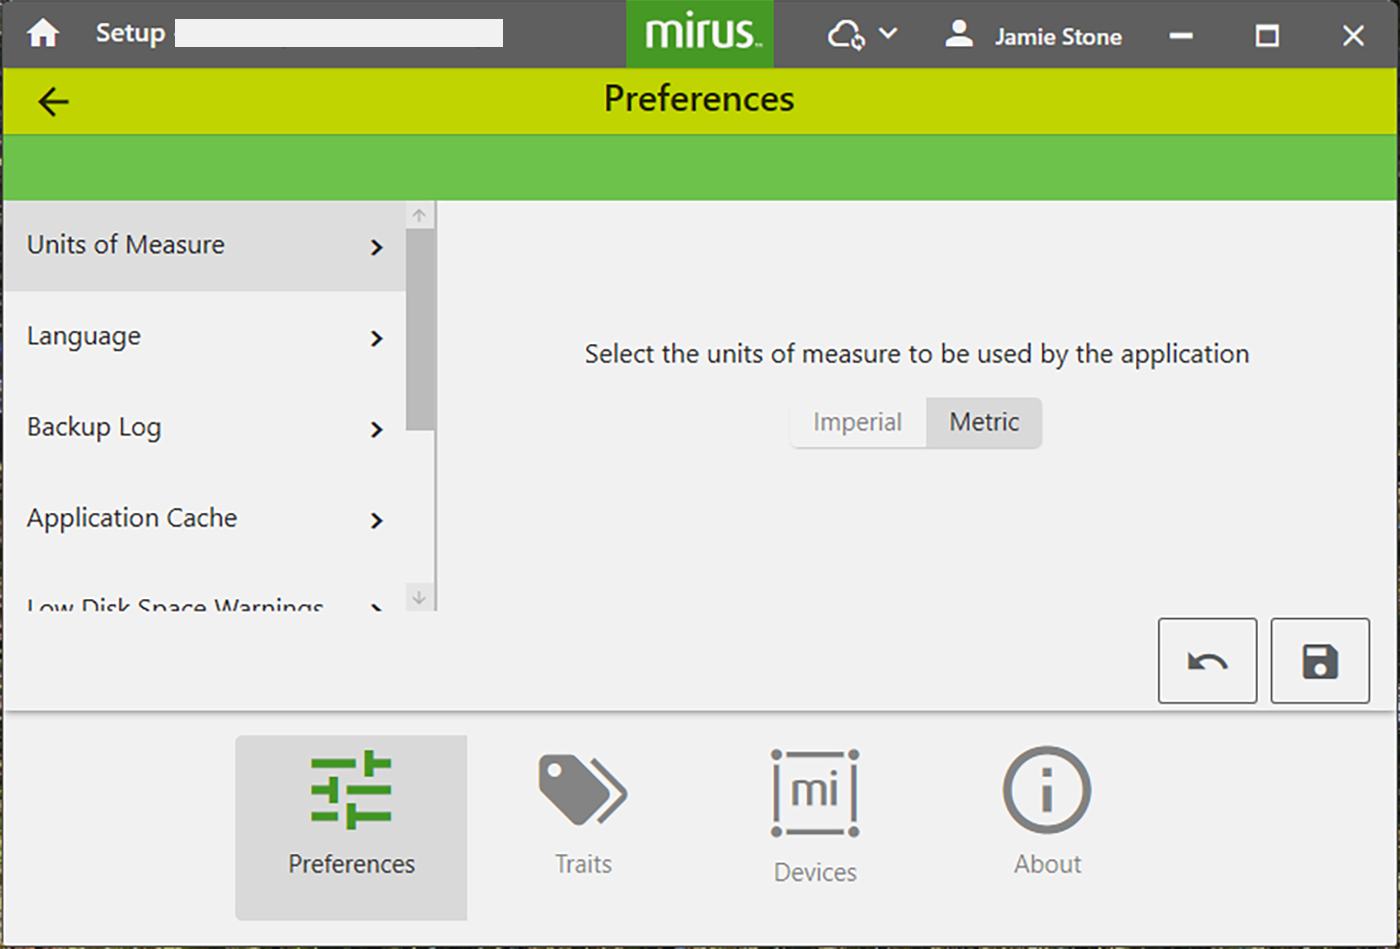
Set Preferred Units of Measure
From the Setup > H3 GrainGage Setup screen:
- Tap Preferences.
- Tap Units of Measure.
- Select your preferred units of measure.
- Tap Save.
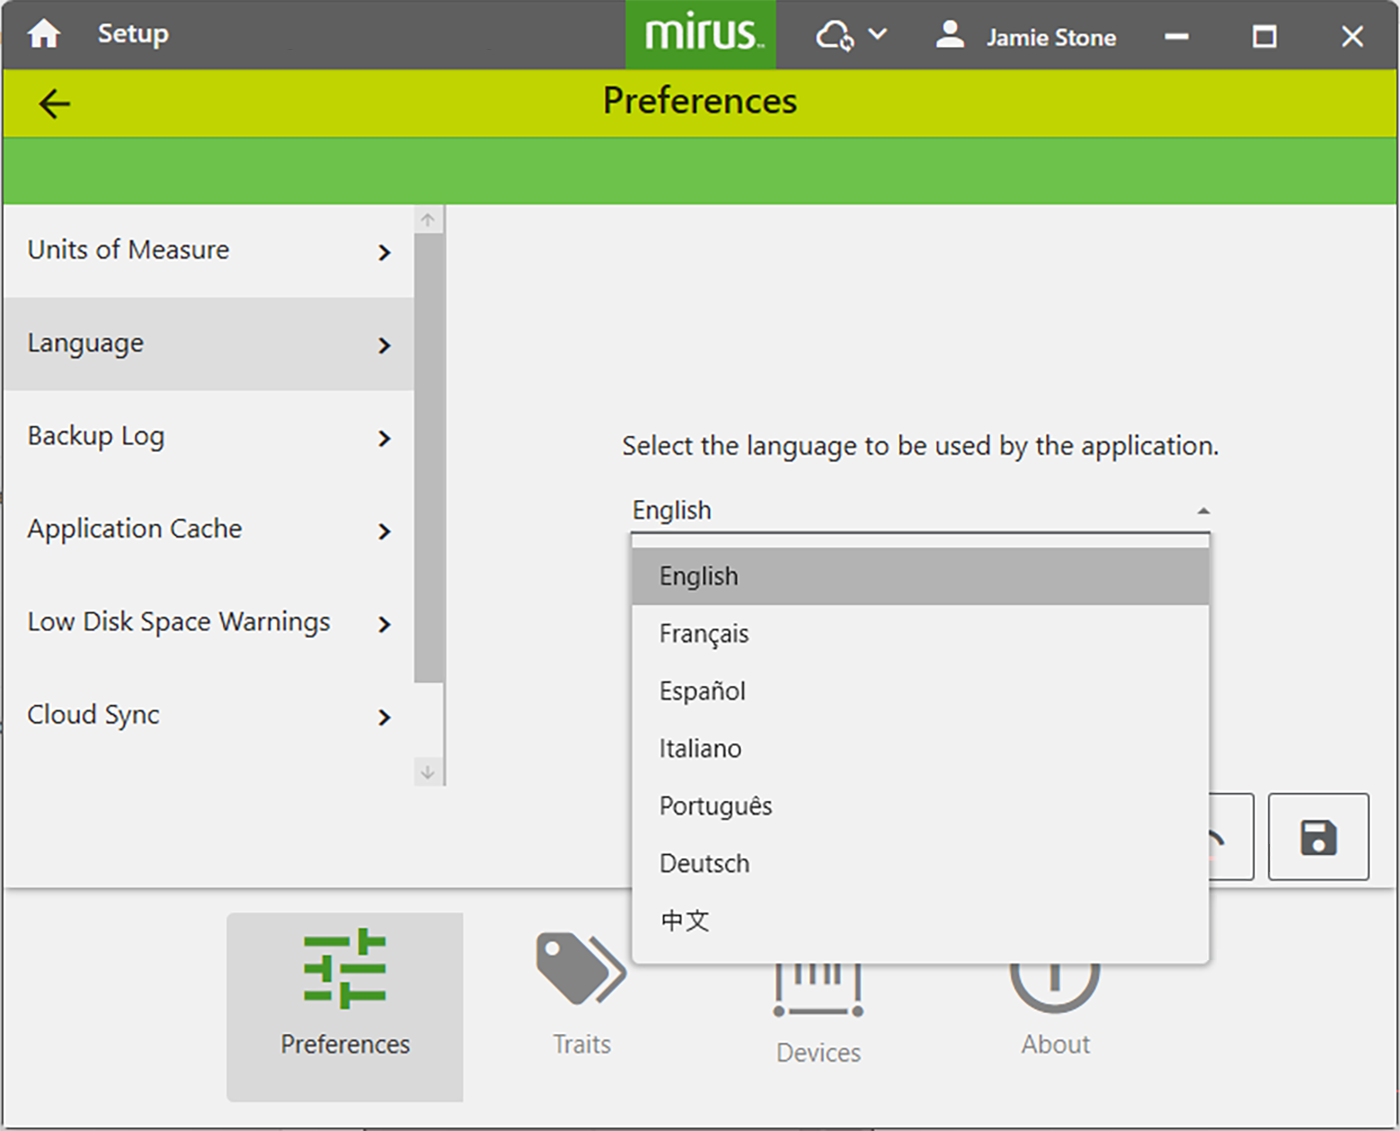
Set Preferred Language
From the Setup > Preferences screen:
- Select Language.
- Choose your preferred language.
- Tap Save.
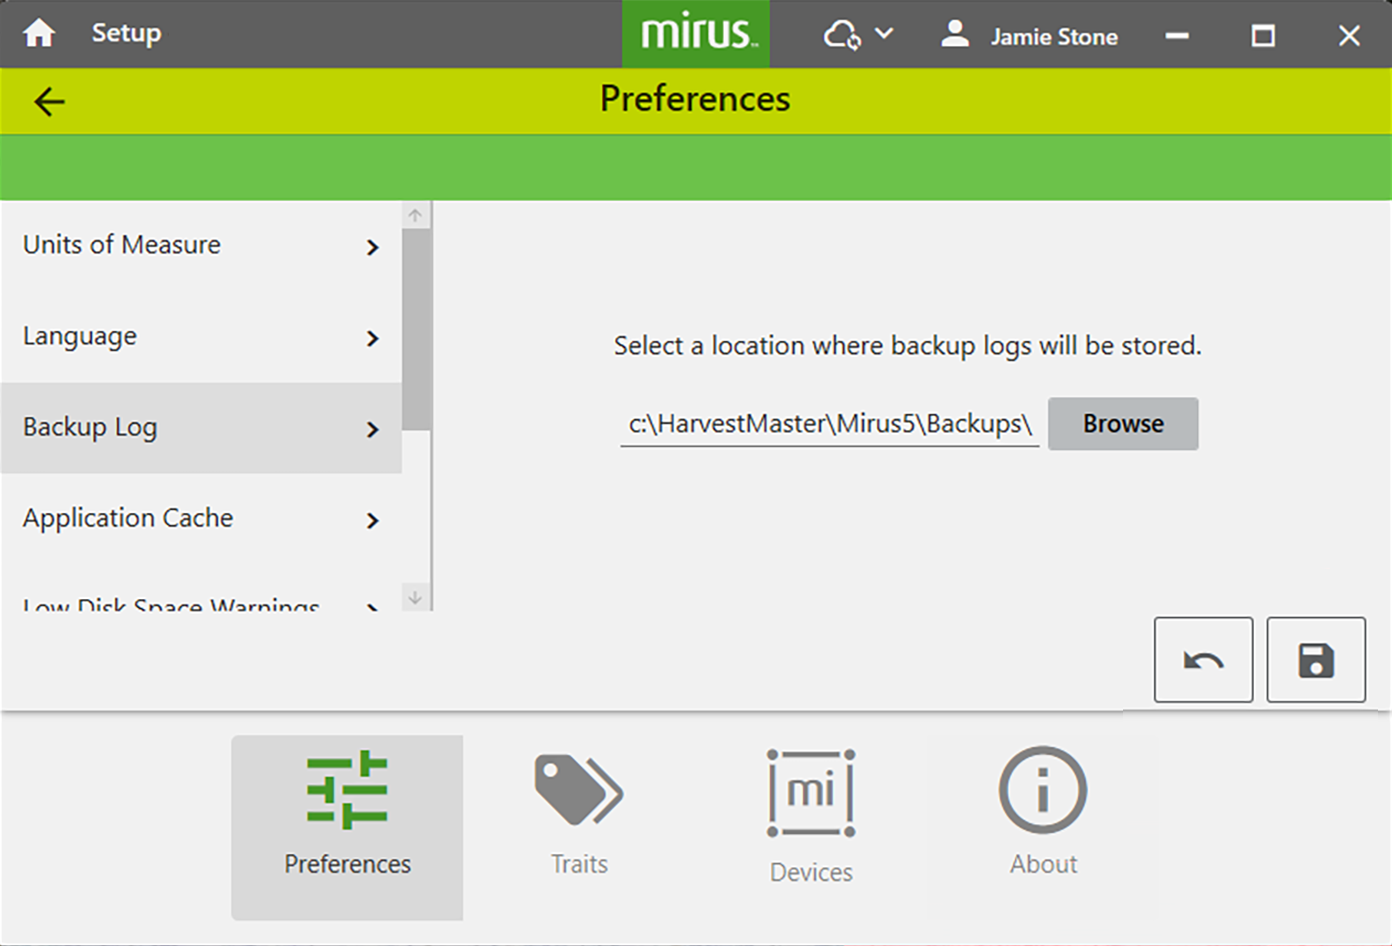
Set Preferred Backup Log Location
We do not recommend changing the location of the backup log. If you do change it, be sure to record the new location.
The default location for the backup log is C:\HarvestMaster\Mirus5\Backups\. To change the location from the Setup > Preferences screen:
- Tap Backup Log.
- Enter your preferred file path for the backup log.
- Tap Save.
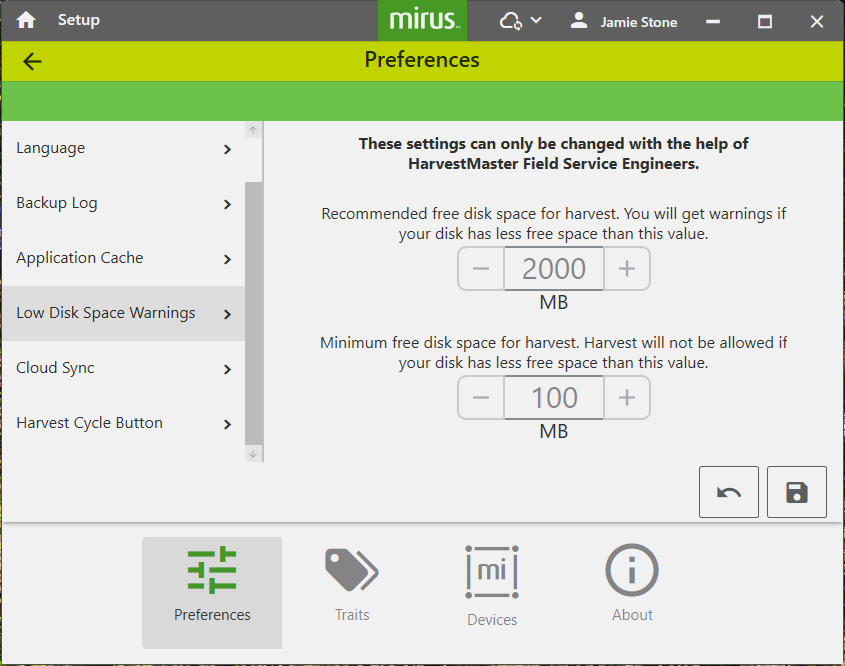
Set Low Disk Space Warnings
Generally, Mirus (and additional plugins) may use around 900 MB of disk space. However, the amount of space used in addition to this depends on the size of your map, the amount of data collected, and the quantity of maps created.
From Setup > Preferences:
- Tap Low Disk Space Warnings.
- Set the amount of available disk space left that will trigger a warning.
- Set the minimum amount of disk space to allow harvest.
- Tap Save.
Explanation of the Application Cache menu item is found in Appendix B: Troubleshooting, Clear Cached Settings.
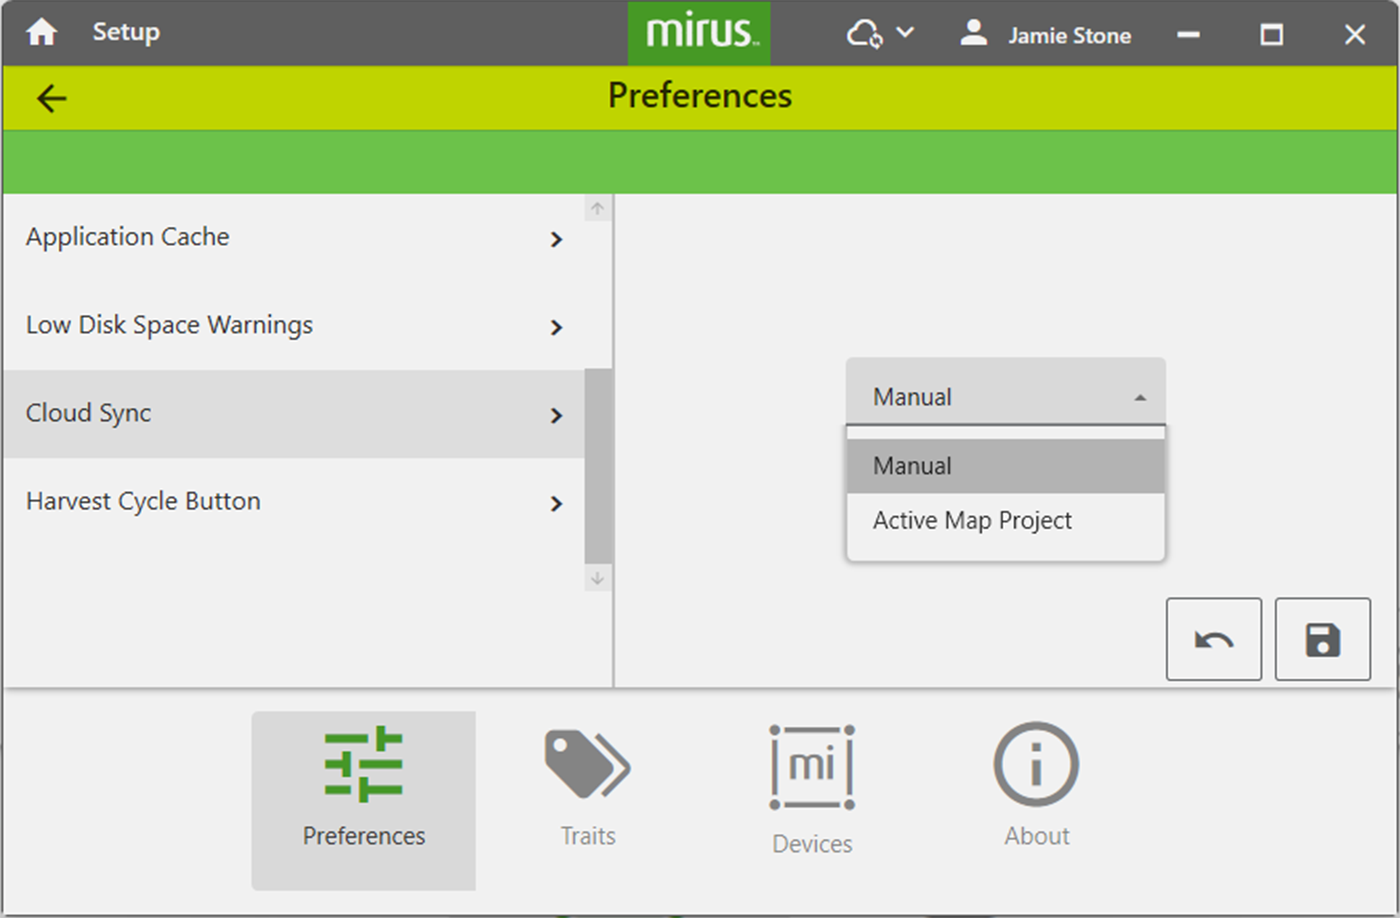
Cloud Sync
Syncing your map(s) to the cloud makes it easy to share your collected data with other team members. MIrus offers two options for syncing your data to the cloud:
- Manual—Syncs the active project only when initiated by the user and the device is connected to the internet.
- Active Map Project—Automatically syncs the active map while Mirus is harvesting or taking notes and is connected to the internet.
If you collect data without an internet connection, be sure to sync the local data to the cloud when you return to internet connectivity.
Sync a Map Manually
To sync a map to the cloud from the Manage Maps screen:
An imported Mirus 4 map cannot sync. It can only be used locally. (You can export and email if you need to share.)
- Select the map.
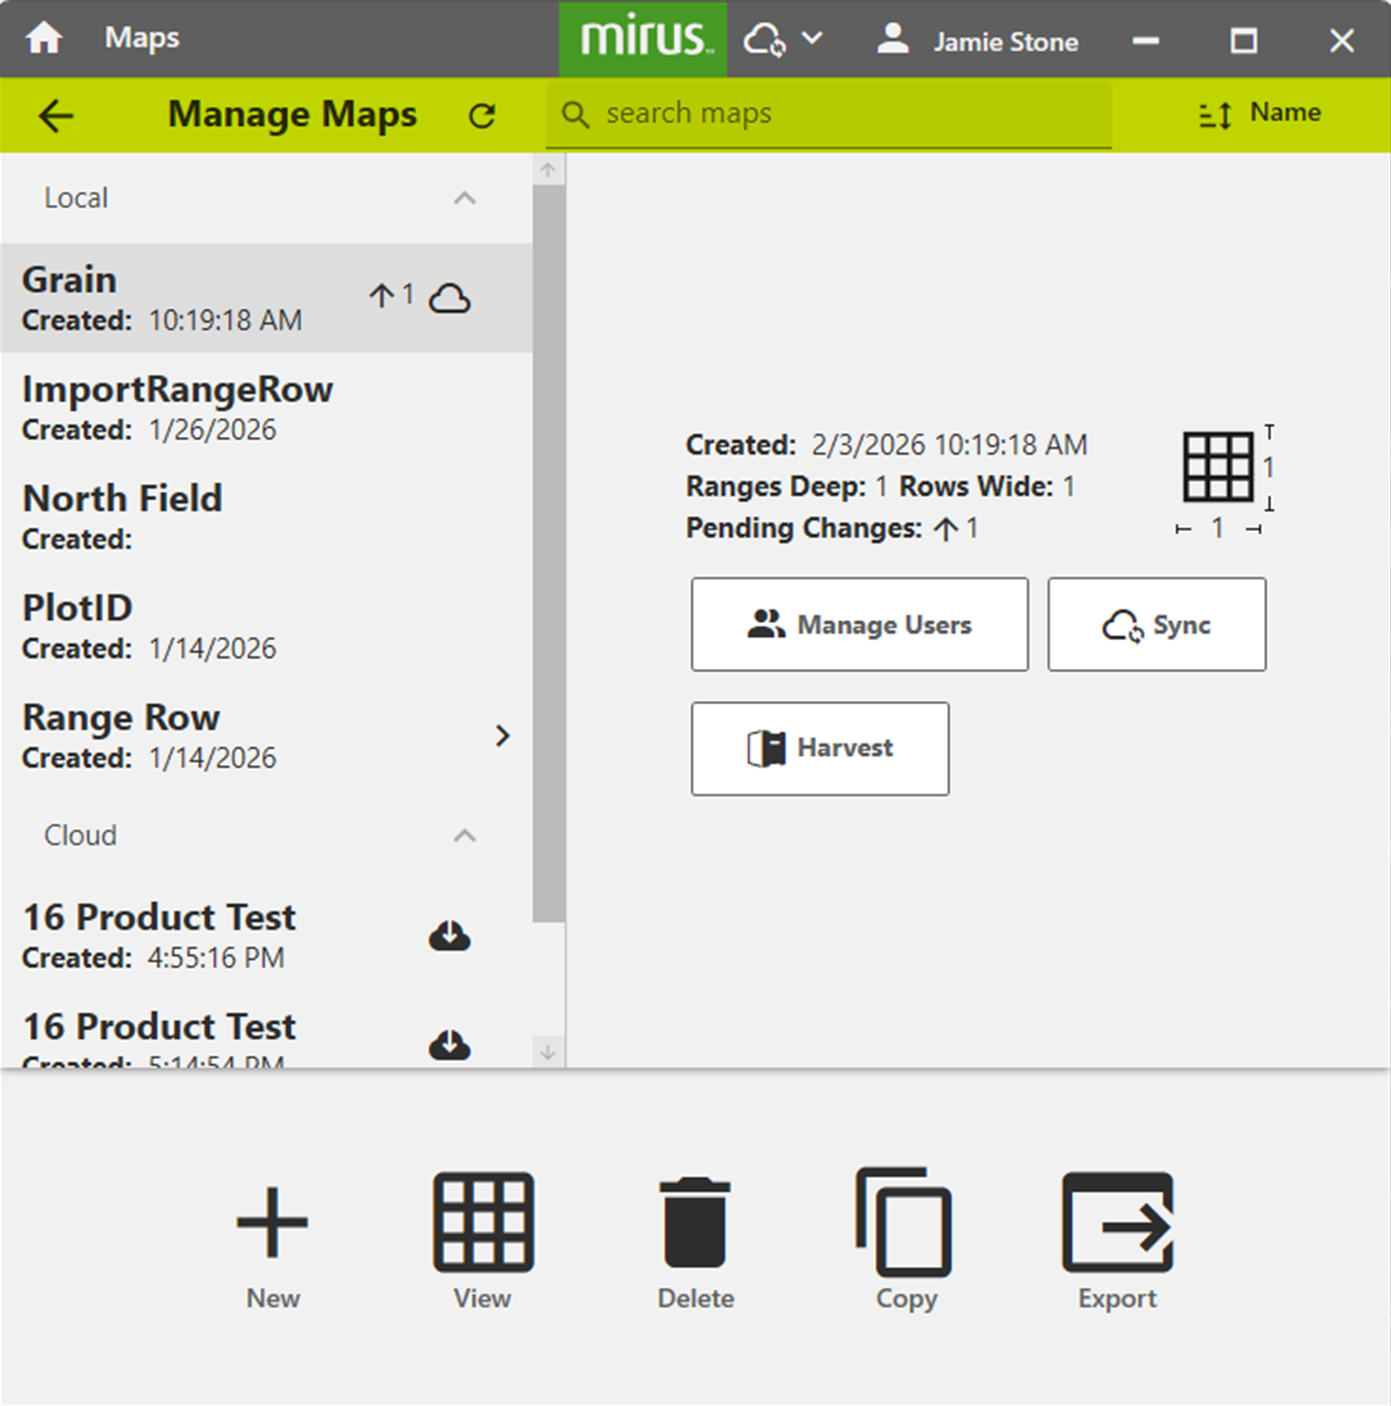
- Tap Sync.

-
Choose the options that best fits your needs.
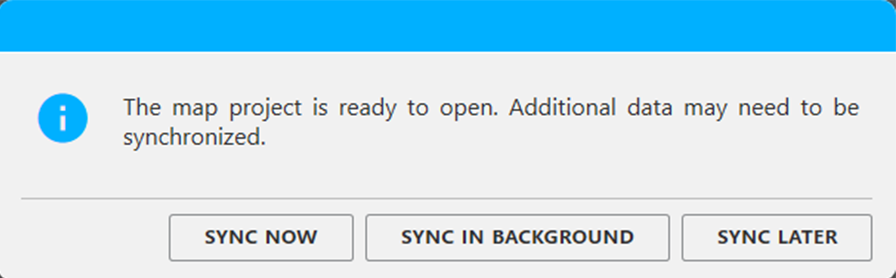
- Sync Now. Begin sending changes. Monitor the progress on screen.
- Sync in Background. Changes are sent while you use Mirus for other tasks. The sync progress is displayed in the title bar.
- Sync Later. Close the box. You can begin the sync when you are ready.
|
Syncing Related Icons |
||
|---|---|---|
|
Icon |
Description | Location |
| Map is stored in the cloud with the same data as it contains locally. | Manage Maps, left pane | |
| A number of changes need to be synced to the cloud. (In this example, there is one discrepancy between the local and cloud versions of the map to be downloaded and 119 to be uploaded.) | Manage Maps, left pane | |
| The map is stored in the cloud, but not locally. The map must be downloaded to be viewed or used for data collection in Mirus. | Manage Maps, left pane | |
An icon in the title bar indicates when Mirus is syncing. If you have chosen manual sync, you will also see the status bar in the middle of the screen.
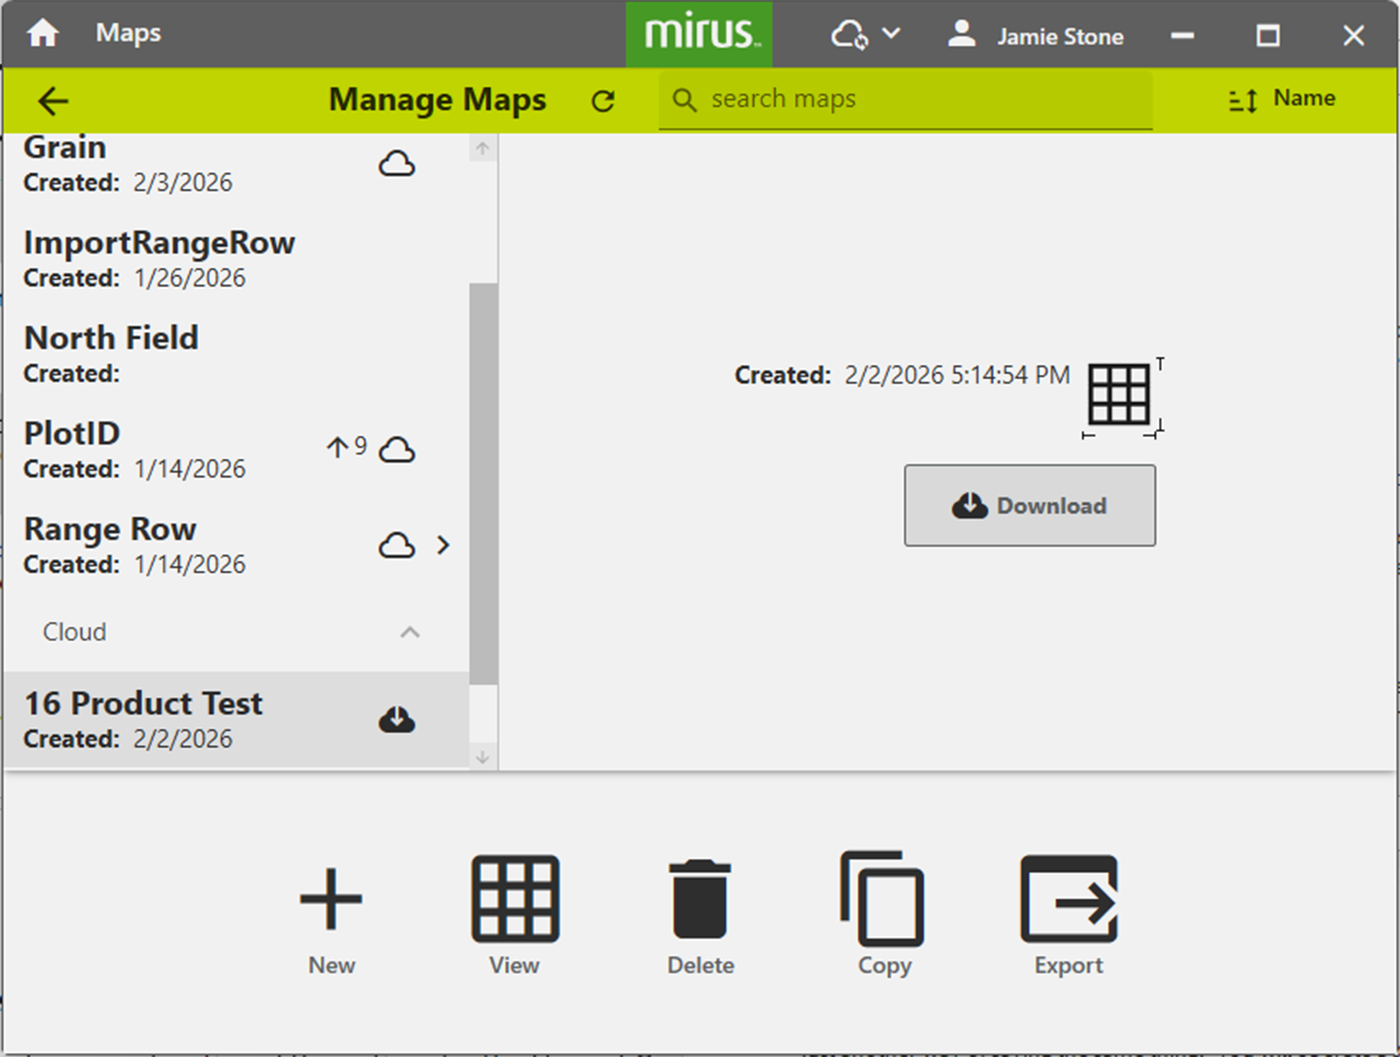
Download a Map from the Cloud
To download a map from the cloud:
- Select the map.
- Tap Download.
-
Choose the options that best fits your needs.
- Sync Now. Begin sending changes. Monitor the progress on screen.
- Sync in Background. Changes are sent while you use Mirus for other tasks. The sync progress is displayed in the title bar.
- Sync Later. Close the box. You can begin the sync when you are ready.
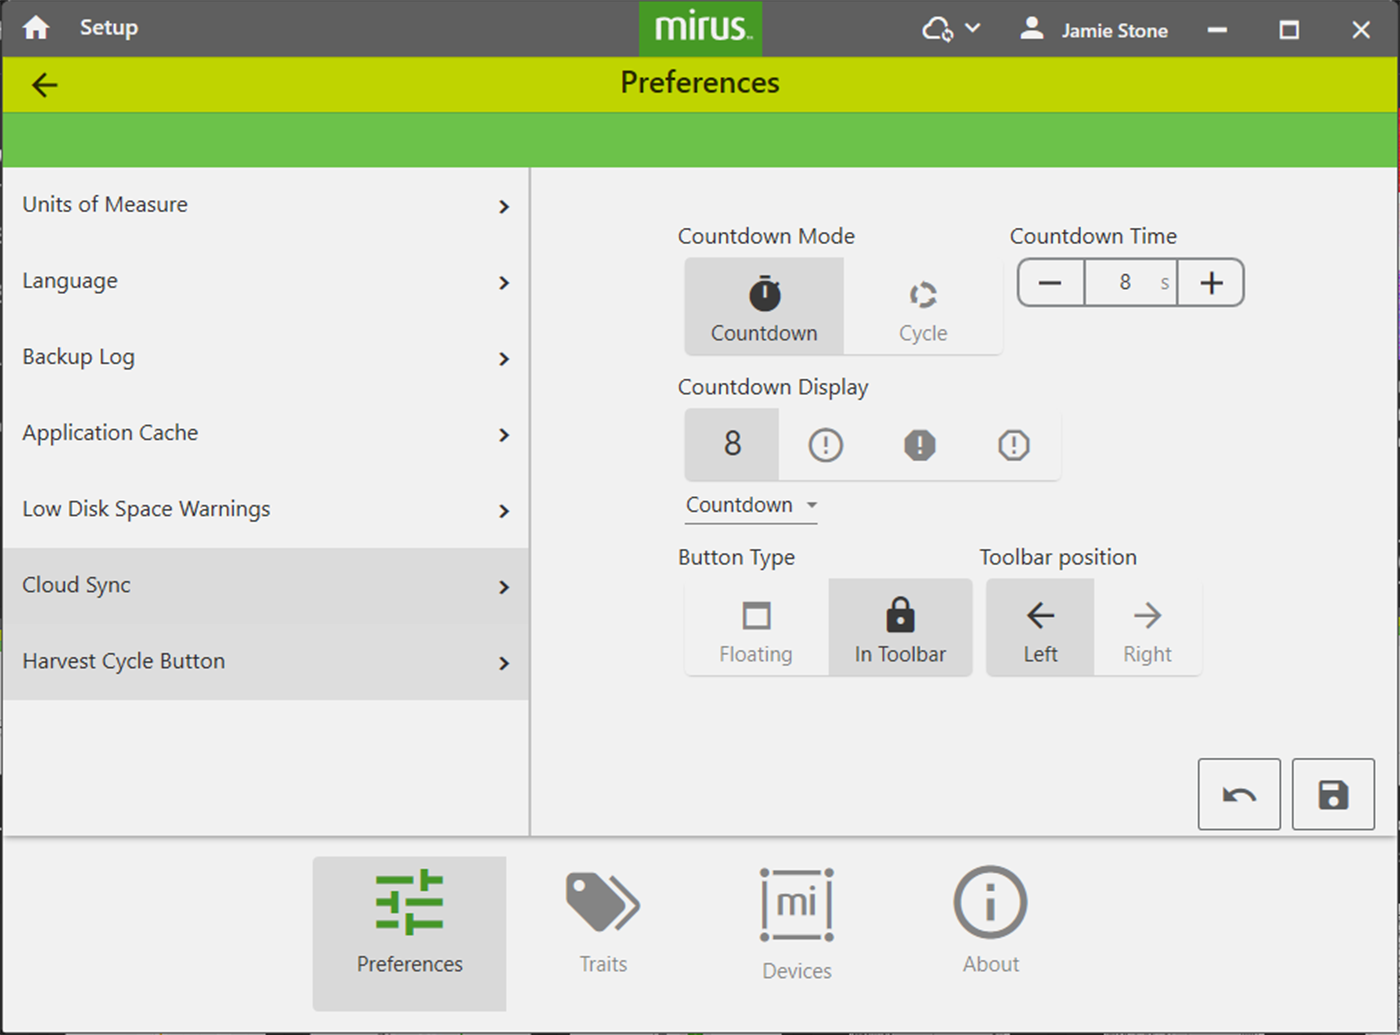
Harvest Cycle Button
See Configure Cycle Settings for an explanation of the options for the Harvest Cycle button. They can also be set from the Harvest screen.