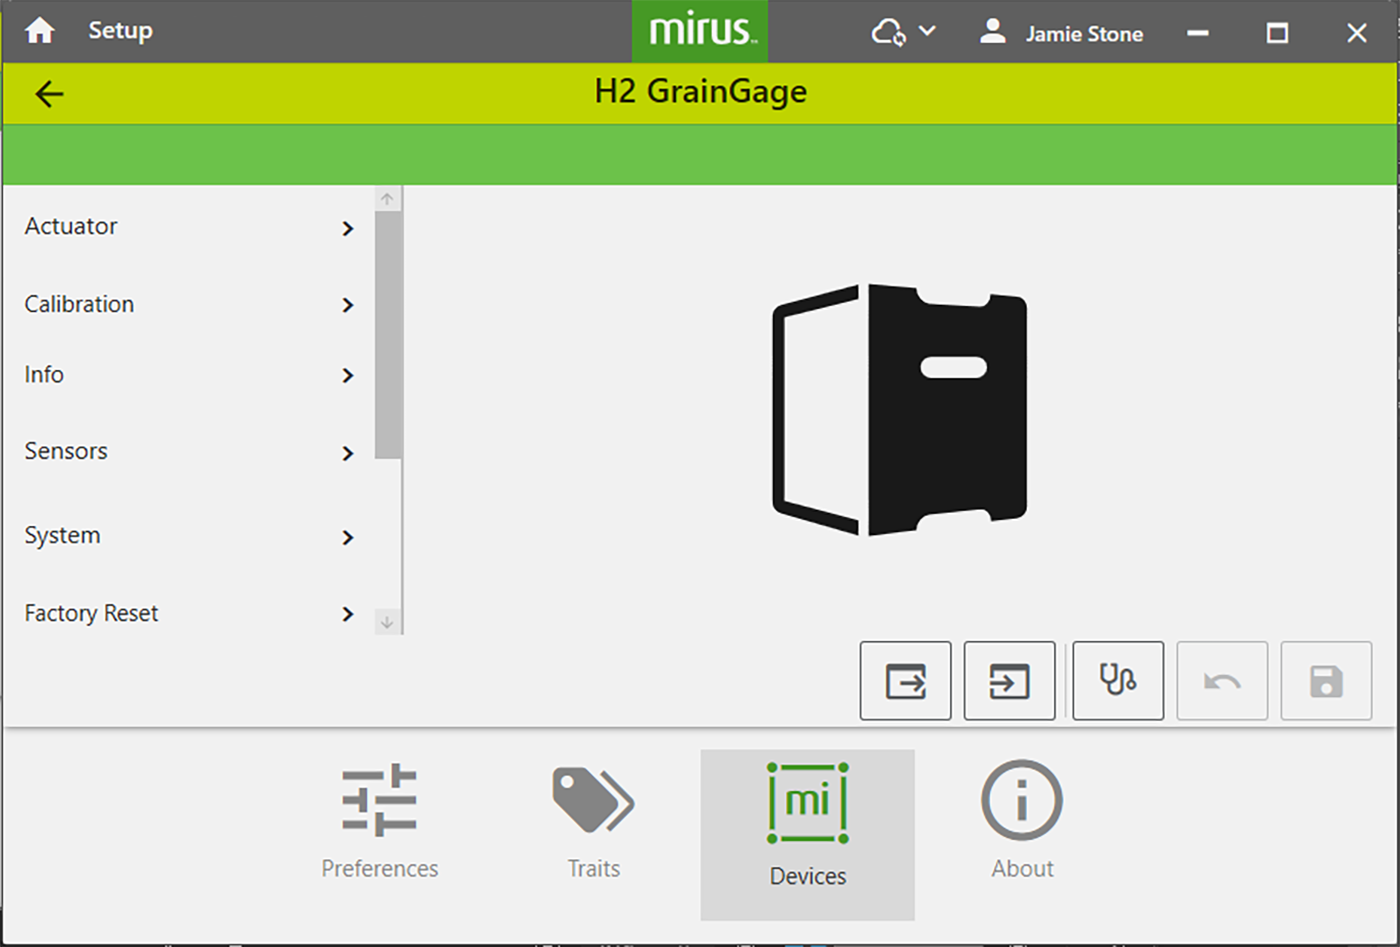
Configure Actuators, Sensors, & System
Mirus gives you the ability to set and adjust many parameters related to the operations of your GrainGage in collecting data. Most people do not need to adjust the actuator, system, or sensors much. Many of the settings should only be adjusted by a HarvestMaster certified Field Service Representative. Settings that you may want to change include chamber head room, evacuation time, trip point, and sub-cycle count. However, before you change any settings, you should be aware of the impact of the change. If you have questions or need additional training, contact HarvestMaster (see Contact a HarvestMaster Field Service Engineer) to schedule a remote or on-site training session.
Configure Actuators
From Setup > H2 GrainGage:
- Tap Actuator.
Mirus opens the Actuator screen.
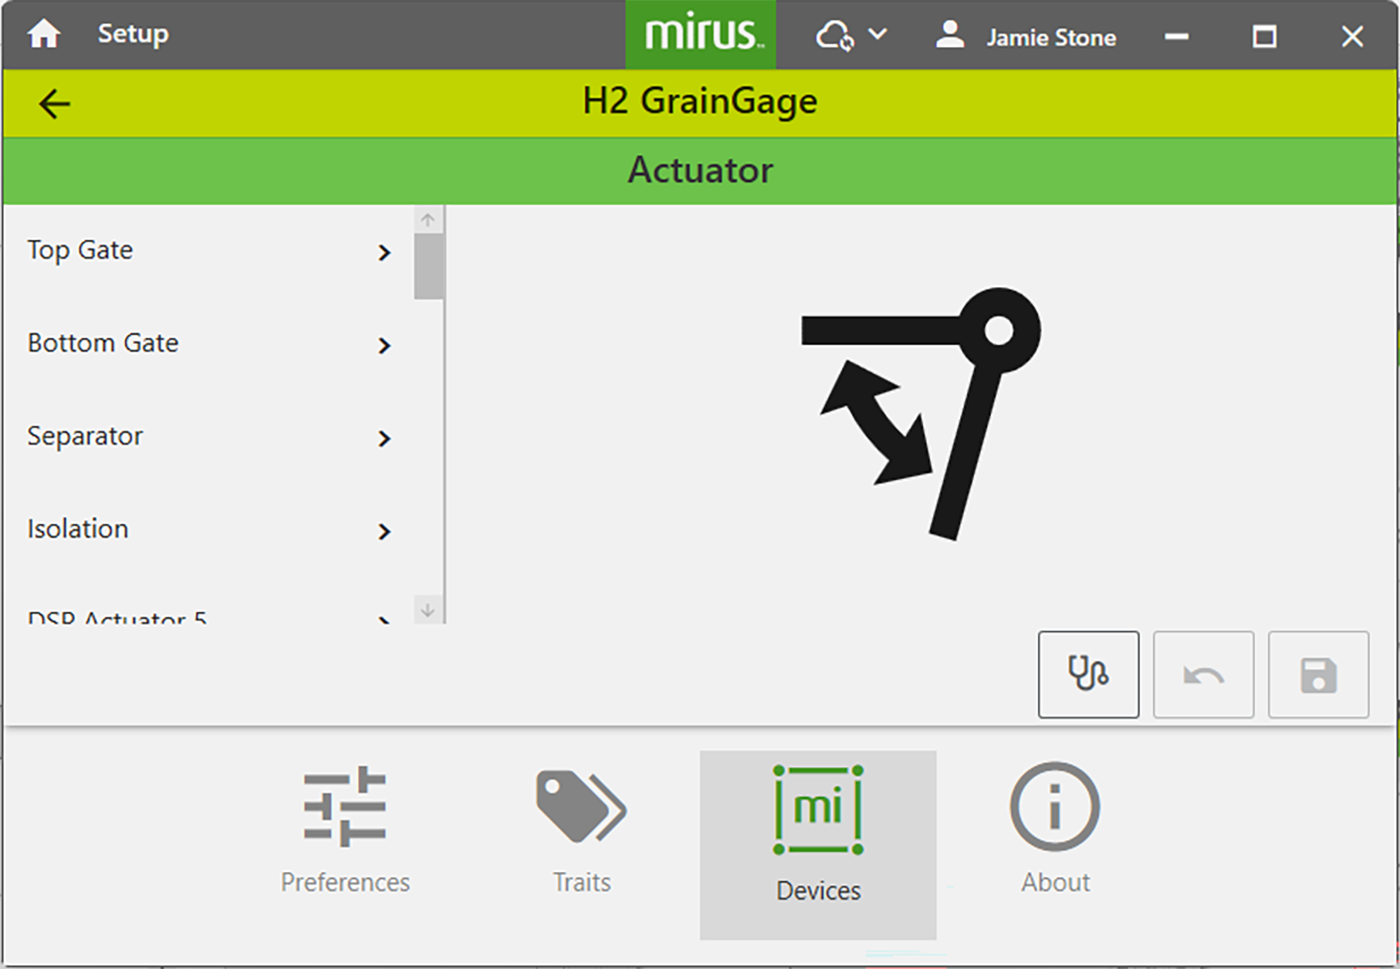
From the Actuator screen you can configure settings for each actuator in the GrainGage.
The following tables display the default values for each actuator, which may need to be adjusted based on your specific harvest conditions. Please contact a HarvestMaster Field Service Engineer for support.
|
Evacuation Gate Settings |
||
|---|---|---|
|
Setup Parameter |
Default Value |
Description |
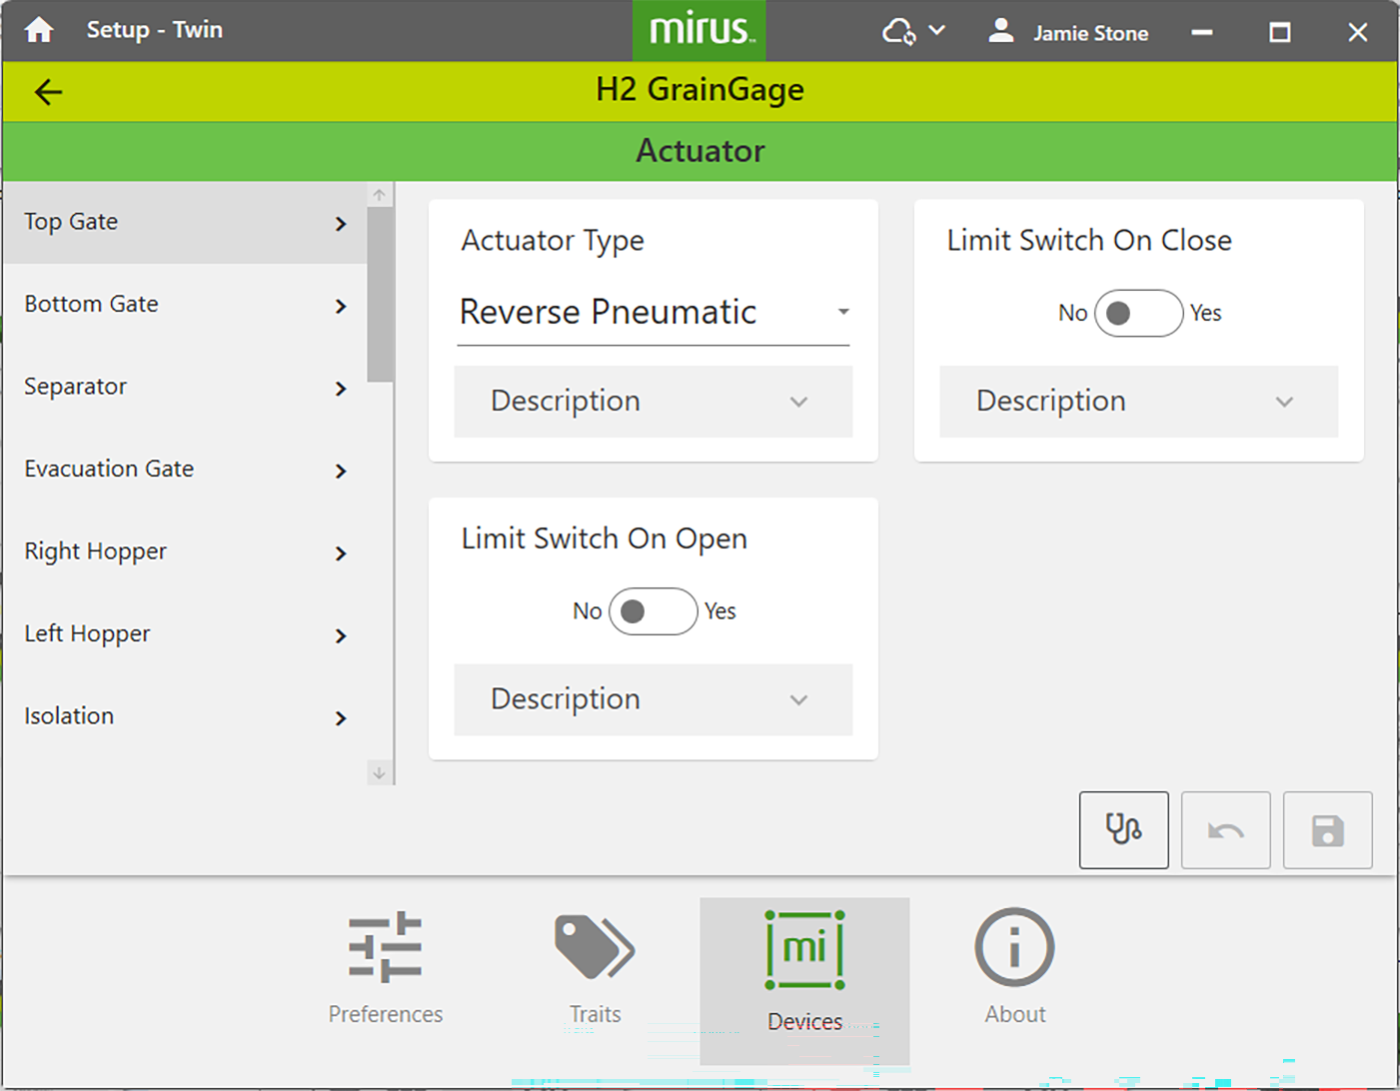
| Actuator Type | Reverse Pnuematic | The type of actuator. |
| Limit Switch on Close | Yes | Enables the limit switch when the gate closes. |
| Limit Switch on Open | No | Enables the limit switch when the gate opens. This is not supported in the H2 Twin. |
Actuator Type Options
The following tables give details about how the DSP Actuators 5 and 6 can work.
|
DSP 5 |
|||||
|---|---|---|---|---|---|
|
Actuator Type |
Action | Pin 1 | Pin 2 | Description | |
|
Pneumatic |
Open |
12 V |
Ground |
Drives solenoid with 12 V continuously while actuated but uses 0 V when not actuated. |
|
|
|
Close |
0 V |
Ground |
||
|
Reverse pneumatic |
Open |
0 V |
Ground |
Works in reverse to a pneumatic actuator. For example, if pneumatic opens a door, reverse pneumatic will close the door. |
|
|
Close |
12 V |
Ground |
|||
|
Dual Pin 1 |
Open |
0 V |
n/a |
Allows the pins to be controlled independently but be tied to a common ground. With a dual actuator, you can control two actuators from one actuator port |
|
|
|
Close |
12 V |
n/a |
||
|
Electro-mechanical |
Open |
12 V for transition time |
Ground |
Drives the pin with 12 V for the transition time and then uses 0 V when the transition time expires. Runs forward and backward. |
|
|
Close |
Ground |
12 V for transition time |
|||
|
DSP Actuator 6 |
|||
|---|---|---|---|
|
Actuator Type |
Action | Pin 2 | Description |
|
Dual Pin 2 |
Open |
0 V |
Allows the pins to be controlled independently but be tied to a common ground. With a dual actuator, you can control two actuators from one actuator port |
| Close | 12V | ||
Configure Sensors
From Setup > H2 GrainGage:
- Tap Sensors.
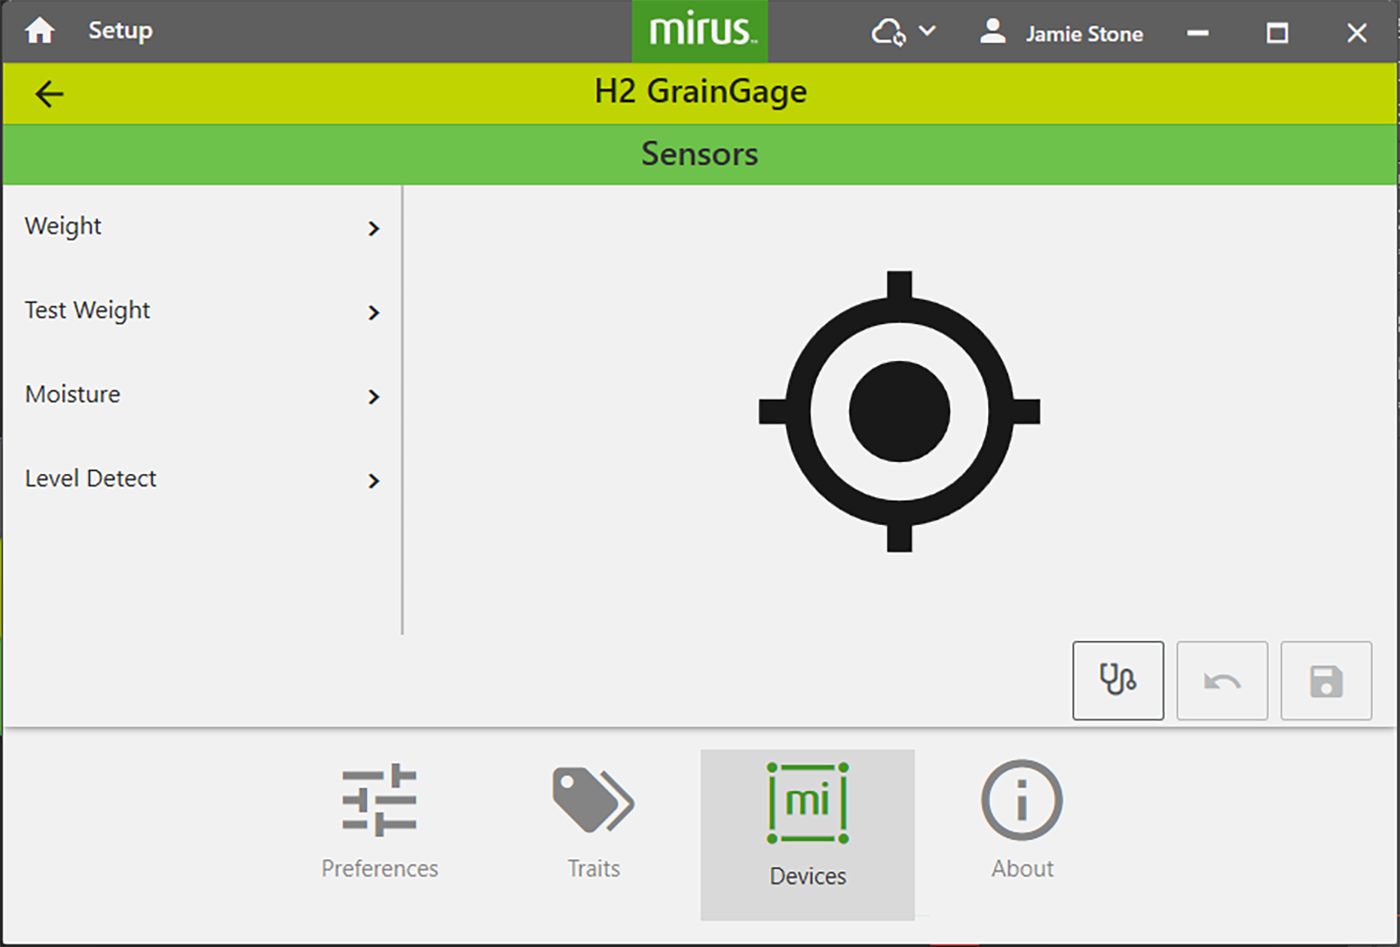
From the Sensor screen you can configure settings for the weight, test weight, moisture, and level detect sensor.
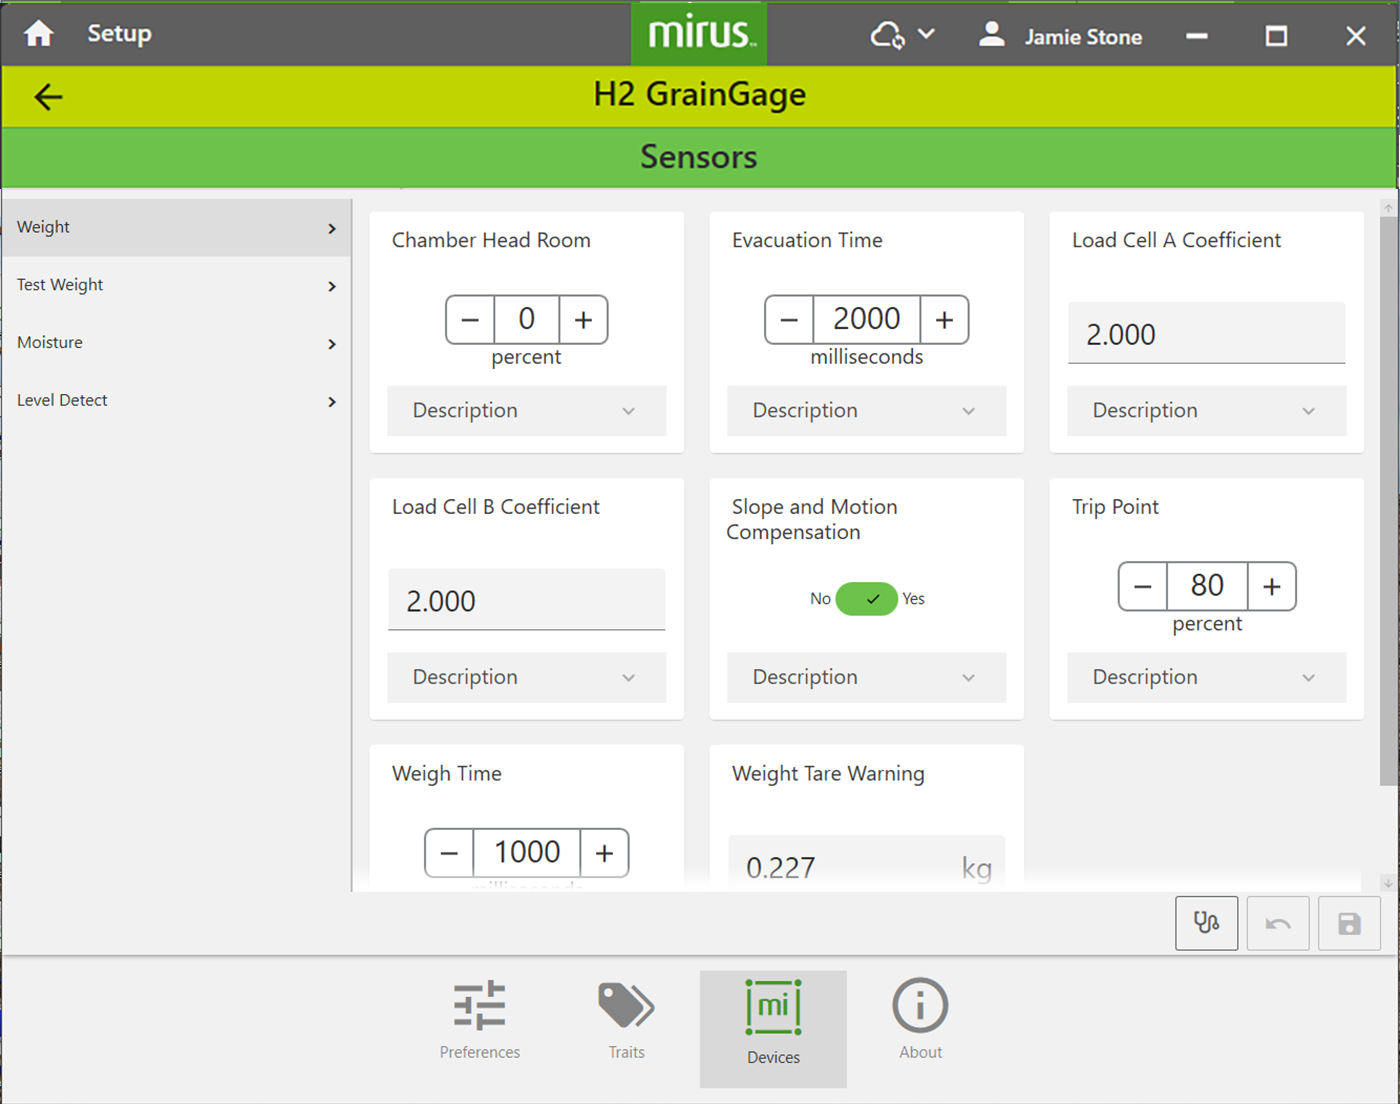
The following tables displays the typical preferred sensor settings.
|
Setup Parameter |
Default Value |
Description |
|---|---|---|
|
Chamber Head Room |
25% |
The percentage of additional grain required to perform a moisture and test weight measurement or include that sub-cycles as part of the average moisture and test weight measurement. For example, if the chamber head room is set to 25% and the minimum weight threshold is 4 lb, then Mirus requires 5 lb to ensure that the test chamber is full and that the data will be accurate. If the full amount isn’t reached (i.e., minimum weight threshold + chamber head room), Mirus doesn’t record the moisture or test weight data, because it’s not likely to be accurate. Mirus still collects the plot weight. If the amount required by Mirus isn’t met on a sub-cycle, then that moisture and test weight measurement won’t be included in calculating the average. If you are harvesting low yield grains, the chamber head room can be set as low as 15% without losing any accuracy. |
|
1100 msec |
The amount of time all the top and bottom gates remain open to allow for the evacuation of all grain from the weigh bucket. This setting overrides the open state time for the top and bottom gates. Wetter grain or oil seeds may require longer evacuation times. Low-volume inserts will also require a longer evacuation time. If this setting is inaccurate, it may increase the weighing cycle time unnecessarily or cause the mixing of two plots. |
|
|
Load Cell Coefficients |
2.000 |
The default values for load cell coefficients are placeholders. These are custom values that are generated during weight calibration. They are used to convert millivolt readings from the load cells into pounds or kilograms. Do not adjust these manually. |
|
Slope and Motion Compensation |
Yes |
This corrects weight errors resulting from movement and vibration as well as harvesting on a slope. |
|
Weigh Time |
1000 msec |
The period over which weight readings are averaged. Although a shorter weigh time will shorten cycle times, it may reduce the accuracy of the measurement. |
|
Weight Tare Warning |
0.500 lb |
This is the threshold above which a tare warning is generated after weigh bucket evacuation. |
Preconfigured values are default values based on generalized harvest conditions. They may not reflect the optimum settings for the harvest conditions for your particular climate, fields, or grains. Changing default values requires a certain level of experience. Please contact HarvestMaster Field Service Engineers when adjusting these settings. See Contact a HarvestMaster Field Service Engineer.
|
Test Weight Sensor Settings |
||
|---|---|---|
|
Setup Parameter |
Default Value |
Description |
|
Test Weight Tare Warning |
2.02 lb/bu |
A tare warning is generated when a tare check indicates weight in the chamber is above this threshold. |
To edit other test weight settings, see Test Weight Load Cell Calibration.
|
Moisture Sensor Settings |
||
|---|---|---|
| Setup Parameter | Default Value | Description |
|
Moisture Tare Warning |
1% |
A tare warning is generated when a tare check indicates that the moisture is above this threshold. |
To edit other moisture settings, see Moisture Curve and Chamber Calibration.
|
Level Detect Sensor Settings |
||
|---|---|---|
|
Setup Parameter |
Default Value |
Description |
|
Left Level Threshold |
10 |
The volume of grain needed to trigger a cycle while harvesting in strip mode with a Twin High Capacity. |
|
Level Clear Delay |
1000 msec |
The amount of time delay between last level/weight trip and the start of the flush cycle. |
|
Right Level Threshold |
10 |
The volume of grain needed to trigger a cycle while harvesting in strip mode with a Twin High Capacity. |
Configure the GrainGage System Settings
From Setup > H2 GrainGage:
- Tap System.
- Select your GrainGage Type.
- Set any of the other parameter to support your research.
- Tap
 to save your settings.
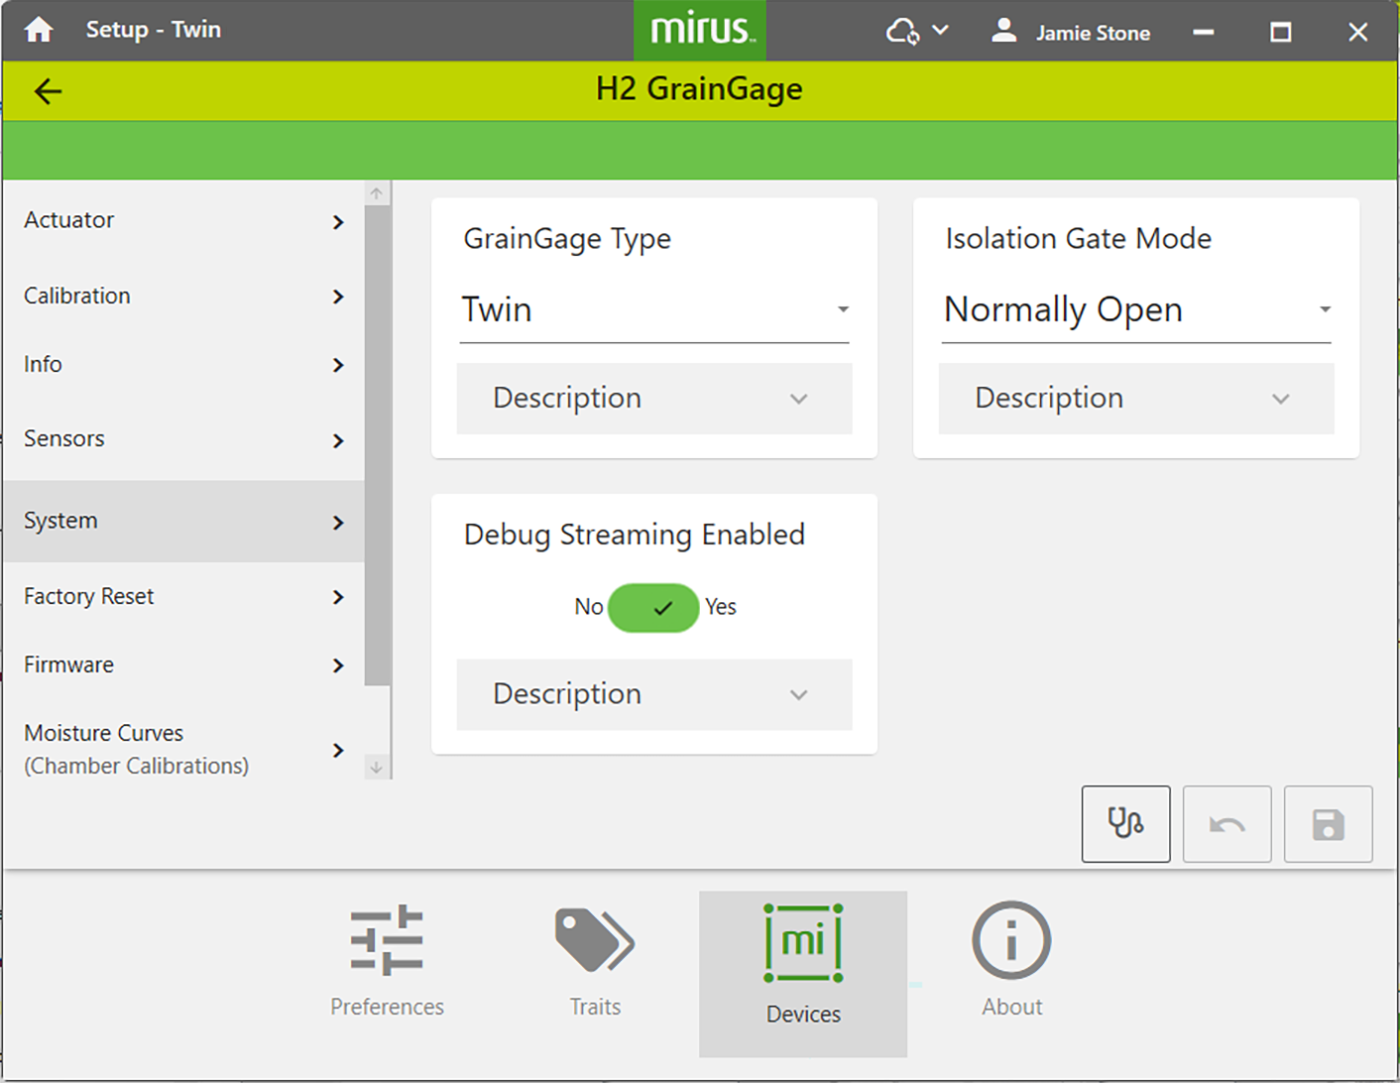
The following table displays the typical preferred setting for each item on this screen.
|
System Settings |
||
|---|---|---|
|
Item |
Default Value |
Description |
|
Debug Streaming Enabled |
Yes |
This enables or disables debug streaming messages for the DSP module. HarvestMaster recommends leaving this enabled. |
|
GrainGage Type |
Twin |
Designates which GrainGage type is connected to Mirus. |
|
Isolation Gate Mode |
Normally Open |
Controls the initial state of the isolation gate. |